
Hi everybody! It's me again, back to you as promised with the Pendulum version of Yosenju - Mayosenju. This is a card line whose goal is to Pendulum Summon high-level Yosenju monsters in one turn (A more upgraded version). There will be people who say that using this version of Mayosenju will not be as effective as playing the old version of Yosenju (No Pendulum) but relying on Daibak and Hito t to continuously dismantle the opponent's field is also worth considering as a tool. Cards worth using to climb Rank. Therefore, this article was created to help you better understand how to play and use Mayosenju.
Instructions for playing Mayosenju
Sections covered in this guide:
overview
Mayosenju differs from Yosenju in that they focus more on Pendulum summoning. They are high-level key monsters with effects that can return many other cards on the field when they are summoned. They return to your hand every End Phase, allowing you to reuse their effects each time you summon them.
Overall, this is a complete upgrade compared to the old version but will be more brickhand, will be a quite economical version and very suitable for newbies as most of the Core cards are in the latest boxes. and very easy to find (The important thing is your luck). The good news is that you can completely use this deck without needing too much tech for it.
Skills
In order, I will talk about the Skills of these Mayosenju first. Using Destiny Draw will no longer be useful, so you will need to switch to using Sylvio's special skills, which will be more useful and helpful for this deck.
Sylvio's Showstopping Performance (50% used)
A Skill that supports Mayosenju's Pendulum very well and can also be said to be Sylvio's own version of Destiny Draw . It is worth using this Skill because it simply does not increase brickhand like other Skills but also helps you get the Yosenju card you need for the next turn. What's even better is that if you have the Battlin' Boxer Veil you can adjust your Life Points and use it multiple times.
Neo New Sylvio (Skill Card) (50% used)


Neo New Sylvio (Skill Card)
ATK:
0
DEF:
0
At the beginning of the Duel, add 1 "Yosenju Shinchu L", and 1 "Yosenju Shinchu R" to the bottom of your Deck. In addition, the following effect can be used once per Duel after your Life Points decrease by 2000. Return 1 "Yosenju" card in your hand to your Deck and add 1 "Yosenju Oroshi Channeling" to your hand from outside of your Deck. This Skill can only be used if you begin the Duel with a Deck that contains at least 9 "Yosenju" cards. (Extra Deck does not count.)
The ability to provide Yosenju Oroshi Channeling - a card that is currently not in the game, is also a great Skill. To activate the Skill, you can use a few handtraps to adjust your Life Points then bring Yosenju Oroshi Channeling to your hand.
Yosenju Oroshi Channeling gives you a faster Pendulum summon and also provides consistent protection for Mayosenju. Or if you don't need it, use its 1st effect to search for cards, but according to the advice of many players, just using the 2nd effect is more than enough.
Blowing Up Yosen (Skill Card) (45% used)

Blowing Up Yosen (Skill Card)
ATK:
0
DEF:
0
Select 1 "Yosen Training Grounds" you control and place Yosen Counter(s) on it equal to the number of "Yosenju" monsters on your field. This Skill can only be used once per Duel. In addition, add a Pendulum Zone to your field if you began the Duel with a Deck that has 9 or more "Yosenju" monsters. (Extra Deck does not count.)
Because most of the monsters you use in your deck have the word "Yosenju" (Including Mayosenju monsters), therefore, the advantage of this Skill will give you an additional Pendulum area. Skills give you the ability to draw cards with Yosen Training Grounds or increase the attack ability of your Yosenju. Regardless, this is a great support that the game has released.
Core Cards
Mayosenju Hitot and Mayosenju Daibak (2-3x)
 WIND
WIND 10
10 3
3Mayosenju Hitot
ATK:
2000
DEF:
3000
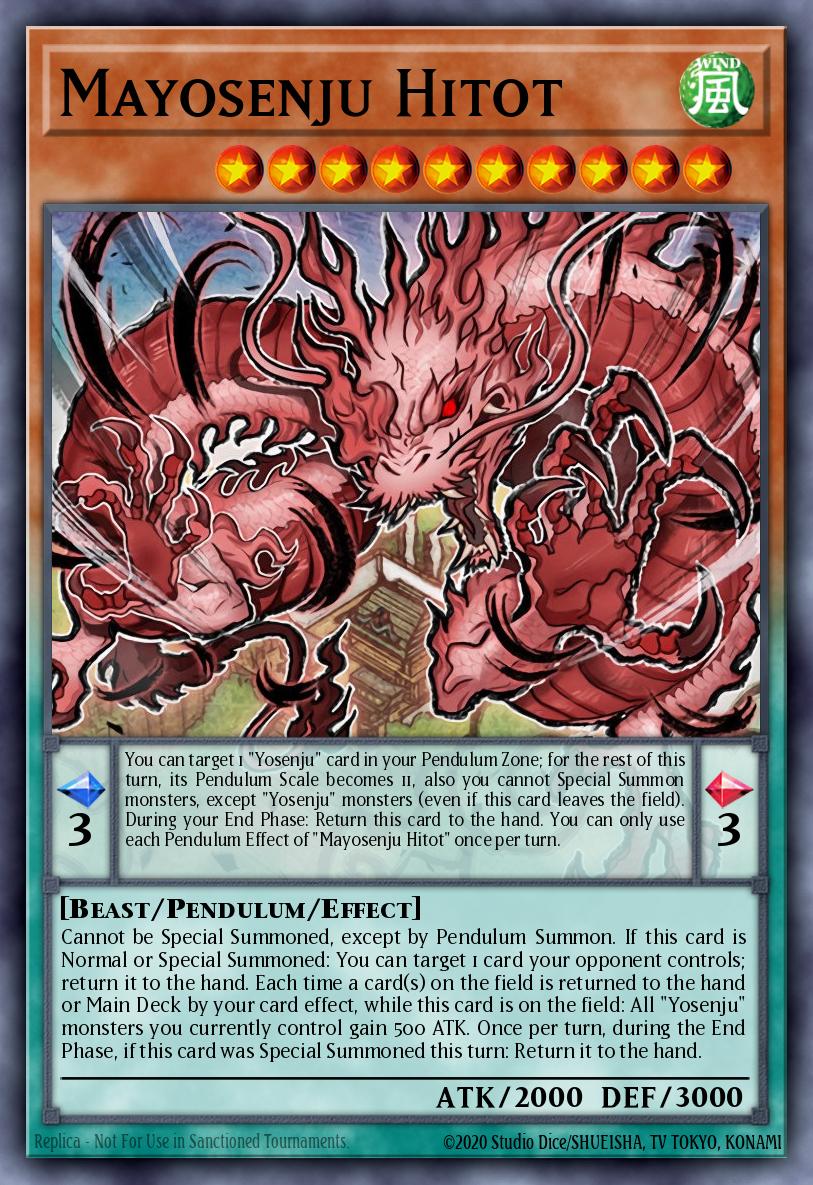
[ Pendulum Effect ] You can target 1 "Yosenju" card in your Pendulum Zone; for the rest of this turn, its Pendulum Scale becomes 11, also you cannot Special Summon monsters, except "Yosenju" monsters (even if this card leaves the field). During your End Phase: Return this card to the hand. You can only use each Pendulum Effect of "Mayosenju Hitot" once per turn. [ Monster Effect ] Cannot be Special Summoned, except by Pendulum Summon. If this card is Normal or Special Summoned: You can target 1 card your opponent controls; return it to the hand. Each time a card(s) on the field is returned to the hand or Main Deck by your card effect, while this card is on the field: All "Yosenju" monsters you currently control gain 500 ATK. Once per turn, during the End Phase, if this card was Special Summoned this turn: Return it to the hand.

 WIND
107
WIND
107Mayosenju Daibak
ATK:
3000
DEF:
300
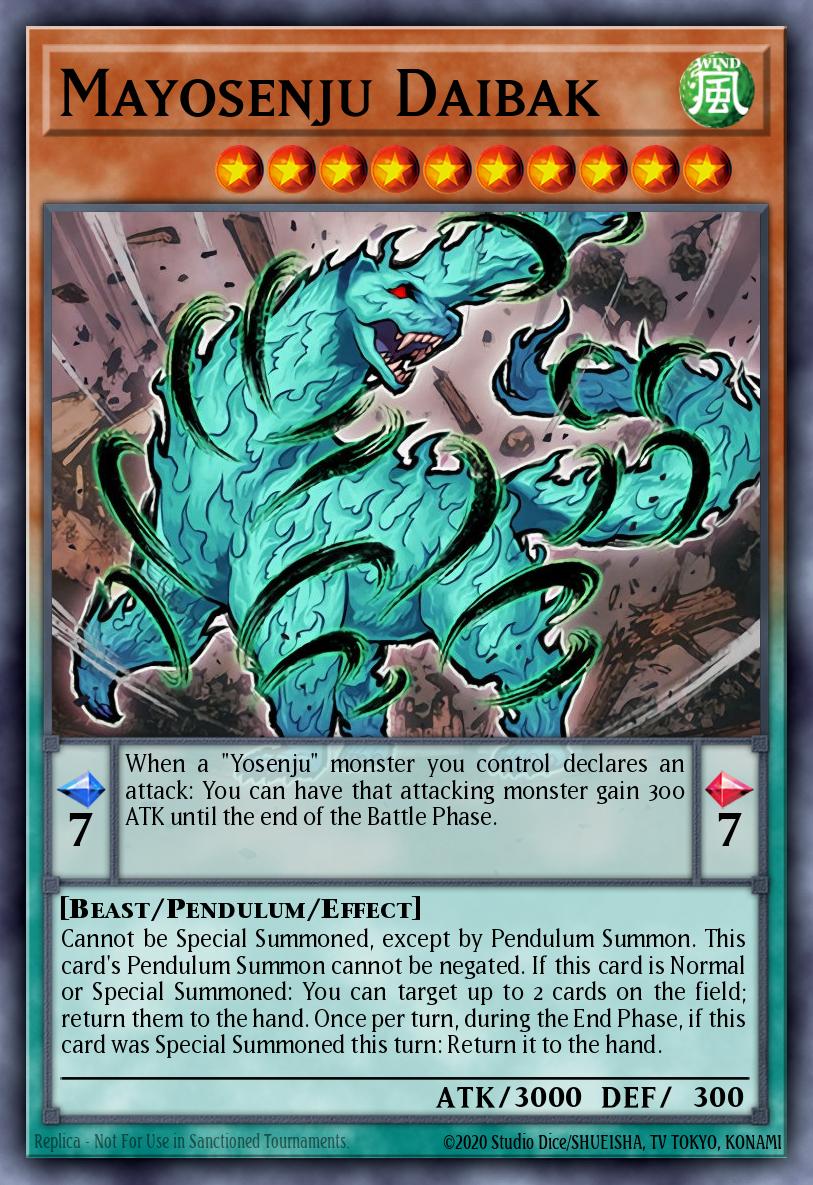
[ Pendulum Effect ] When a "Yosenju" monster you control declares an attack: You can have that attacking monster gain 300 ATK until the end of the Battle Phase. [ Monster Effect ] Cannot be Special Summoned, except by Pendulum Summon. This card's Pendulum Summon cannot be negated. If this card is Normal or Special Summoned: You can target up to 2 cards on the field; return them to the hand. Once per turn, during the End Phase, if this card was Special Summoned this turn: Return it to the hand.
The two pairs of identical cards carry the name " Mayosenju " and both have their own unique abilities and no matter how they are used, those effects are worth using.
- For Hitot . Its Pendulum effect allows you to pair it with any other Pendulum Yosenju effect to ensure that you can special summon Hitot and/or Daibak .
- Its monster effect grants 1 non-target removal and grants 500 additional ATK to Yosenju monsters.
- For Daibak . Its Pendulum effect helps when you can't play Pendulum and have to attack with a low-level monster. If you activate it as a Pendulum monster, you'll want to make sure not to activate Shinchu L , as neither of them have a scale-increasing effect, preventing you from being able to summon the Mayosenju's Pedulum.
- Daibak is best used as a summon monster (meaning it should be summoned instead of using its Pendulum effect) Instead, rely on your trap cards or Oyam until when you can summon Pendulum this card. Its monster effect allows you to return 2 cards on the field to the hand. This will help your OTK turn a lot more and if combined with Sword Sting before summoning it, it can be an extremely great combo for your next turn.
Yosenju Shinchu R and Yosenju Shinchu L (2-3x)
 WIND
45
WIND
45Yosenju Shinchu R
ATK:
0
DEF:
2100
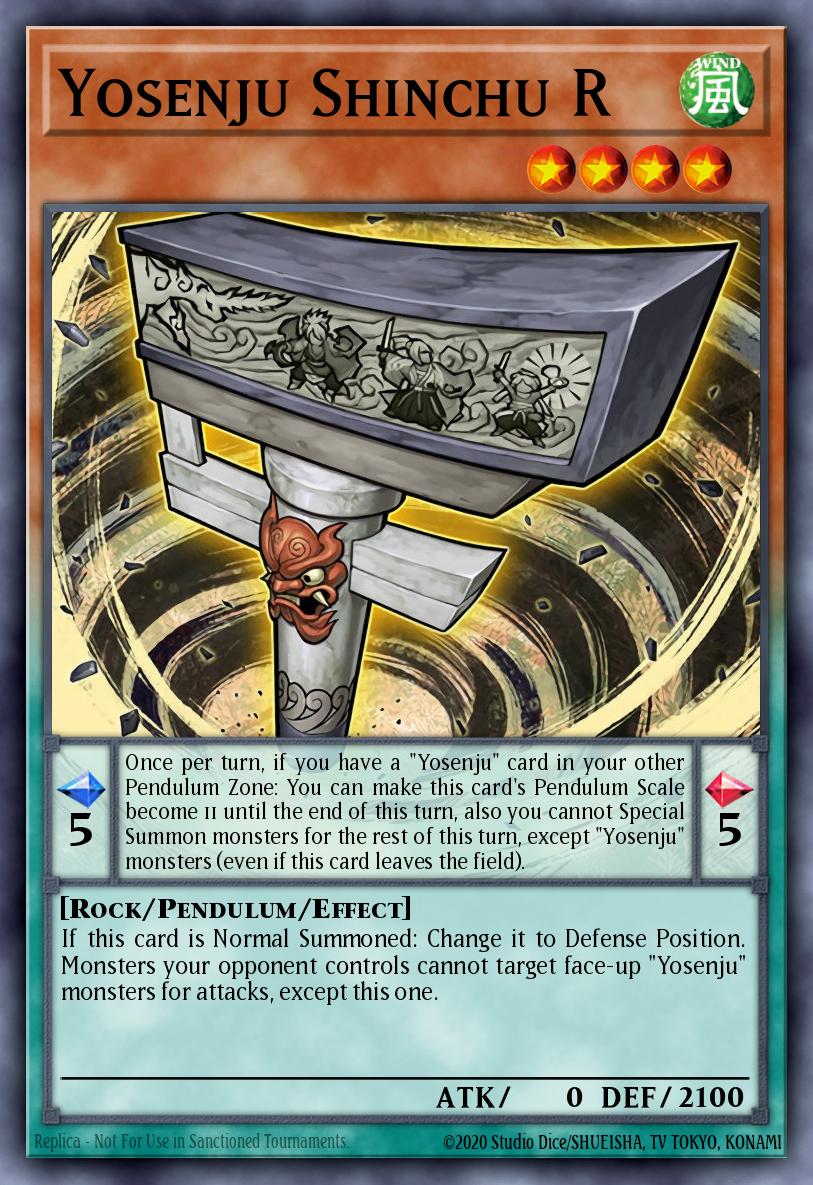
[ Pendulum Effect ] Once per turn, if you have a "Yosenju" card in your other Pendulum Zone: You can make this card's Pendulum Scale become 11 until the end of this turn, also you cannot Special Summon monsters for the rest of this turn, except "Yosenju" monsters (even if this card leaves the field). [ Monster Effect ] If this card is Normal Summoned: Change it to Defense Position. Monsters your opponent controls cannot target face-up "Yosenju" monsters for attacks, except this one.
 WIND
43
WIND
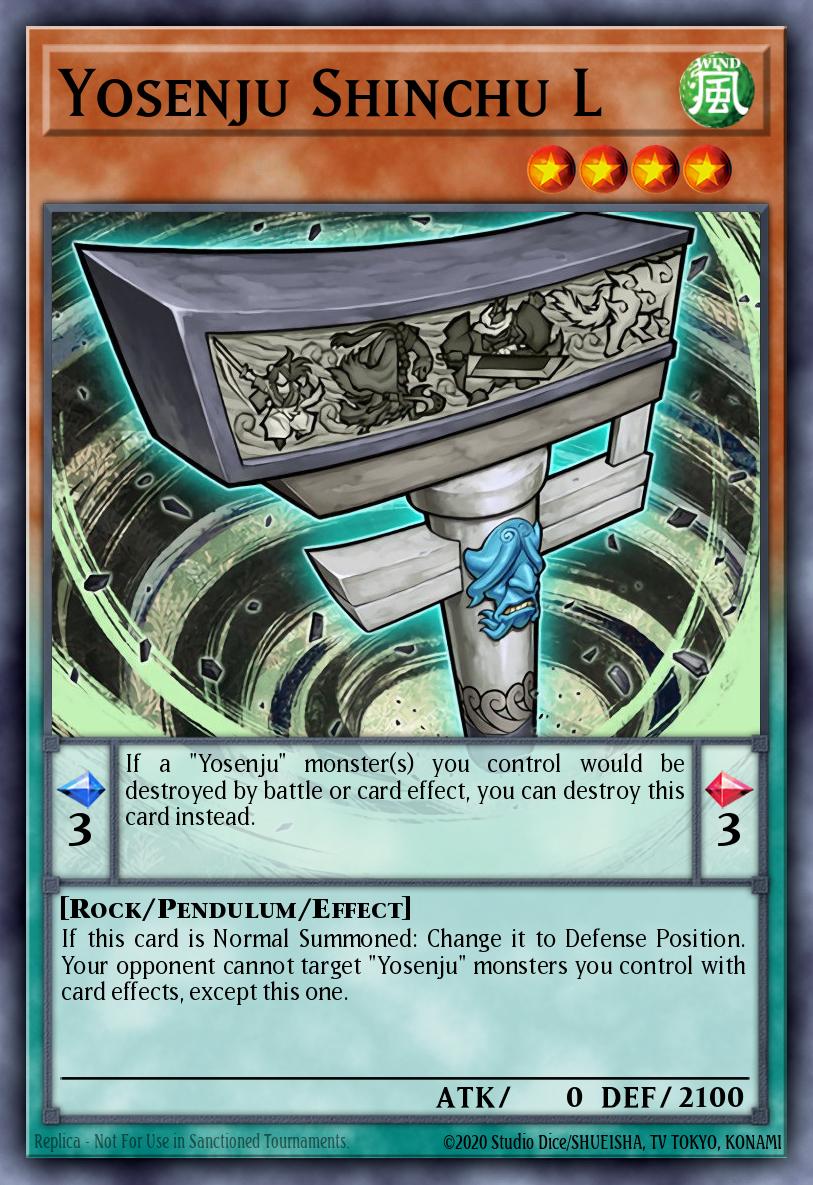
43Yosenju Shinchu L
ATK:
0
DEF:
2100
[ Pendulum Effect ] If a "Yosenju" monster(s) you control would be destroyed by battle or card effect, you can destroy this card instead. [ Monster Effect ] If this card is Normal Summoned: Change it to Defense Position. Your opponent cannot target "Yosenju" monsters you control with card effects, except this one.
Both have pretty similar monster effects, but they are mainly used to help summon Pendulum. Shinchu R can be used more freely because of its scaling effect, but you'll have to be careful with Shinchu L as it can't combo much with Daibak .
Having multiple copies of these two cards in your deck can help create consistency, ensuring that you can activate Oroshi Channeling 's second effect from the Skill.
If you can only special summon 2 monsters, you may consider normal summoning Shinchu L before performing the Pendulum summon. This makes them untargetable to prevent most disruptions.
Yosenju Kama 1, Yosenju Kama 3 and Yosenju Kama 2 (1-2x)
 WIND
4
WIND
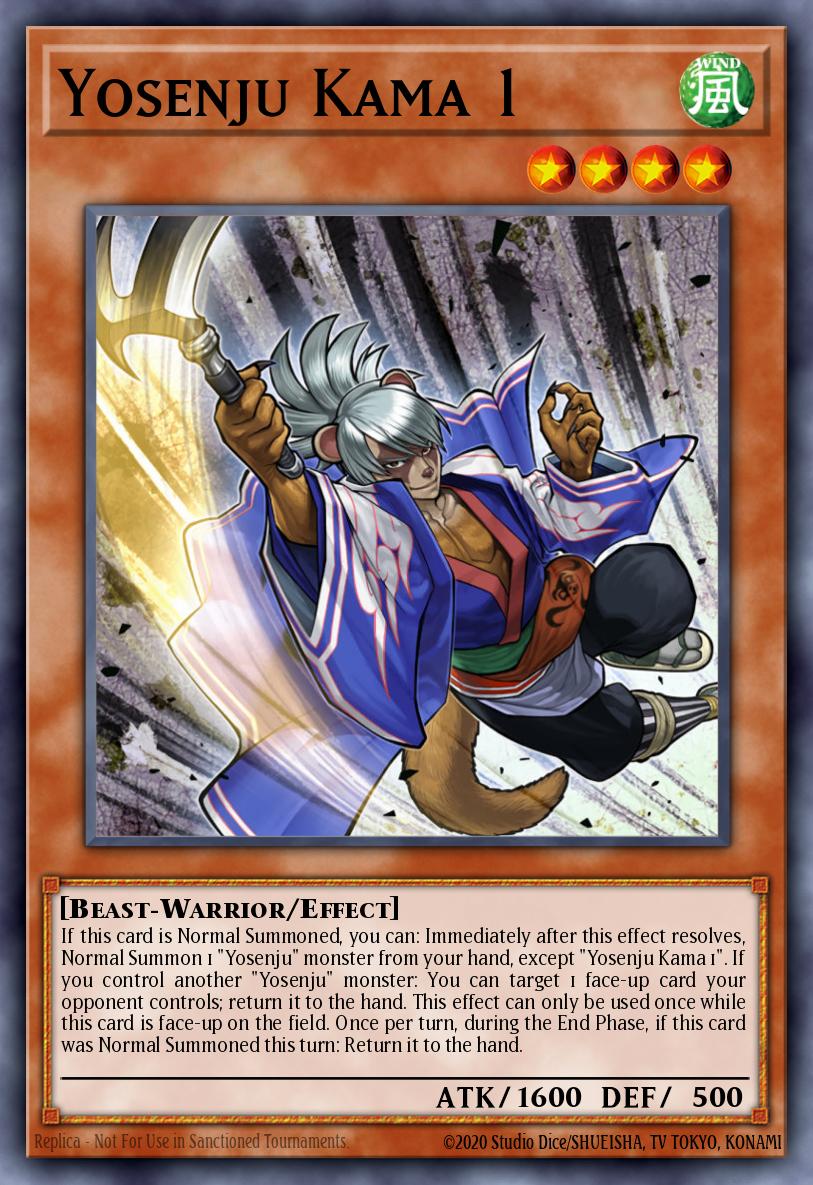
4Yosenju Kama 1
ATK:
1600
DEF:
500
If this card is Normal Summoned, you can: Immediately after this effect resolves, Normal Summon 1 "Yosenju" monster from your hand, except "Yosenju Kama 1". If you control another "Yosenju" monster: You can target 1 face-up card your opponent controls; return it to the hand. This effect can only be used once while this card is face-up on the field. Once per turn, during the End Phase, if this card was Normal Summoned this turn: Return it to the hand.
 WIND
4
WIND
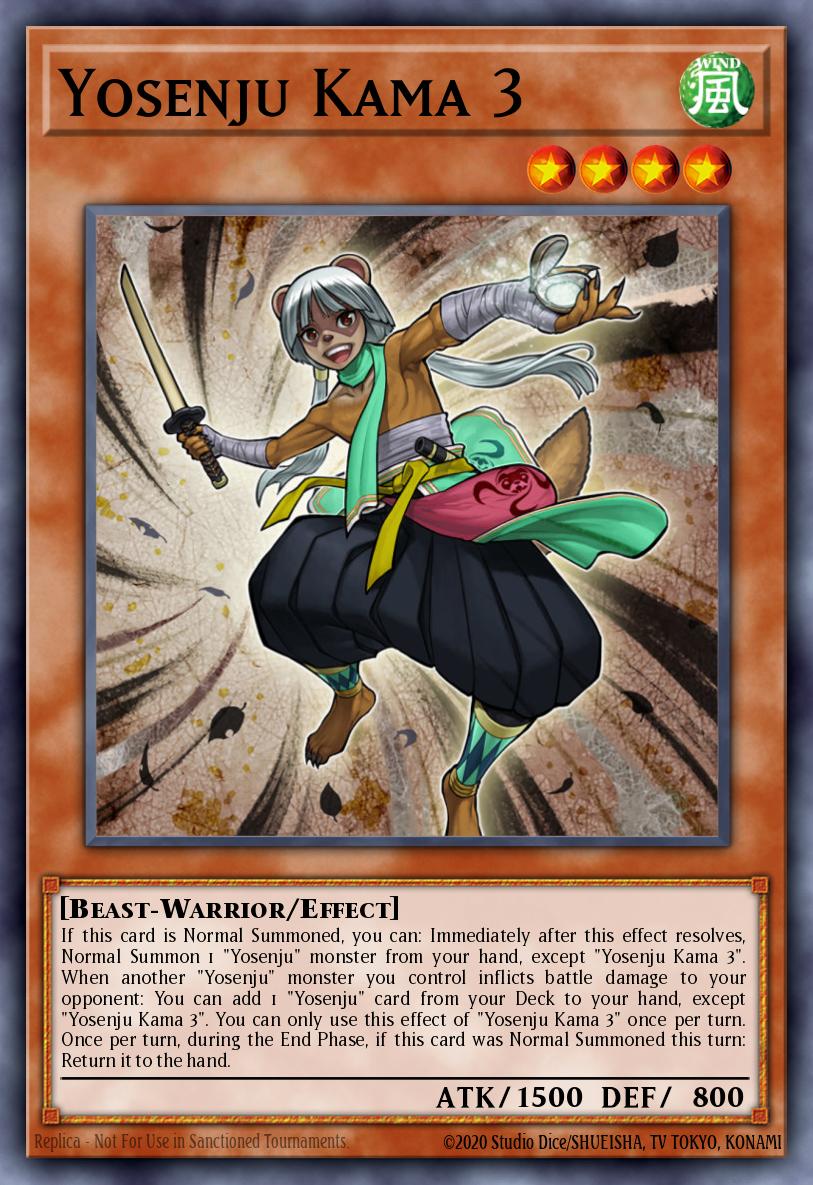
4Yosenju Kama 3
ATK:
1500
DEF:
800
If this card is Normal Summoned, you can: Immediately after this effect resolves, Normal Summon 1 "Yosenju" monster from your hand, except "Yosenju Kama 3". When another "Yosenju" monster you control inflicts battle damage to your opponent: You can add 1 "Yosenju" card from your Deck to your hand, except "Yosenju Kama 3". You can only use this effect of "Yosenju Kama 3" once per turn. Once per turn, during the End Phase, if this card was Normal Summoned this turn: Return it to the hand.
 WIND
4
WIND
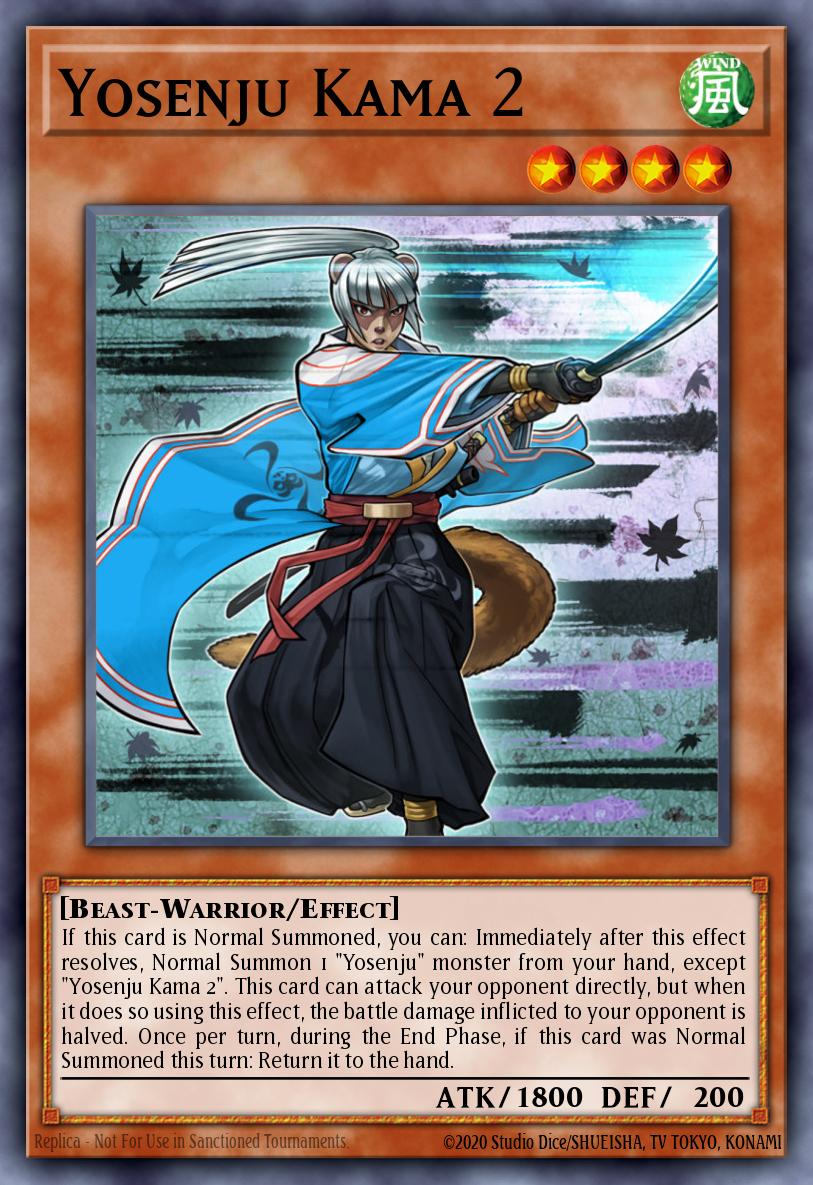
4Yosenju Kama 2
ATK:
1800
DEF:
200
If this card is Normal Summoned, you can: Immediately after this effect resolves, Normal Summon 1 "Yosenju" monster from your hand, except "Yosenju Kama 2". This card can attack your opponent directly, but when it does so using this effect, the battle damage inflicted to your opponent is halved. Once per turn, during the End Phase, if this card was Normal Summoned this turn: Return it to the hand.
The normal Yosenju Karma monster can still be used very well in this deck. Although with the ability to summon Normal constantly filling your field with Karma, it will be tempting to pile a lot of these normal Yosenju cards into the deck but that will greatly reduce the deck's consistency. many (It will be very brick). You will want to get rid of some Karma brothers, usually you can only use Karma 3 because it gives you the Yosenju card you need for your match.
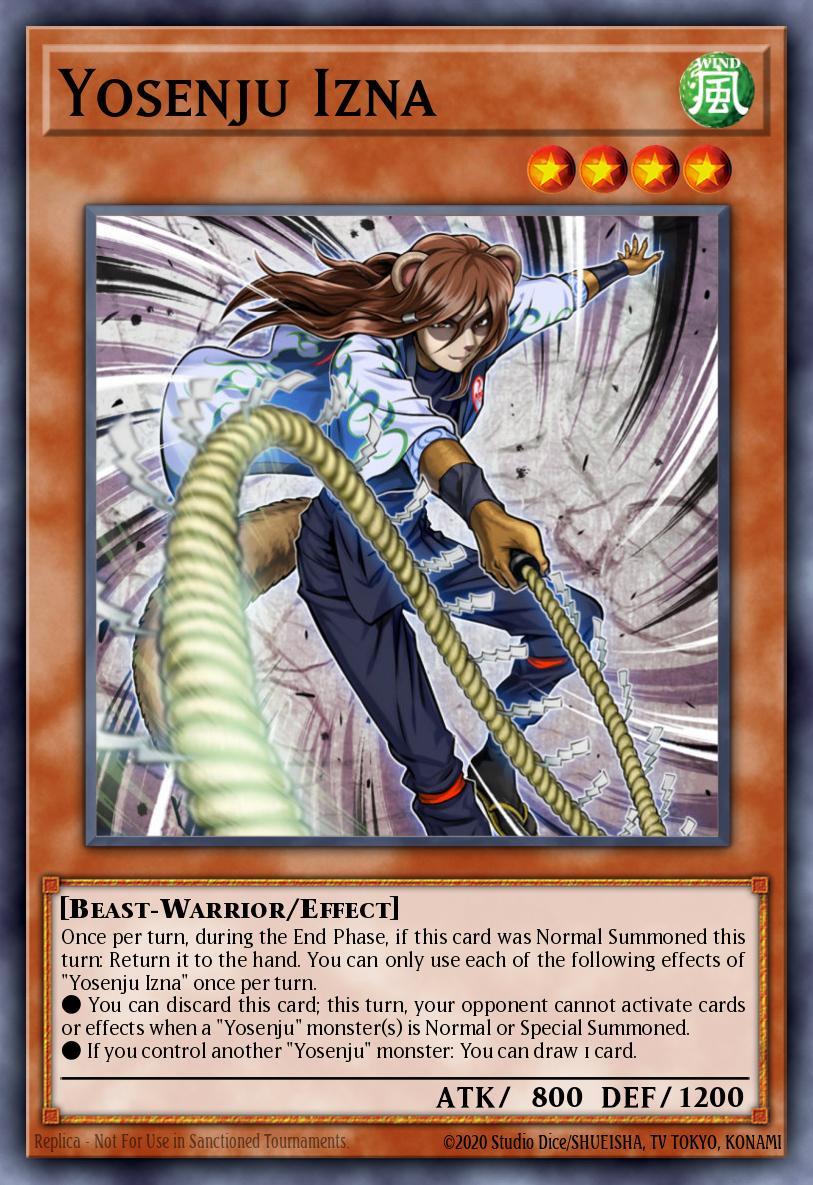
Yosenju Izna (2-3x)

 WIND
4
WIND
4Yosenju Izna
ATK:
800
DEF:
1200
Once per turn, during the End Phase, if this card was Normal Summoned this turn: Return it to the hand. You can only use each of the following effects of "Yosenju Izna" once per turn. ● You can discard this card; this turn, your opponent cannot activate cards or effects when a "Yosenju" monster(s) is Normal or Special Summoned. ● If you control another "Yosenju" monster: You can draw 1 card.
Izna can be paired with Karma 3 in this deck to give you the ability to draw and search cards rather than using other normal Yosenju.
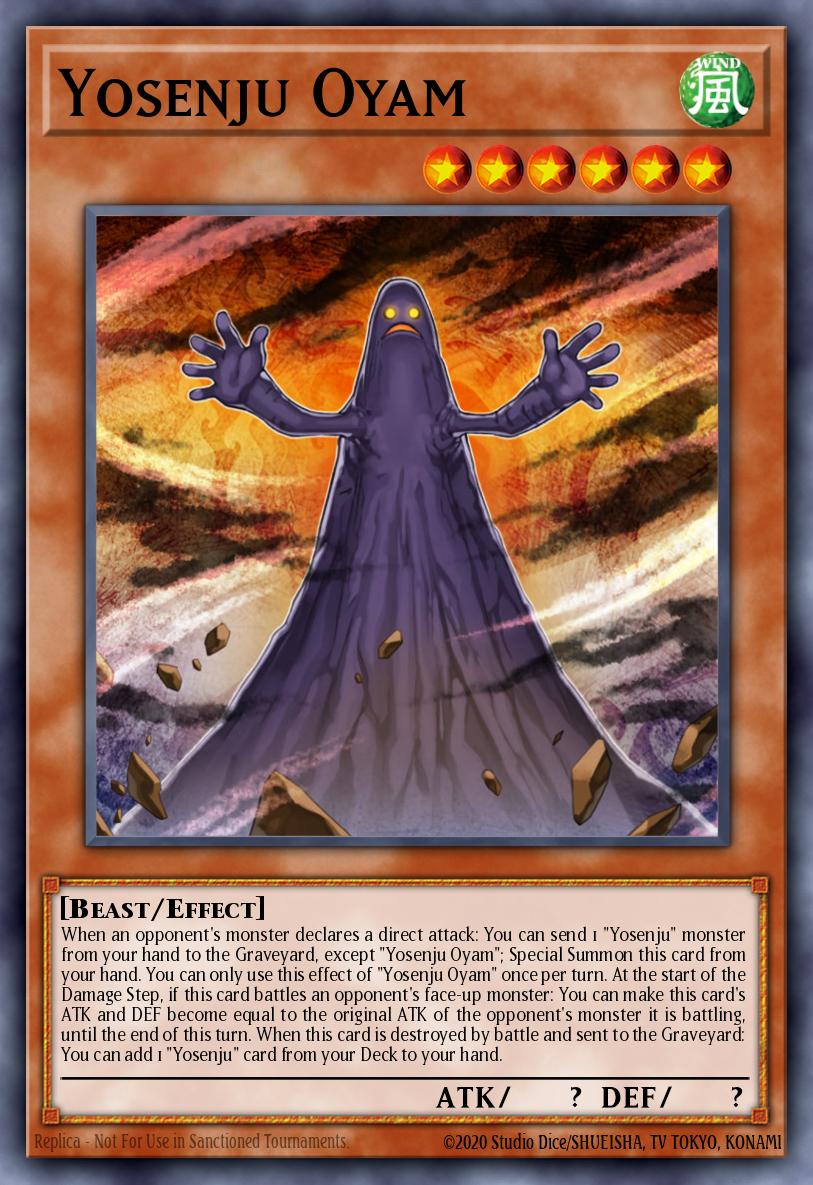
Yosenju Oyam (1-2x)

 WIND
6
WIND
6Yosenju Oyam
ATK:
0
DEF:
0
When an opponent's monster declares a direct attack: You can send 1 "Yosenju" monster from your hand to the Graveyard, except "Yosenju Oyam"; Special Summon this card from your hand. You can only use this effect of "Yosenju Oyam" once per turn. At the start of the Damage Step, if this card battles an opponent's face-up monster: You can make this card's ATK and DEF become equal to the original ATK of the opponent's monster it is battling, until the end of this turn. When this card is destroyed by battle and sent to the Graveyard: You can add 1 "Yosenju" card from your Deck to your hand.
This card can be a very good wall to protect your LP. Its ATK and DEF will always be the same as the attacking monster's original ATK. It will be weaker against monsters with higher ATK than their original ATK, but Oyam is essentially a search card when it is destroyed, so it is still a good result in most cases. cases.
Specially summon it in defense position if you want to block multiple attacks. Can be a good choice to special summon in ATK if your opponent only has 1 monster, even if they have ATK increasing effects. This allows you to get the search effect faster (Skill activation) so you can take some turns faster instead of stalling.
Yosenjus' Sword Sting (2-3x)

 Trap
Trap Normal
Yosenjus' Sword Sting
If you control no monsters: Reveal up to 2 "Yosenju" monsters with different names in your hand, then target the same number of face-up cards your opponent controls; return them to the hand. You can only activate 1 "Yosenjus' Sword Sting" per turn.
The greatness of Sword Sting in the Yonsenju versions cannot be disputed. This is a very strong trap card because you can eliminate all of your opponent's efforts after they invested a lot to bring out their main monster. Most Yosenju monsters return to your hand and this trap card has no effect on sending them to the grave, so you have a pretty good chance of using it often. It can stop your opponent's combo plays or simply return their backrow so you can safely attack the next turn.
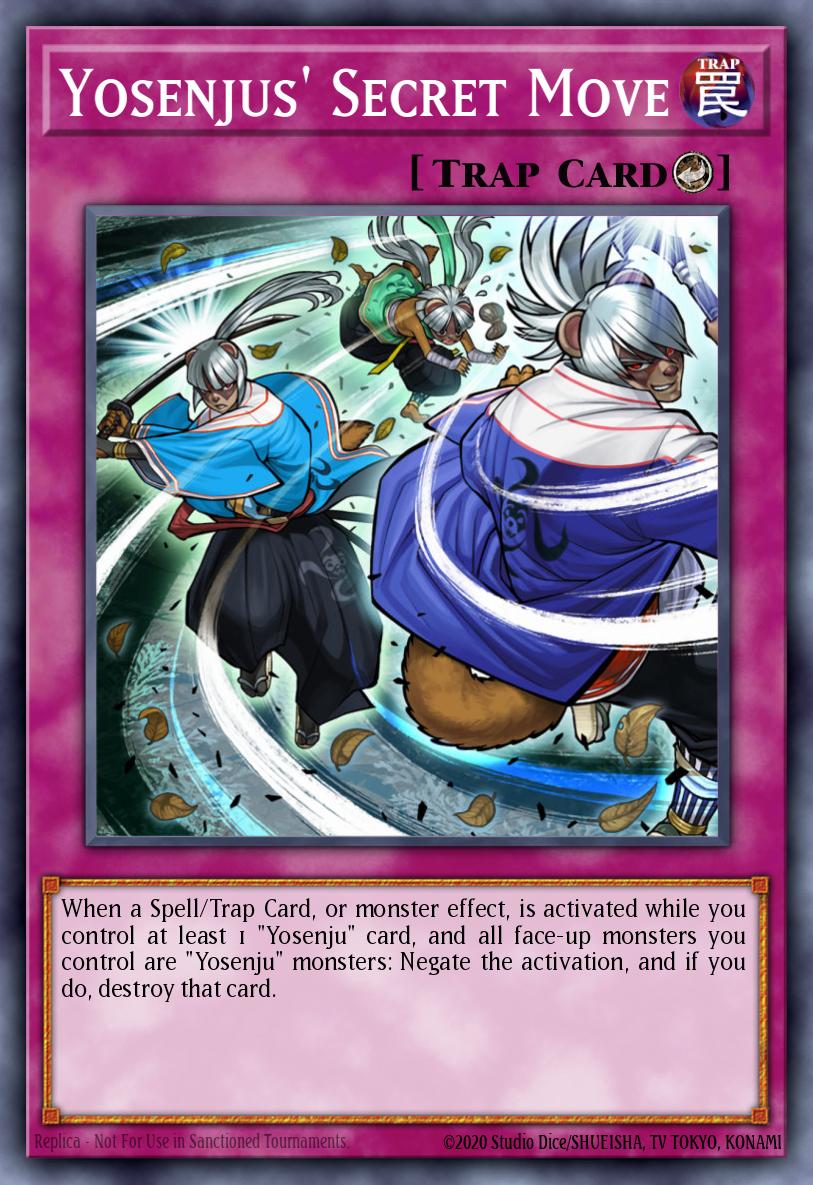
Yosenjus' Secret Move (2-3x)
 Trap
Trap Counter
Yosenjus' Secret Move
When a Spell/Trap Card, or monster effect, is activated while you control at least 1 "Yosenju" card, and all face-up monsters you control are "Yosenju" monsters: Negate the activation, and if you do, destroy that card.
This card can be used even if you have no Yonseju monsters in your monster zone. You can also use Yosenju as a Pendulum effect instead. And since this card is an archetype counter-trap card that works against almost anything, you can use it to stop a combo or to protect your monsters.
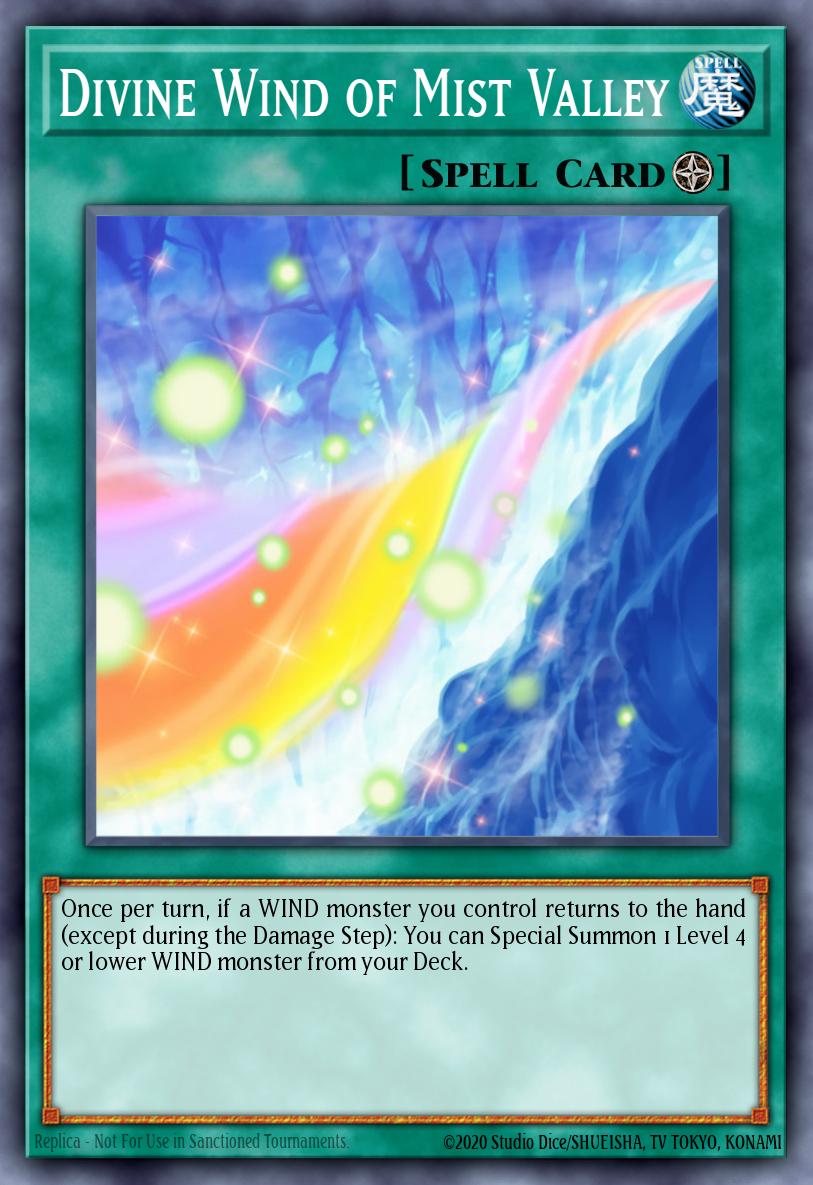
Divine Wind of Mist Valley (1-2x)
 Spell
Spell Field
FieldDivine Wind of Mist Valley
Once per turn, if a WIND monster you control returns to the hand (except during the Damage Step): You can Special Summon 1 Level 4 or lower WIND monster from your Deck.

Since Yosenju 's characteristic is to always return to the hand at the end of the turn, you can use this environmental magic card to give you additional protection. Can summon any level 4 or lower Yosenju card if a WIND monster returns to the hand. You can use it to carry Shinchus for defense and if they are destroyed, they will ultimately return to the Extra Deck and not the grave. So you won't worry much about not being able to recycle your beasts.
Extra Deck
Brotherhood of the Fire Fist - Tiger King (1x)
 FIRE
FIREBrotherhood of the Fire Fist - Tiger King
ATK:
2200
DEF:
1800
2 Level 4 Beast-Warrior monsters When this card is Xyz Summoned: You can Set 1 "Fire Formation" Spell/Trap directly from your Deck. Once per turn: You can detach 1 material from this card; negate the effects of all face-up Effect Monsters currently on the field, except Beast-Warriors, until the end of your opponent's turn. When this card is sent from the field to the GY: You can send 3 "Fire Formation" Spells/Traps you control to the GY; Special Summon 2 Level 4 or lower Beast-Warrior monsters with the same ATK from your Deck, in face-up Defense Position.
Low-level Yosenju monsters unrelated to Pendulum are all Beast Warriors-type, so this card will not ultimately neutralize your monsters, with the exception of high-level monsters. Can be situationally useful, but it also has higher attack power than the materials used to XYZ this card.
Abyss Dweller (1x)
 WATER
WATERAbyss Dweller
ATK:
1700
DEF:
1400
2 Level 4 monsters While this card has a material attached that was originally WATER, all WATER monsters you control gain 500 ATK. Once per turn (Quick Effect): You can detach 1 material from this card; your opponent cannot activate any card effects in their GY this turn.
Against some decks that rely on using their graveyard, you can summon this card to prevent their powerful follow-ups (e.g. Blue-Eyes ). Sometimes it may be worth summoning this card even though you will lose the Yosenju monsters.
Number 39: Utopia and Number C39: Utopia Ray (1x)
 LIGHT
LIGHTNumber 39: Utopia
ATK:
2500
DEF:
2000
2 Level 4 monsters When a monster declares an attack: You can detach 1 material from this card; negate the attack. If this card is targeted for an attack, while it has no material: Destroy this card.
 LIGHT
LIGHTNumber C39: Utopia Ray
ATK:
2500
DEF:
2000
3 Level 4 LIGHT monsters You can also Xyz Summon this card by using a "Number 39: Utopia" you control as the Xyz Material. (Xyz Materials attached to that monster also become Xyz Materials on this card.) You can detach 1 Xyz Material from this card; it gains 500 ATK and 1 monster your opponent controls loses 1000 ATK, until the End Phase. You must have 1000 Life Points or less to activate and to resolve this effect.
The uses of this Utopia Combo are unquestionable because of their general applicability to most decks. While Utopia can give you solid protection for 2 attacks and you can use it to summon Utopia Ray - an upgraded version of Utopia . Utopia Ray gives you the ability to turn the tide by separating materials from it that reduce enemy monster ATK, increasing your own ATK. To ensure your upstream turn with Utopia Ray , you should use it with Sword Sting to bring the opponent's backrow to your hand safely.
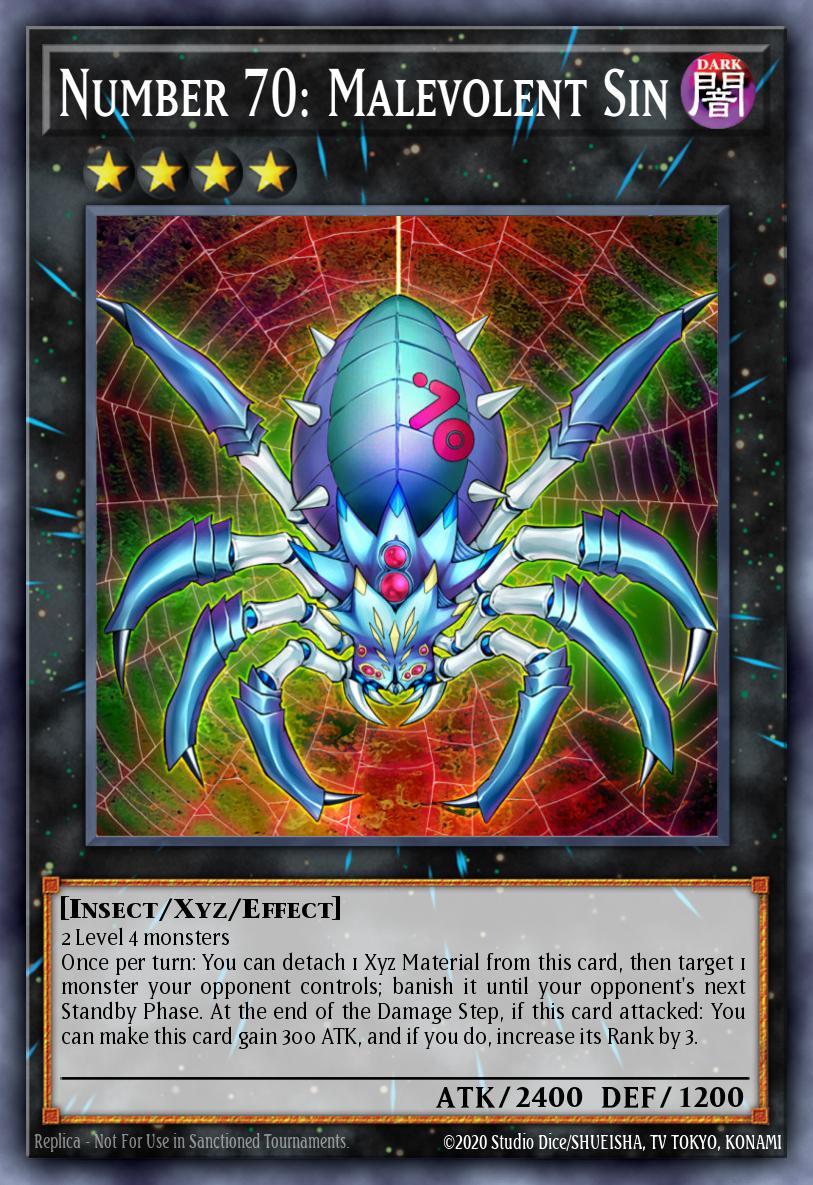
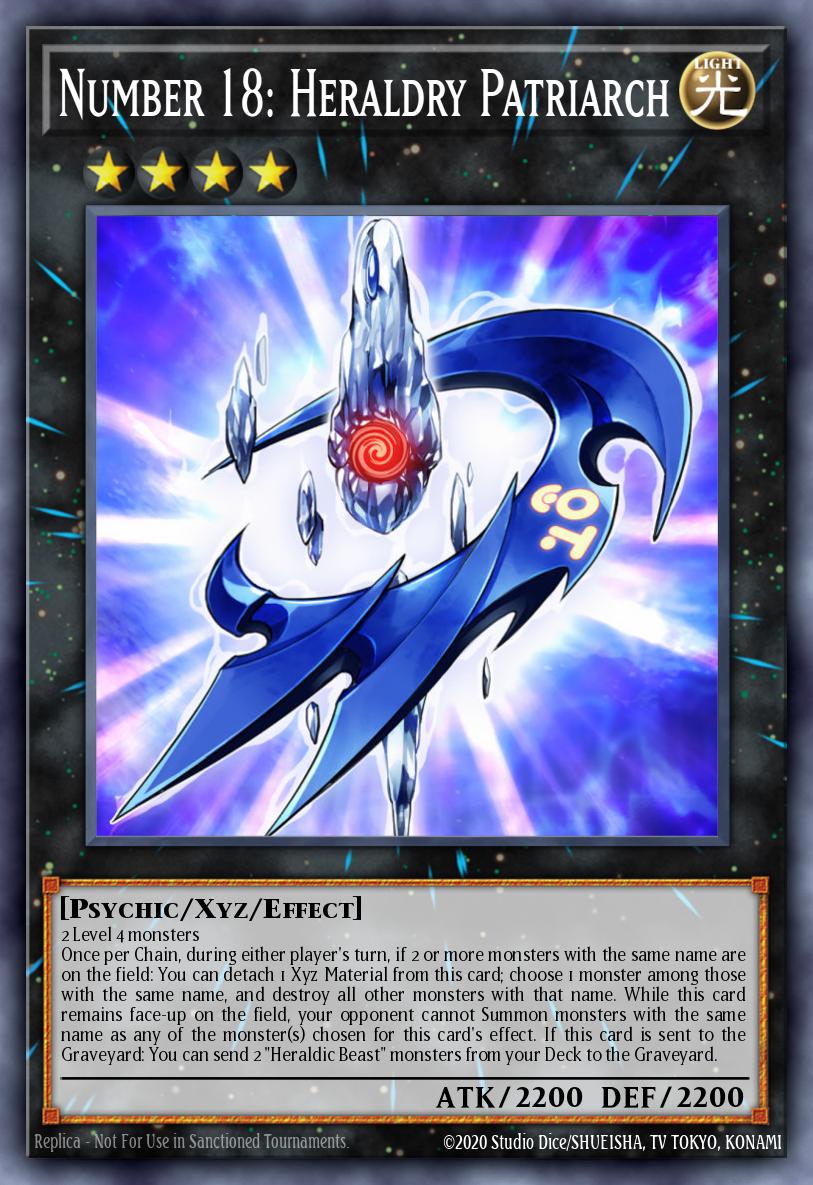
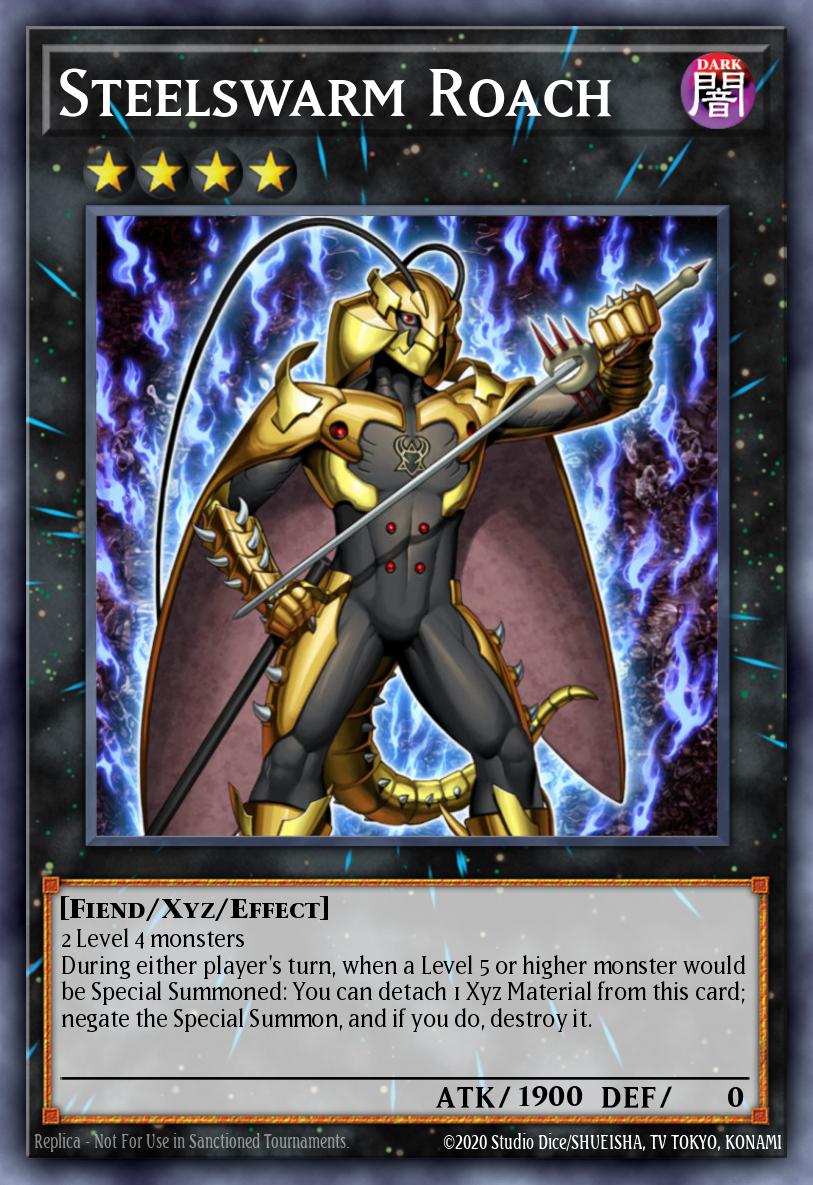
Number 70: Malevolent Sin, Number 18: Heraldry Patriarch and Steelswarm Roach (General techs for Extra Deck)
 DARK
DARKNumber 70: Malevolent Sin
ATK:
2400
DEF:
1200
2 Level 4 monsters Once per turn: You can detach 1 Xyz Material from this card, then target 1 monster your opponent controls; banish it until your opponent's next Standby Phase. At the end of the Damage Step, if this card attacked: You can make this card gain 300 ATK, and if you do, increase its Rank by 3.
 LIGHT
LIGHTNumber 18: Heraldry Patriarch
ATK:
2200
DEF:
2200
2 Level 4 monsters Once per Chain, during either player's turn, if 2 or more monsters with the same name are on the field: You can detach 1 Xyz Material from this card; choose 1 monster among those with the same name, and destroy all other monsters with that name. While this card remains face-up on the field, your opponent cannot Summon monsters with the same name as any of the monster(s) chosen for this card's effect. If this card is sent to the Graveyard: You can send 2 "Heraldic Beast" monsters from your Deck to the Graveyard.
 DARK
DARKSteelswarm Roach
ATK:
1900
DEF:
0
2 Level 4 monsters During either player's turn, when a Level 5 or higher monster would be Special Summoned: You can detach 1 Xyz Material from this card; negate the Special Summon, and if you do, destroy it.
These are cards that, in my opinion, would work very well for almost any deck. Each leaf will have its own ability. Let's take a look at their uses:
- As for Malevolent Sin , it works well against opponents who rely on a single strong main monster. Even if it's a temporary banishment, it can help secure some of your plays.
- As for Roach , it works quite well against decks that specifically summon a lot. You might consider summoning this on turn 1 if you know what your opponent might be playing.
- As for Heraldry Patriarch , it is best used against decks that use monsters that are considered the same name as monsters with different names. Decks like Harpies or Cyber Dragons will be very weak opponents to this card, but there aren't many other decks that this card can do better against so it wouldn't be too recommended to use this card.
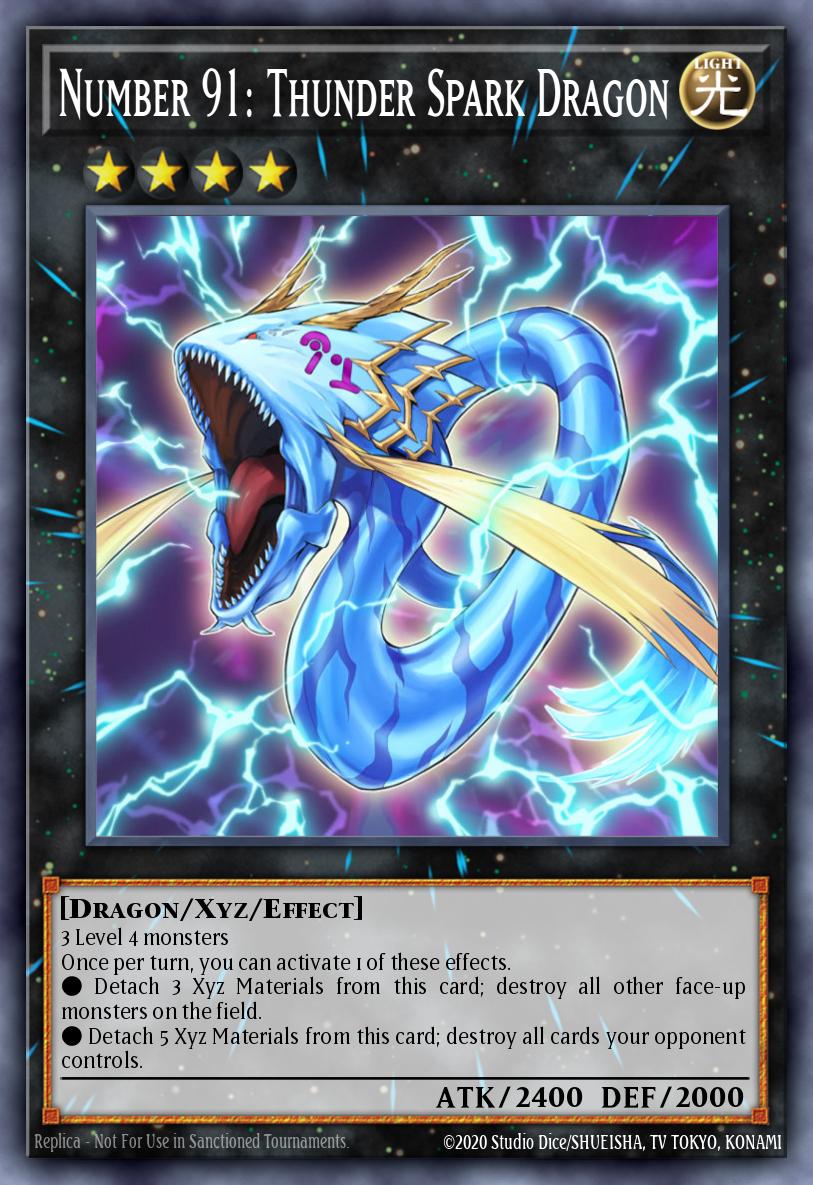
Number 91: Thunder Spark Dragon (1x)
 LIGHT
LIGHTNumber 91: Thunder Spark Dragon
ATK:
2400
DEF:
2000
3 Level 4 monsters Once per turn, you can activate 1 of these effects. ● Detach 3 Xyz Materials from this card; destroy all other face-up monsters on the field. ● Detach 5 Xyz Materials from this card; destroy all cards your opponent controls.
Useful when your opponent has an untargetable monster. Stall until you can get 3 lower level monsters so you can use its first effect.
Diamond Dire Wolf (1-2x)
 EARTH
EARTHDiamond Dire Wolf
ATK:
2000
DEF:
1200
2 Level 4 monsters Once per turn: You can detach 1 Xyz Material from this card, then target 1 Beast, Beast-Warrior, or Winged Beast-Type monster you control and 1 other card on the field; destroy them.
This card will be more useful to the deck due to its ability allowing you to use excess Yosenju to destroy an opponent's card and don't worry if you accidentally destroy Yonsenju Pendulum because after all they will return. return to the field thanks to Pendulum.
Techs
Battlin' Boxer Veil and Kiteroid (Handtrap controls LP)

 FIRE
4
FIRE
4Battlin' Boxer Veil
ATK:
0
DEF:
1800
When you take battle damage: You can Special Summon this card from your hand, and if you do, gain Life Points equal to the damage you took.

 WIND
1
WIND
1Kiteroid
ATK:
200
DEF:
400
During damage calculation, if your opponent's monster attacks directly (Quick Effect): You can discard this card; you take no battle damage from that battle. During damage calculation, if your opponent's monster attacks directly (Quick Effect): You can banish this card from your Graveyard; you take no battle damage from that battle.
The duo of protection and defense is extremely annoying in the current meta.
- Losing LP and then gaining Veil 's LP again gives you absolute defense and great LP control so you can activate your Skill countless times.
- Combined with the multiple protection of Kiteroid whether in hand or grave, this will always be the card you want to use in the most urgent of situations.
Volcanic Queen and Lava Golem (1-2x)
 FIRE
6
FIRE
6Volcanic Queen
ATK:
2500
DEF:
1200
This card cannot be Normal Summoned or Set. This card can only be Special Summoned from your hand to your opponent's side of the field by Tributing 1 monster your opponent controls. If you Special Summon this card, you cannot Normal Summon or Set this turn. Once per turn, you can send 1 other card you control to the Graveyard to inflict 1000 damage to your opponent. During your End Phase, either Tribute 1 other monster or take 1000 damage.
 FIRE
8
FIRE
8Lava Golem
ATK:
3000
DEF:
2500
Cannot be Normal Summoned/Set. Must first be Special Summoned (from your hand) to your opponent's field by Tributing 2 monsters they control. You cannot Normal Summon/Set the turn you Special Summon this card. Once per turn, during your Standby Phase: Take 1000 damage.
Combo locks the main field of this deck. If you feel that the Yosenju's effects are not enough, try considering using these two cards in your deck to push away annoying monsters on your opponent's field. Then use Daibak to return them to your hand because after all when they return to hand, they will be considered your monsters. Not to mention, after you summon Lava Golem or Volcanic Queen , they do not allow you to continue to Normal summon and set monster cards but it will be a different case with special summons. Based on the Pendulum summon, continuing to summon your Yosenju monsters is a breeze. As such, they would be perfect to use these cards for a Mayosenju deck
Photon Cerberus (1x)
 LIGHT
3
LIGHT
3Photon Cerberus
ATK:
1300
DEF:
600
During the turn this card was Normal Summoned, neither player can activate Trap Cards while this card is face-up on the field.
You will ask questions. Why use a non-archetypal Photon card in this deck? The answer is very simple. Daibak ! Photon Ceberus combines very well with Daiba k in a combo that destroys your opponent's backrows. Therefore, it would be good to carry it with you, in case of situations you cannot foresee. You can remove this card easily by adjusting LP and using Skill Destiny Draw .
Combos
Yosenju Shinchu R, Yosenju Shinchu L and Mayosenju Daibak (Combo #1)
WIND
45Yosenju Shinchu R
ATK:
0
DEF:
2100
[ Pendulum Effect ] Once per turn, if you have a "Yosenju" card in your other Pendulum Zone: You can make this card's Pendulum Scale become 11 until the end of this turn, also you cannot Special Summon monsters for the rest of this turn, except "Yosenju" monsters (even if this card leaves the field). [ Monster Effect ] If this card is Normal Summoned: Change it to Defense Position. Monsters your opponent controls cannot target face-up "Yosenju" monsters for attacks, except this one.
WIND
43Yosenju Shinchu L
ATK:
0
DEF:
2100
[ Pendulum Effect ] If a "Yosenju" monster(s) you control would be destroyed by battle or card effect, you can destroy this card instead. [ Monster Effect ] If this card is Normal Summoned: Change it to Defense Position. Your opponent cannot target "Yosenju" monsters you control with card effects, except this one.
WIND
107Mayosenju Daibak
ATK:
3000
DEF:
300
[ Pendulum Effect ] When a "Yosenju" monster you control declares an attack: You can have that attacking monster gain 300 ATK until the end of the Battle Phase. [ Monster Effect ] Cannot be Special Summoned, except by Pendulum Summon. This card's Pendulum Summon cannot be negated. If this card is Normal or Special Summoned: You can target up to 2 cards on the field; return them to the hand. Once per turn, during the End Phase, if this card was Special Summoned this turn: Return it to the hand.
This is the main Pendulum combo you'll want to use for this deck. Prepare your Pendulum area with Shinchu L and R . Summon Daibak (If you have 2 Daibak cards in your hand, summon them both because Daibak's effect will be activated every time it is summoned so you can use it countless times). Use Daibak to return your opponent's backrows to your hand and if you have a second Daibak, use it to return Shinchu R and one of your opponent's monster cards to your hand. Your last job is to OTK them if you have another monster besides Daibak on the field.
Yosenju Shinchu R, Mayosenju Hitot and Yosenju Shinchu L (Combo #2)
WIND
45Yosenju Shinchu R
ATK:
0
DEF:
2100
[ Pendulum Effect ] Once per turn, if you have a "Yosenju" card in your other Pendulum Zone: You can make this card's Pendulum Scale become 11 until the end of this turn, also you cannot Special Summon monsters for the rest of this turn, except "Yosenju" monsters (even if this card leaves the field). [ Monster Effect ] If this card is Normal Summoned: Change it to Defense Position. Monsters your opponent controls cannot target face-up "Yosenju" monsters for attacks, except this one.
WIND
103Mayosenju Hitot
ATK:
2000
DEF:
3000
[ Pendulum Effect ] You can target 1 "Yosenju" card in your Pendulum Zone; for the rest of this turn, its Pendulum Scale becomes 11, also you cannot Special Summon monsters, except "Yosenju" monsters (even if this card leaves the field). During your End Phase: Return this card to the hand. You can only use each Pendulum Effect of "Mayosenju Hitot" once per turn. [ Monster Effect ] Cannot be Special Summoned, except by Pendulum Summon. If this card is Normal or Special Summoned: You can target 1 card your opponent controls; return it to the hand. Each time a card(s) on the field is returned to the hand or Main Deck by your card effect, while this card is on the field: All "Yosenju" monsters you currently control gain 500 ATK. Once per turn, during the End Phase, if this card was Special Summoned this turn: Return it to the hand.
WIND
43Yosenju Shinchu L
ATK:
0
DEF:
2100
[ Pendulum Effect ] If a "Yosenju" monster(s) you control would be destroyed by battle or card effect, you can destroy this card instead. [ Monster Effect ] If this card is Normal Summoned: Change it to Defense Position. Your opponent cannot target "Yosenju" monsters you control with card effects, except this one.
Bringing Hitot onto the field is mainly so you can increase Daibak 's ATK and the additional reward is returning a card from the field to your hand (can be Veil or an opponent's card, depending on the situation you choose).
Battlin' Boxer Veil and Mayosenju Daibak (Combo #3)
FIRE
4Battlin' Boxer Veil
ATK:
0
DEF:
1800
When you take battle damage: You can Special Summon this card from your hand, and if you do, gain Life Points equal to the damage you took.
WIND
107Mayosenju Daibak
ATK:
3000
DEF:
300
[ Pendulum Effect ] When a "Yosenju" monster you control declares an attack: You can have that attacking monster gain 300 ATK until the end of the Battle Phase. [ Monster Effect ] Cannot be Special Summoned, except by Pendulum Summon. This card's Pendulum Summon cannot be negated. If this card is Normal or Special Summoned: You can target up to 2 cards on the field; return them to the hand. Once per turn, during the End Phase, if this card was Special Summoned this turn: Return it to the hand.
You'll want to use Veil to adjust your LP and activate the Skill to bring Daibak to your hand. Summon Daibak to bring Veil and 1 of your opponent's cards back to your hand (if Daibak is destroyed, don't worry too much, it will be summoned again from the Extra Deck). Bringing Veil to your hand like this provides you with an extremely useful repeated protection to repeatedly activate your Skill (depending on the Skill you choose) or simply to let you survive multiple turns.
Photon Cerberus, Lava Golem and Mayosenju Daibak (Combo #4)
LIGHT
3Photon Cerberus
ATK:
1300
DEF:
600
During the turn this card was Normal Summoned, neither player can activate Trap Cards while this card is face-up on the field.
FIRE
8Lava Golem
ATK:
3000
DEF:
2500
Cannot be Normal Summoned/Set. Must first be Special Summoned (from your hand) to your opponent's field by Tributing 2 monsters they control. You cannot Normal Summon/Set the turn you Special Summon this card. Once per turn, during your Standby Phase: Take 1000 damage.
WIND
107Mayosenju Daibak
ATK:
3000
DEF:
300
[ Pendulum Effect ] When a "Yosenju" monster you control declares an attack: You can have that attacking monster gain 300 ATK until the end of the Battle Phase. [ Monster Effect ] Cannot be Special Summoned, except by Pendulum Summon. This card's Pendulum Summon cannot be negated. If this card is Normal or Special Summoned: You can target up to 2 cards on the field; return them to the hand. Once per turn, during the End Phase, if this card was Special Summoned this turn: Return it to the hand.
When your opponent has 2 monsters on the field, you will want to use Lava Golem or Volcanic Queen to bring them to the grave and special summon these cards to your opponent's field. Then normal summon Ceberus , the purpose is to prevent the opponent from using trap cards. You then summon Daibak to bring that backrow to your opponent's hand and Lava Golem / Volcanic Queen to your hand. Finally, you can proceed with OTK.
Mayosenju Hitot, Yosenju Shinchu L and Mayosenju Daibak (Combo #5)
WIND
103Mayosenju Hitot
ATK:
2000
DEF:
3000
[ Pendulum Effect ] You can target 1 "Yosenju" card in your Pendulum Zone; for the rest of this turn, its Pendulum Scale becomes 11, also you cannot Special Summon monsters, except "Yosenju" monsters (even if this card leaves the field). During your End Phase: Return this card to the hand. You can only use each Pendulum Effect of "Mayosenju Hitot" once per turn. [ Monster Effect ] Cannot be Special Summoned, except by Pendulum Summon. If this card is Normal or Special Summoned: You can target 1 card your opponent controls; return it to the hand. Each time a card(s) on the field is returned to the hand or Main Deck by your card effect, while this card is on the field: All "Yosenju" monsters you currently control gain 500 ATK. Once per turn, during the End Phase, if this card was Special Summoned this turn: Return it to the hand.
WIND
43Yosenju Shinchu L
ATK:
0
DEF:
2100
[ Pendulum Effect ] If a "Yosenju" monster(s) you control would be destroyed by battle or card effect, you can destroy this card instead. [ Monster Effect ] If this card is Normal Summoned: Change it to Defense Position. Your opponent cannot target "Yosenju" monsters you control with card effects, except this one.
WIND
107Mayosenju Daibak
ATK:
3000
DEF:
300
[ Pendulum Effect ] When a "Yosenju" monster you control declares an attack: You can have that attacking monster gain 300 ATK until the end of the Battle Phase. [ Monster Effect ] Cannot be Special Summoned, except by Pendulum Summon. This card's Pendulum Summon cannot be negated. If this card is Normal or Special Summoned: You can target up to 2 cards on the field; return them to the hand. Once per turn, during the End Phase, if this card was Special Summoned this turn: Return it to the hand.
You may want to use Hitot to place in the Pendulum zone with Shinchu L , summoning Daibak afterwards to bring Shinchu L and a card from your opponent's field back to your hand. Execute your Battle Phase. After the turn ends, Hitot will return to your hand. So you won't worry too much about the Yosenju cards being destroyed or banished, but what you will need to worry about is your LP. That's why this deck will need a lot of handtraps to defend against being directly attacked by the opponent's monsters many times.
Yosenjus' Sword Sting, Mayosenju Hitot and Mayosenju Daibak (Combo #6)
Trap
NormalYosenjus' Sword Sting
If you control no monsters: Reveal up to 2 "Yosenju" monsters with different names in your hand, then target the same number of face-up cards your opponent controls; return them to the hand. You can only activate 1 "Yosenjus' Sword Sting" per turn.
WIND
103Mayosenju Hitot
ATK:
2000
DEF:
3000
[ Pendulum Effect ] You can target 1 "Yosenju" card in your Pendulum Zone; for the rest of this turn, its Pendulum Scale becomes 11, also you cannot Special Summon monsters, except "Yosenju" monsters (even if this card leaves the field). During your End Phase: Return this card to the hand. You can only use each Pendulum Effect of "Mayosenju Hitot" once per turn. [ Monster Effect ] Cannot be Special Summoned, except by Pendulum Summon. If this card is Normal or Special Summoned: You can target 1 card your opponent controls; return it to the hand. Each time a card(s) on the field is returned to the hand or Main Deck by your card effect, while this card is on the field: All "Yosenju" monsters you currently control gain 500 ATK. Once per turn, during the End Phase, if this card was Special Summoned this turn: Return it to the hand.
WIND
107Mayosenju Daibak
ATK:
3000
DEF:
300
[ Pendulum Effect ] When a "Yosenju" monster you control declares an attack: You can have that attacking monster gain 300 ATK until the end of the Battle Phase. [ Monster Effect ] Cannot be Special Summoned, except by Pendulum Summon. This card's Pendulum Summon cannot be negated. If this card is Normal or Special Summoned: You can target up to 2 cards on the field; return them to the hand. Once per turn, during the End Phase, if this card was Special Summoned this turn: Return it to the hand.
The most annoying combo of the deck is still these guys. You will have 2 cases of using this combo:
- Let's say you have Sword Sting ready on the field on your turn. When it's your opponent's turn, activate Sword Sting to prevent your opponent from performing their combo (usually timing is important for this card). After that, the opponent will only have to set backrows - this is their only option because usually the cards that Sword Sting returns are usually always the opponent's monsters. The only thing left is to wait for your turn, summon the Mayosenju and return the backrows to their hands and OTK.
- You will summon Mayosenju to bring their monsters and backrows to your hand first (depending on the options available on the field) and perform your high-damage attack. Remember to set Sword Sting before attacking. Then when it's your opponent's turn (if they survive), you'll wait after they perform their summon combo and activate Sword Sting to return them to the hand again. Because of this discomfort, the only thing the other person can do is surrender to you.
Final thoughts
I really don't understand why many people say the Mayosenju version is weaker than its older version, the Yosenju, but in reality, using this version of Pendulum is very strong and can completely become one of the decks. Most competitive in Duel Links. However, it only has one weakness: brick hands, but after all, isn't every deck going to have brick hands? Therefore, I hope that after reading this guide, you will have a different view of Mayosenju and have more respect for them. This is really a good and F2P deck for newbies and if you encounter brick hands too many times? As a certain legendary player once said, "Believe in the faith of the cards, my friend" ;)
Companion unit:
duel-links
31
5
Spell
FieldDivine Wind of Mist Valley
Once per turn, if a WIND monster you control returns to the hand (except during the Damage Step): You can Special Summon 1 Level 4 or lower WIND monster from your Deck.
WIND
6Yosenju Oyam
ATK:
0
DEF:
0
When an opponent's monster declares a direct attack: You can send 1 "Yosenju" monster from your hand to the Graveyard, except "Yosenju Oyam"; Special Summon this card from your hand. You can only use this effect of "Yosenju Oyam" once per turn. At the start of the Damage Step, if this card battles an opponent's face-up monster: You can make this card's ATK and DEF become equal to the original ATK of the opponent's monster it is battling, until the end of this turn. When this card is destroyed by battle and sent to the Graveyard: You can add 1 "Yosenju" card from your Deck to your hand.
Neo New Sylvio (Skill Card)
ATK:
0
DEF:
0
At the beginning of the Duel, add 1 "Yosenju Shinchu L", and 1 "Yosenju Shinchu R" to the bottom of your Deck. In addition, the following effect can be used once per Duel after your Life Points decrease by 2000. Return 1 "Yosenju" card in your hand to your Deck and add 1 "Yosenju Oroshi Channeling" to your hand from outside of your Deck. This Skill can only be used if you begin the Duel with a Deck that contains at least 9 "Yosenju" cards. (Extra Deck does not count.)
WIND
45Yosenju Shinchu R
ATK:
0
DEF:
2100
[ Pendulum Effect ] Once per turn, if you have a "Yosenju" card in your other Pendulum Zone: You can make this card's Pendulum Scale become 11 until the end of this turn, also you cannot Special Summon monsters for the rest of this turn, except "Yosenju" monsters (even if this card leaves the field). [ Monster Effect ] If this card is Normal Summoned: Change it to Defense Position. Monsters your opponent controls cannot target face-up "Yosenju" monsters for attacks, except this one.
Trap
NormalYosenjus' Sword Sting
If you control no monsters: Reveal up to 2 "Yosenju" monsters with different names in your hand, then target the same number of face-up cards your opponent controls; return them to the hand. You can only activate 1 "Yosenjus' Sword Sting" per turn.
DARKNumber 70: Malevolent Sin
ATK:
2400
DEF:
1200
2 Level 4 monsters Once per turn: You can detach 1 Xyz Material from this card, then target 1 monster your opponent controls; banish it until your opponent's next Standby Phase. At the end of the Damage Step, if this card attacked: You can make this card gain 300 ATK, and if you do, increase its Rank by 3.
FIRE
6Volcanic Queen
ATK:
2500
DEF:
1200
This card cannot be Normal Summoned or Set. This card can only be Special Summoned from your hand to your opponent's side of the field by Tributing 1 monster your opponent controls. If you Special Summon this card, you cannot Normal Summon or Set this turn. Once per turn, you can send 1 other card you control to the Graveyard to inflict 1000 damage to your opponent. During your End Phase, either Tribute 1 other monster or take 1000 damage.
WIND
103Mayosenju Hitot
ATK:
2000
DEF:
3000
[ Pendulum Effect ] You can target 1 "Yosenju" card in your Pendulum Zone; for the rest of this turn, its Pendulum Scale becomes 11, also you cannot Special Summon monsters, except "Yosenju" monsters (even if this card leaves the field). During your End Phase: Return this card to the hand. You can only use each Pendulum Effect of "Mayosenju Hitot" once per turn. [ Monster Effect ] Cannot be Special Summoned, except by Pendulum Summon. If this card is Normal or Special Summoned: You can target 1 card your opponent controls; return it to the hand. Each time a card(s) on the field is returned to the hand or Main Deck by your card effect, while this card is on the field: All "Yosenju" monsters you currently control gain 500 ATK. Once per turn, during the End Phase, if this card was Special Summoned this turn: Return it to the hand.
FIREBrotherhood of the Fire Fist - Tiger King
ATK:
2200
DEF:
1800
2 Level 4 Beast-Warrior monsters When this card is Xyz Summoned: You can Set 1 "Fire Formation" Spell/Trap directly from your Deck. Once per turn: You can detach 1 material from this card; negate the effects of all face-up Effect Monsters currently on the field, except Beast-Warriors, until the end of your opponent's turn. When this card is sent from the field to the GY: You can send 3 "Fire Formation" Spells/Traps you control to the GY; Special Summon 2 Level 4 or lower Beast-Warrior monsters with the same ATK from your Deck, in face-up Defense Position.
WATERAbyss Dweller
ATK:
1700
DEF:
1400
2 Level 4 monsters While this card has a material attached that was originally WATER, all WATER monsters you control gain 500 ATK. Once per turn (Quick Effect): You can detach 1 material from this card; your opponent cannot activate any card effects in their GY this turn.
WIND
4Yosenju Kama 1
ATK:
1600
DEF:
500
If this card is Normal Summoned, you can: Immediately after this effect resolves, Normal Summon 1 "Yosenju" monster from your hand, except "Yosenju Kama 1". If you control another "Yosenju" monster: You can target 1 face-up card your opponent controls; return it to the hand. This effect can only be used once while this card is face-up on the field. Once per turn, during the End Phase, if this card was Normal Summoned this turn: Return it to the hand.
Trap
CounterYosenjus' Secret Move
When a Spell/Trap Card, or monster effect, is activated while you control at least 1 "Yosenju" card, and all face-up monsters you control are "Yosenju" monsters: Negate the activation, and if you do, destroy that card.
LIGHTNumber 39: Utopia
ATK:
2500
DEF:
2000
2 Level 4 monsters When a monster declares an attack: You can detach 1 material from this card; negate the attack. If this card is targeted for an attack, while it has no material: Destroy this card.
LIGHT
3Photon Cerberus
ATK:
1300
DEF:
600
During the turn this card was Normal Summoned, neither player can activate Trap Cards while this card is face-up on the field.
FIRE
8Lava Golem
ATK:
3000
DEF:
2500
Cannot be Normal Summoned/Set. Must first be Special Summoned (from your hand) to your opponent's field by Tributing 2 monsters they control. You cannot Normal Summon/Set the turn you Special Summon this card. Once per turn, during your Standby Phase: Take 1000 damage.
LIGHTNumber 18: Heraldry Patriarch
ATK:
2200
DEF:
2200
2 Level 4 monsters Once per Chain, during either player's turn, if 2 or more monsters with the same name are on the field: You can detach 1 Xyz Material from this card; choose 1 monster among those with the same name, and destroy all other monsters with that name. While this card remains face-up on the field, your opponent cannot Summon monsters with the same name as any of the monster(s) chosen for this card's effect. If this card is sent to the Graveyard: You can send 2 "Heraldic Beast" monsters from your Deck to the Graveyard.
Blowing Up Yosen (Skill Card)
ATK:
0
DEF:
0
Select 1 "Yosen Training Grounds" you control and place Yosen Counter(s) on it equal to the number of "Yosenju" monsters on your field. This Skill can only be used once per Duel. In addition, add a Pendulum Zone to your field if you began the Duel with a Deck that has 9 or more "Yosenju" monsters. (Extra Deck does not count.)
LIGHTNumber C39: Utopia Ray
ATK:
2500
DEF:
2000
3 Level 4 LIGHT monsters You can also Xyz Summon this card by using a "Number 39: Utopia" you control as the Xyz Material. (Xyz Materials attached to that monster also become Xyz Materials on this card.) You can detach 1 Xyz Material from this card; it gains 500 ATK and 1 monster your opponent controls loses 1000 ATK, until the End Phase. You must have 1000 Life Points or less to activate and to resolve this effect.
LIGHTNumber 91: Thunder Spark Dragon
ATK:
2400
DEF:
2000
3 Level 4 monsters Once per turn, you can activate 1 of these effects. ● Detach 3 Xyz Materials from this card; destroy all other face-up monsters on the field. ● Detach 5 Xyz Materials from this card; destroy all cards your opponent controls.
DARKSteelswarm Roach
ATK:
1900
DEF:
0
2 Level 4 monsters During either player's turn, when a Level 5 or higher monster would be Special Summoned: You can detach 1 Xyz Material from this card; negate the Special Summon, and if you do, destroy it.
FIRE
4Battlin' Boxer Veil
ATK:
0
DEF:
1800
When you take battle damage: You can Special Summon this card from your hand, and if you do, gain Life Points equal to the damage you took.
EARTHDiamond Dire Wolf
ATK:
2000
DEF:
1200
2 Level 4 monsters Once per turn: You can detach 1 Xyz Material from this card, then target 1 Beast, Beast-Warrior, or Winged Beast-Type monster you control and 1 other card on the field; destroy them.
WIND
4Yosenju Izna
ATK:
800
DEF:
1200
Once per turn, during the End Phase, if this card was Normal Summoned this turn: Return it to the hand. You can only use each of the following effects of "Yosenju Izna" once per turn. ● You can discard this card; this turn, your opponent cannot activate cards or effects when a "Yosenju" monster(s) is Normal or Special Summoned. ● If you control another "Yosenju" monster: You can draw 1 card.
WIND
4Yosenju Kama 3
ATK:
1500
DEF:
800
If this card is Normal Summoned, you can: Immediately after this effect resolves, Normal Summon 1 "Yosenju" monster from your hand, except "Yosenju Kama 3". When another "Yosenju" monster you control inflicts battle damage to your opponent: You can add 1 "Yosenju" card from your Deck to your hand, except "Yosenju Kama 3". You can only use this effect of "Yosenju Kama 3" once per turn. Once per turn, during the End Phase, if this card was Normal Summoned this turn: Return it to the hand.
WIND
1Kiteroid
ATK:
200
DEF:
400
During damage calculation, if your opponent's monster attacks directly (Quick Effect): You can discard this card; you take no battle damage from that battle. During damage calculation, if your opponent's monster attacks directly (Quick Effect): You can banish this card from your Graveyard; you take no battle damage from that battle.
WIND
43Yosenju Shinchu L
ATK:
0
DEF:
2100
[ Pendulum Effect ] If a "Yosenju" monster(s) you control would be destroyed by battle or card effect, you can destroy this card instead. [ Monster Effect ] If this card is Normal Summoned: Change it to Defense Position. Your opponent cannot target "Yosenju" monsters you control with card effects, except this one.
WIND
107Mayosenju Daibak
ATK:
3000
DEF:
300
[ Pendulum Effect ] When a "Yosenju" monster you control declares an attack: You can have that attacking monster gain 300 ATK until the end of the Battle Phase. [ Monster Effect ] Cannot be Special Summoned, except by Pendulum Summon. This card's Pendulum Summon cannot be negated. If this card is Normal or Special Summoned: You can target up to 2 cards on the field; return them to the hand. Once per turn, during the End Phase, if this card was Special Summoned this turn: Return it to the hand.
WIND
4Yosenju Kama 2
ATK:
1800
DEF:
200
If this card is Normal Summoned, you can: Immediately after this effect resolves, Normal Summon 1 "Yosenju" monster from your hand, except "Yosenju Kama 2". This card can attack your opponent directly, but when it does so using this effect, the battle damage inflicted to your opponent is halved. Once per turn, during the End Phase, if this card was Normal Summoned this turn: Return it to the hand.
Menu
https://metaduelist.com/