


If there is a Deck that makes good use of the hit-and-run strategy, then Yosenju is the archetype that best perfects it. The monsters' ability to return to hand at the end of the turn makes their ability to swarm the field quite annoying, unless players seek to catch these slippery Main Deck monsters (never mind the bonus power). additions in the Extra Deck), they can just cunning their way to victory. So, this tutorial will give you a better understanding of the Yosenju series and how you can use them.

Sections covered in this guide:
overview
“Yosenju” is an archetype primarily of WIND Beast and Beast-Warrior monsters that have the ability to quickly flood the field via sequential Normal Summons, but, similar to Spirit monsters, they often return hand in End Phase.
The strategy of this deck is quite simple: we will continuously empty our opponent's field by returning monsters as well as Spell and Trap Cards to their hand until we can finish them off.
STRENGTH
- Most players will have difficulty trying to destroy these archetypal beasts due to their constant turnover.
- There is almost no need for high-level monsters in the Main Deck so there is no difficulty in capturing monsters on the field from Normal Summon alone.
- Rank 4 Xyz monsters are some of the best Extra Deck monsters in the game, and Yosenju uses them a lot due to most of the monsters being Level 4.
WEAKNESS
- Because it is a Spirit monster, the Yosenju monster's ability to return to the hand will leave your field empty and without solid protection. Therefore, you will need a lot of cards to help preserve your life (not to mention it will cost a lot of money).
Skills
Up for the Fight
A form of ATK supplement like The Tie that Binds but it will not increase ATK as much as The Tie that Binds. Instead, it will be a perfect replacement Skill for this deck.
Draw Sense: WIND
In some cases, it would be nice to draw a Yosenju monster card without having to worry about drawing another card by mistake. Use this Skill and add Yosenju forces to your hand to start their OTK combo.
Destiny Draw (Skill Card) (94% used)

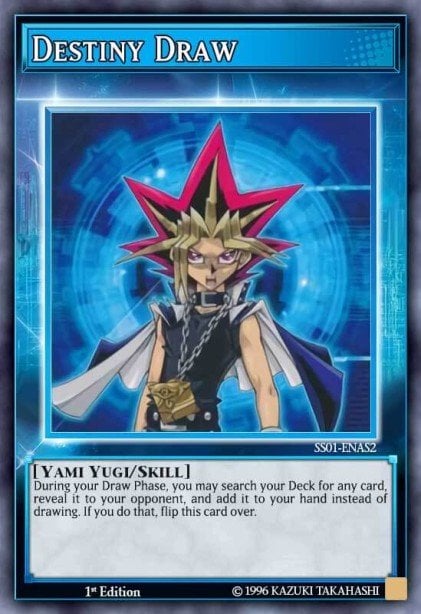
It's worth mentioning how popular Destiny Draw is in the Duel Links world. The ability to give you important cards to decide the match is also too strong. If you encounter a situation where you cannot get a card that breaks the backrow, you can at least use this Skill to bring Sword Sting to your hand and use it to knock back your opponent's backrow and monsters to your hand and cause they have their combo interrupted. Helps you get a magical turn around the situation.
The Tie that Binds (65% used)

A small buff to the ATK of Yosenju monsters is not a weak ability either. This skill will help you ensure more OTK turns if facing monsters with high ATK without any backrow protection.
Neo New Sylvio (Skill Card) and Blowing Up Yosen (Skill Card) (60% used)


The world of Pendulum has been launched and Yosenju will not be without its original owner, the "clown lord" Sylvio Sawatari. The launch of this character will add a lot of support to the Yosenju line, especially allowing them to be summoned in Pendulum form, making their rotation on the field easier.
Core Cards
Yosenju Kama 1 (3x)

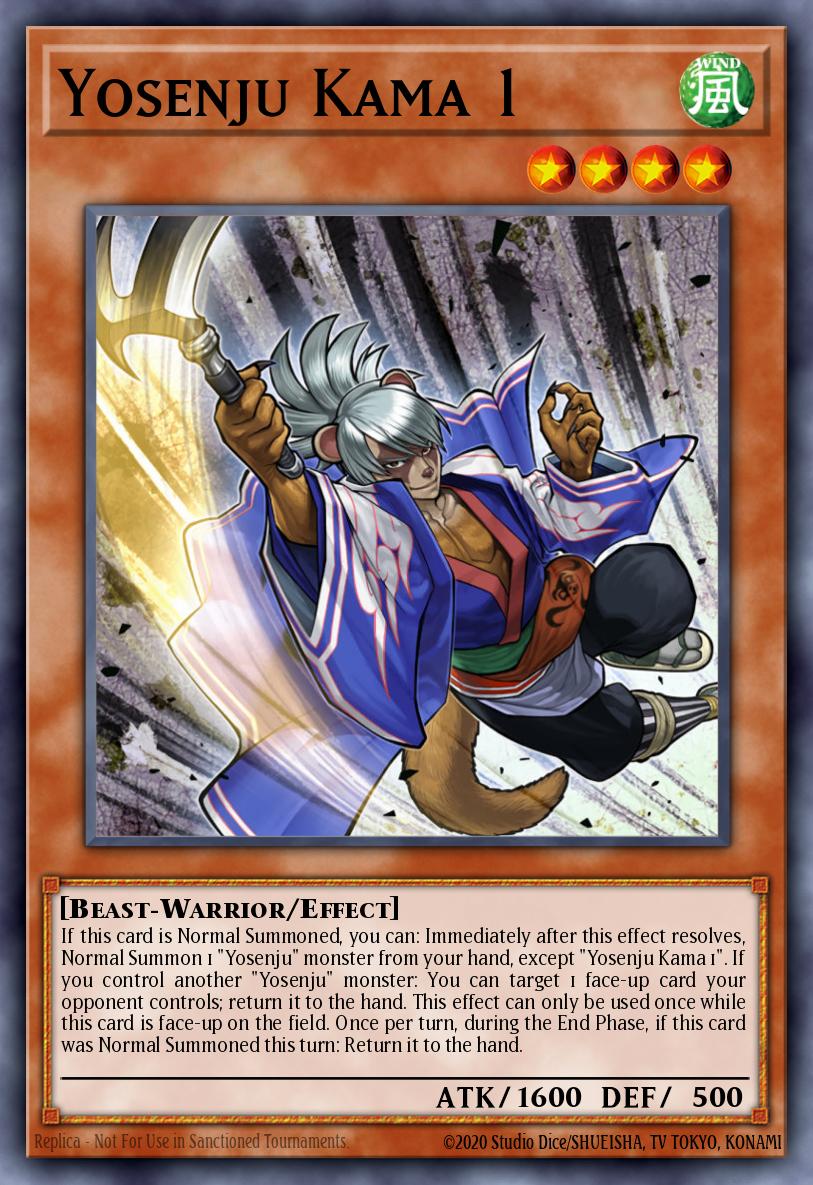
Yosenju Kama 1 works like Kama 2 and 3: if Normal Summoned, it allows you to Normal Summon another “Yosenju” monster from your hand. The unique addition of another monster that can start a Normal Summon chain is huge for this archetype line as it directly translates into a significantly increased consistency, but that's obviously not the only thing Most Kama 1 took to the field.
If you control another “Yosenju” monster, Yosenju Kama 1 allows you to target 1 face-up card your opponent controls and return it to them. Additional removal can be used to allow one of your monsters to directly attack your opponent (synergy with Yosenju Kama 3 ) and potentially end the match very early. There's even some potential synergy here with Lava Golem that I won't go into because I think this card can be awkward to use in this deck at times.
Yosenju Kama 3 and Yosenju Kama 2 (1-2x)
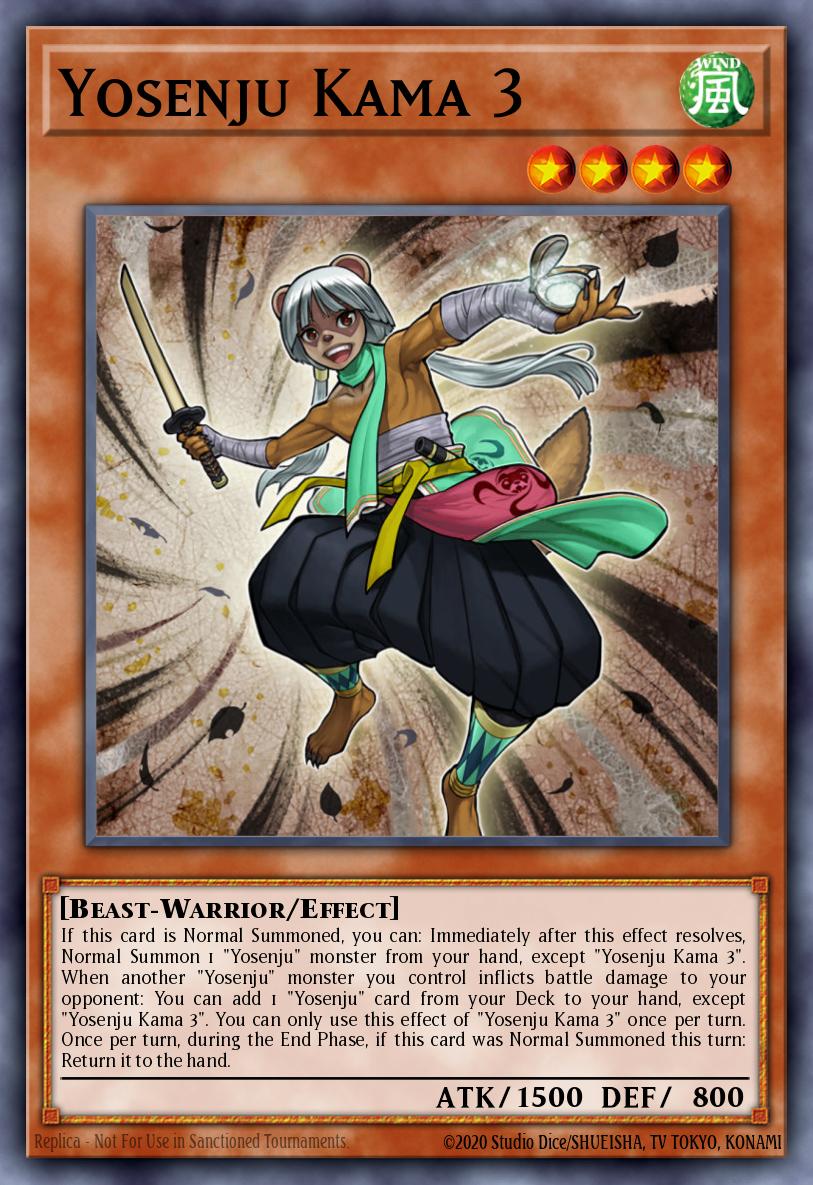
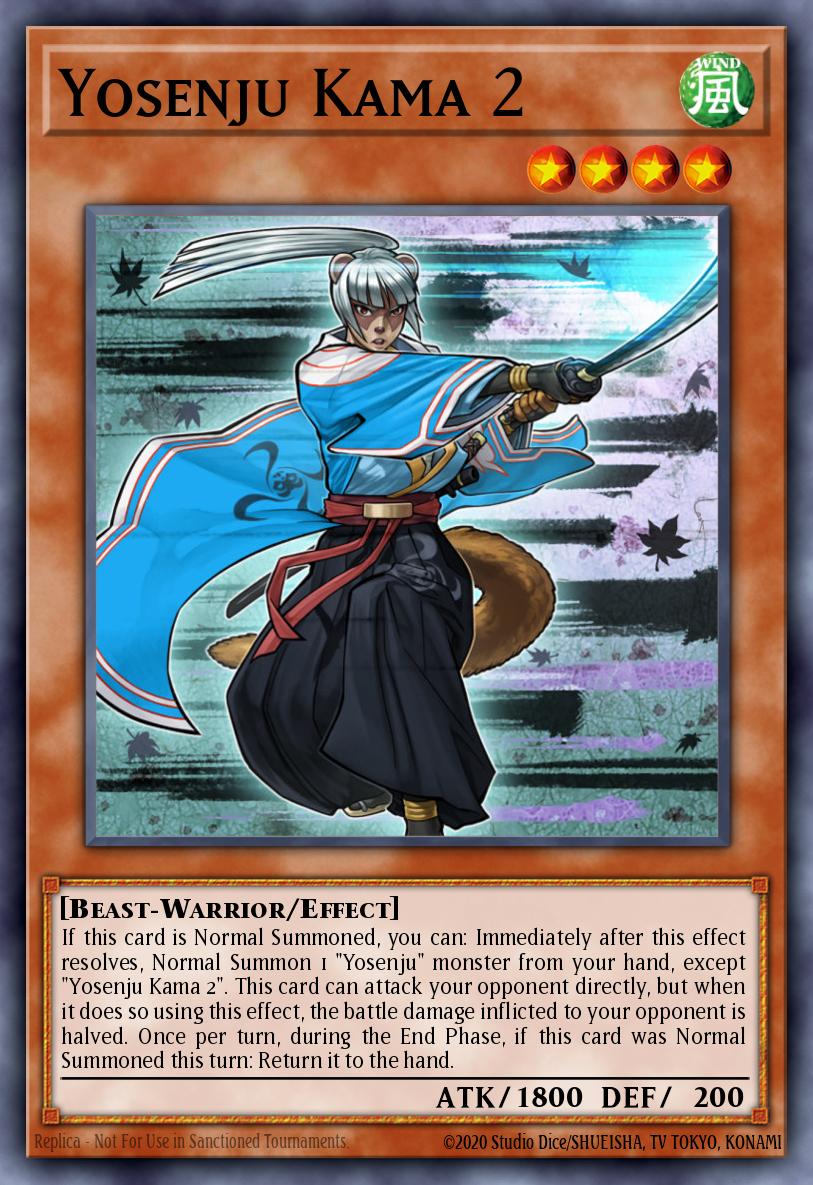
If you Normal Summon Yosenju Kama 2 or Yosenju Kama 3 , you can Normal Summon another “Yosenju” monster from your hand. Once per turn, when another “Yosenju” monster you control deals damage to your opponent, Yosenju Kama 2 allows you to add 1 “Yosenju” card from your Deck to your hand. Since Yosenju Kama 3 can attack your opponent directly, activating Kama 2's effect will be extremely easy.
During the End Phase of the turn they are Normal Summoned, both Yosenju Kama 2 and Yosenju Kama 3 will return to your hand, leaving no monsters on your field, so if you don't already have Drowning Mirror Force or Yosenju's Sword Sting is available, you can always search for Yosenju Oyam through Yosenju Kama 2's effect to protect you during your opponent's turn. If you don't need protection, you can look for Yosenju's Sword Sting or another “Yosenju” monster.
Yosenju Izna (2-3x)

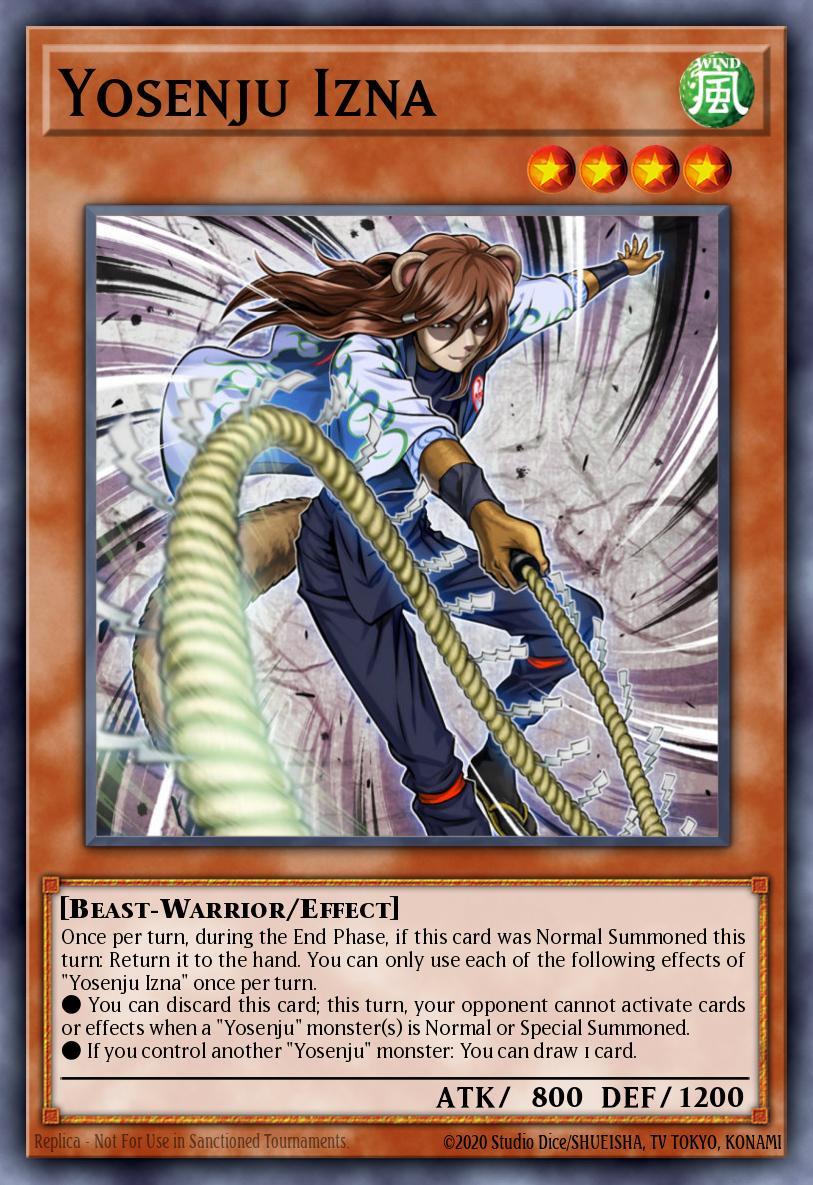
Yosenju Kama 2 or 3 and Yosenju Izna are ideal starting hands. You will Normal Summon Kama 2 or 3 and then use their effects to Normal Summon Izna. If you control another “Yosenju” monster, Izna allows you to draw a card, essentially increasing your chances of finding Drowning Mirror Force and Yosenju's Sword Sting , which you will definitely need, except for Yosenju Oyam , all your monsters return to the hand during the End Phase of the turn they were Normal Summoned.
You can also discard Izna during your Main Phase to prevent your opponent from activating cards or effects when the “Yosenju” monster is Normal or Special Summoned this turn. I doubt you'd use this effect unless you knew for certain that your opponent had Floodgate Trap Hole or Solemn Scolding , but I guess it's always nice to have more options.
Yosenju Oyam (1-2x)

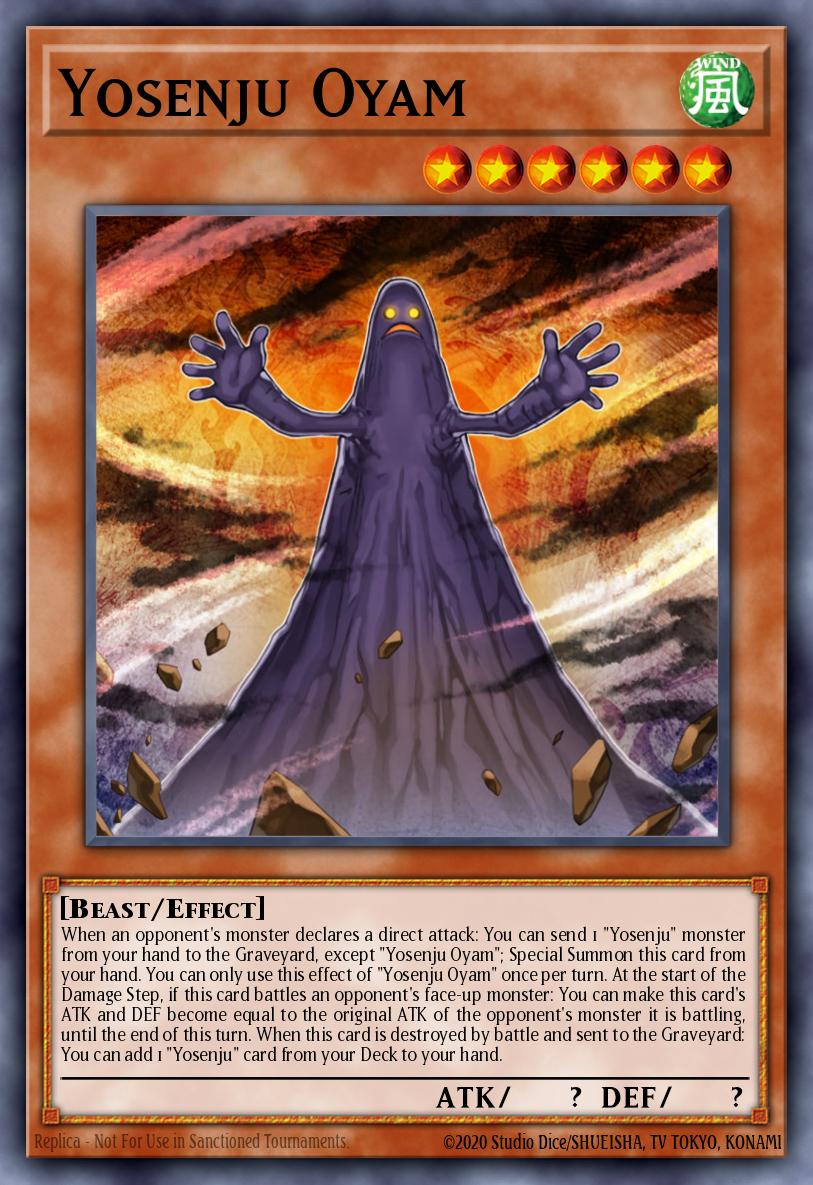
Almost a handtrap like Sphere Kuriboh or Kiteroid , Oyam can be used to protect your LP. Can be difficult to overcome because of its ATK and DEF effects, but it will only take the attacking monster's initial ATK and DEF values. Attacking monsters with increased ATK compared to their original value will be able to defeat Oyam.
If your opponent's monster only has 1 monster and they don't have an ATK increasing effect, you can special summon Oyam and hope they crash into you so you can use the search effect.
Yosenju Tsujik (1-2x)
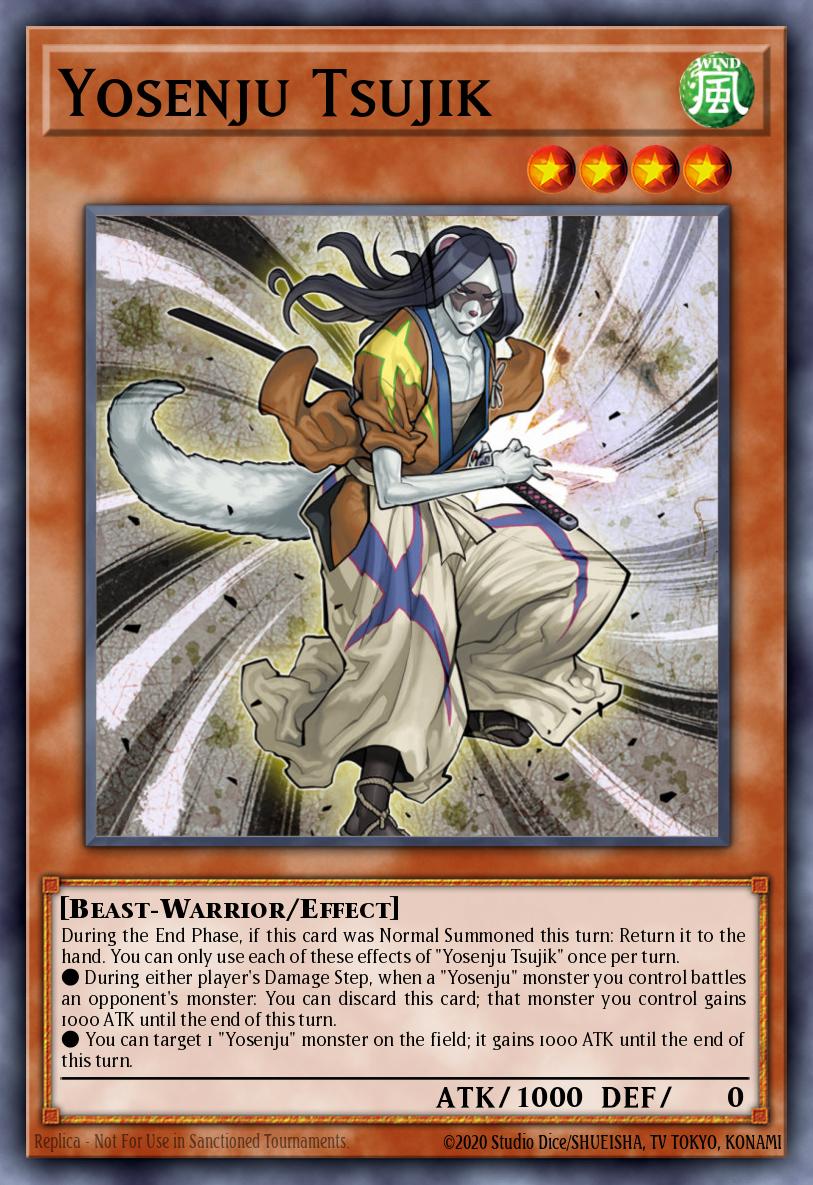
When a “Yosenju” monster you control battles an opponent's monster, during either player's Damage Step, you can discard Yosenju Tsujik to increase your monster's ATK by 1000 until the end of your turn . Additionally, if you control Yosenju Tsujik, during your Main Phase, you can target a “Yosenju” monster you control and increase its ATK by 1000 until the end of your turn. One thing to note is that Tsujik can target itself with its own effect, meaning it can reach 2000 ATK on its own, which will make it easier for you to finish off your opponents.
Yosenjus' Sword Sting (2-3x)
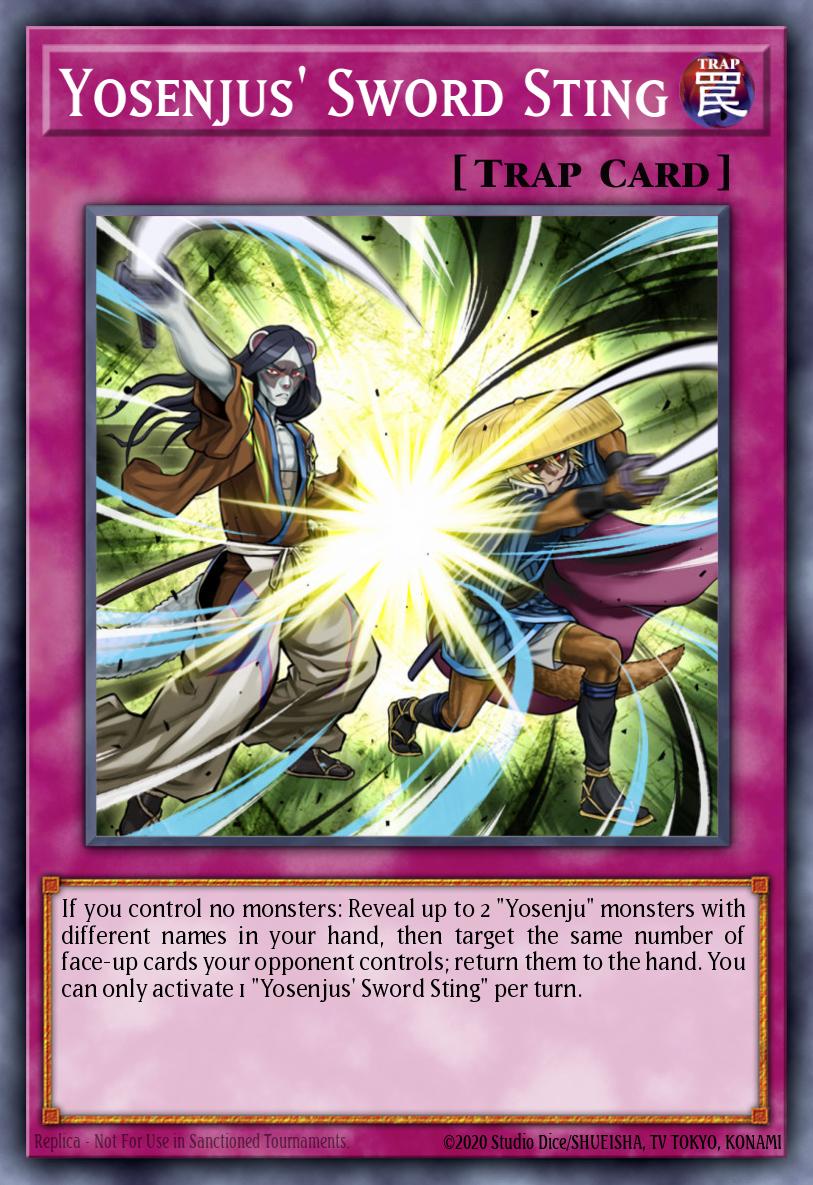
Yosenju's Sword Sting allows you to return up to 2 face-up cards your opponent controls to their hand. To activate this trap card, you need to control no monsters and you must also reveal up to 2 “Yosenju” monsters with different names in your hand.
The number of face-up cards on your opponent's field that you are returned is equal to the number of monsters you revealed, so even if you only have 1 “Yosenju” monster in your hand, you can still use Sword Sting .
You can Tribute 2 monsters your opponent controls to Summon Lava Golem, and after this Level 8 Monster has dealt 1000 damage to them during their Standby Phase, you can return it to the hand Friend. I don't entirely recommend using Lava Golem because it prevents you from Normal Summoning the turn you Special Summon, but I can definitely see the fundamentals for an extremely fun experience for your opponent yours here.
Eliminate your opponent's monsters with Drowning Mirror Force and Yosenju's Sword Sting, Hey, Trunade! remove their backrow, flood the field with Kama 2 and 3 and end the game.
Yosen Training Grounds (1-2x)
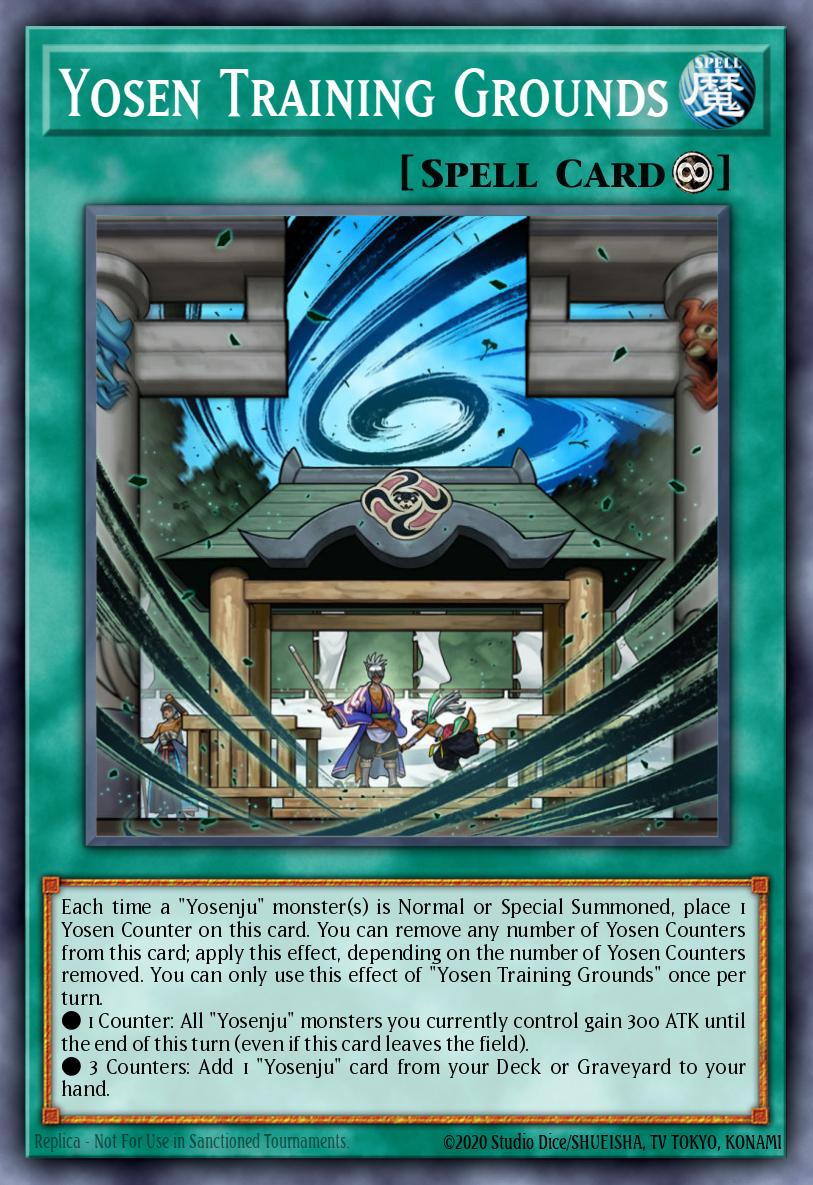
A good core card used to increase the power of Yosenju is also considered a Destiny Draw in the form of a Spell card. Each time a Yosenju is summoned, place a Yosen counter on this card. Corresponding to the number of counters, you will get the additional ability you need:
- 1 counter will help your monster's ATK increase significantly, helping to finish off the opponent faster
- 3 counters get you the card you need to decide the match (usually Sword Sting )
However, because the activation of this card is also situational, it will not be used much in Rank climbing decks. That's why more players switch to Fire Formation - Tenki .
Fire Formation - Tenki (2-3x)
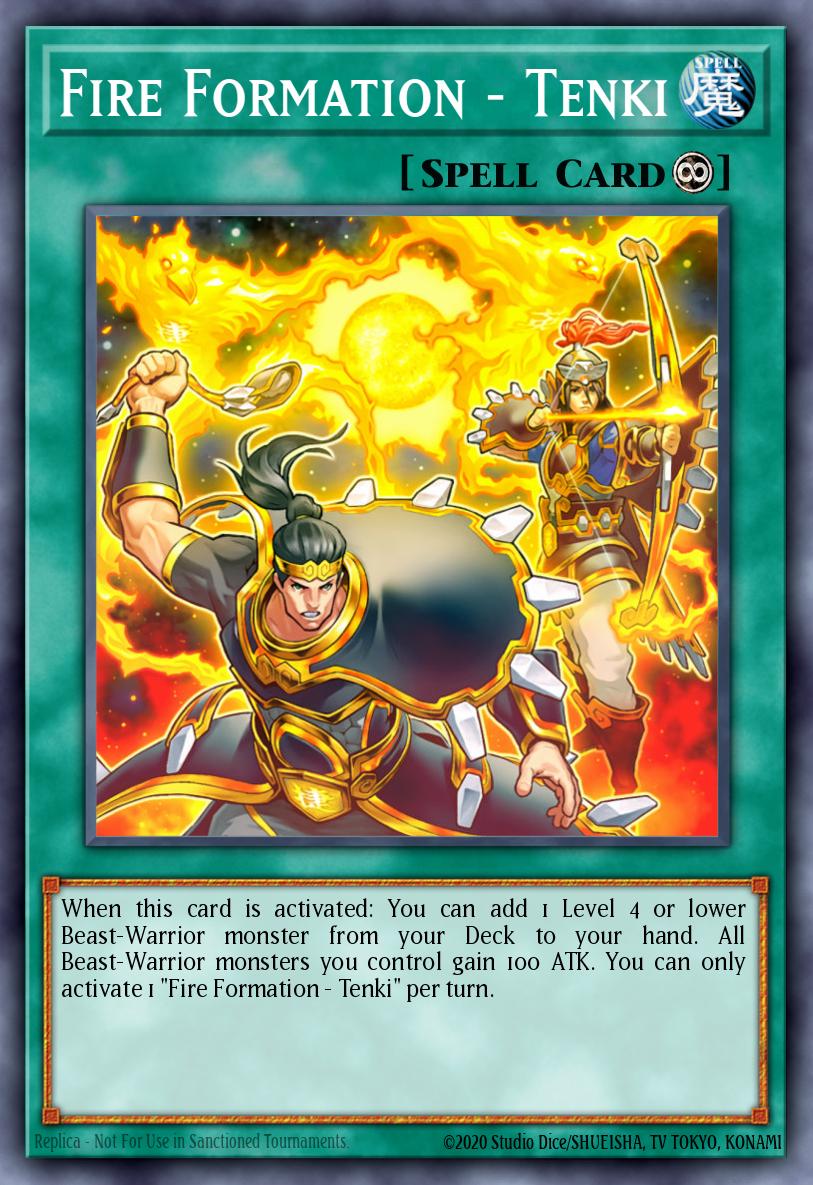
The Spell Card is more comprehensive and versatile than Yosen Training Grounds , not to mention its easier activation conditions. Although it does not add more power to Yosenju, it is enough for you to use your combo skillfully with Yosen monsters. Therefore, it is recommended to use at least 2 copies of this card in the deck.
Extra Deck
Abyss Dweller (1x)
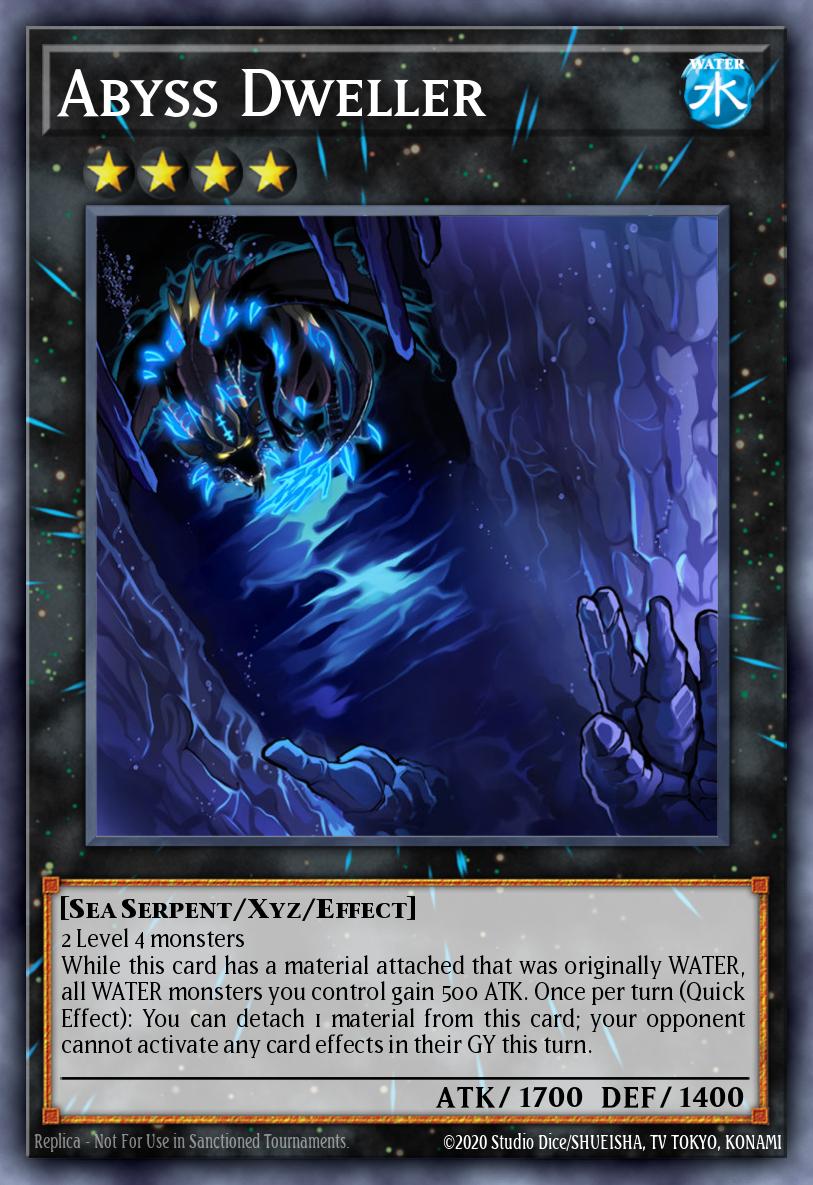
Abyss Dweller is used as a monster version of Necrovalley that can access any other Rank-4 Spam like this card.
Make sure to switch your chain from "Auto" to "On" so you can use Abyss Dweller at the beginning of your opponent's turn where it's most effective. Chain Abyss Dweller to activate the effect will not cancel this effect.
Number 52: Diamond Crab King (1x)
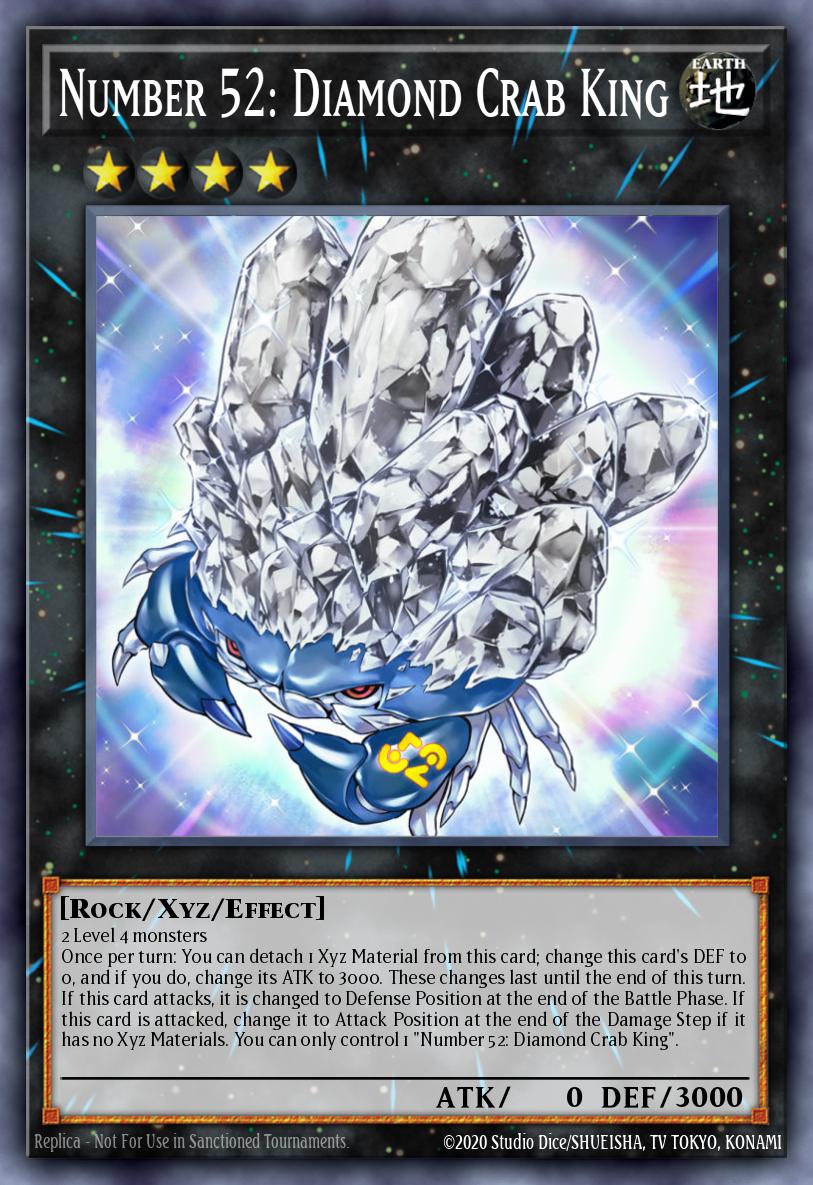
Use Izna and 3 so you can get some advantage and slowly wear down your opponent with Kama 2. Once you have a few Yosenju and Sword Sting monsters, you can return your opponent's cards to it is possible to get a direct 3000 ATK attack faster to win than to play slowly.
You should not release this card too early because you will not be able to recover the Yosenjus used as material for Xyz.
Number 70: Malevolent Sin (1x)
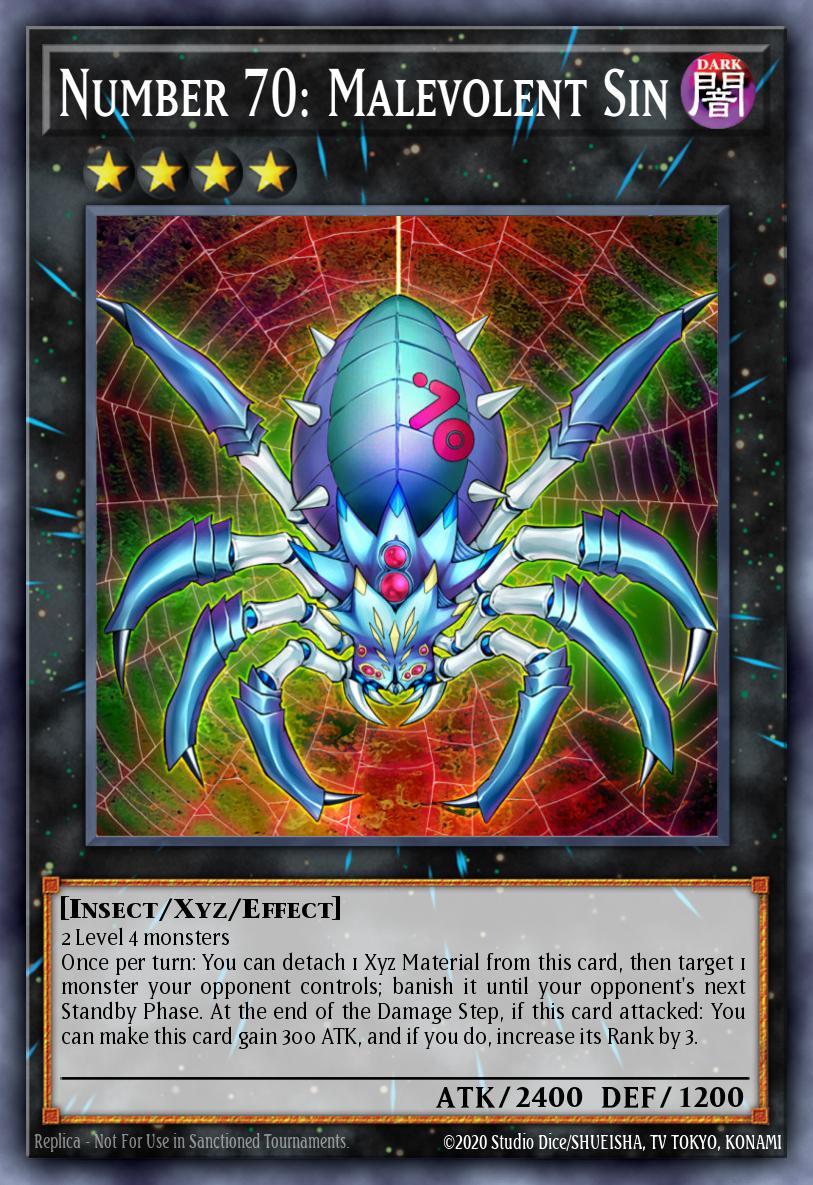
Malevolent Sin is an anti-Xyz Tech. Summon Malevolent Sin and use its effect to temporarily banish your opponent's Xyz monster. The Xyz monster will return without any materials attached to it. But in the meantime, you will be able to hit your opponent with your 2400 ATK
Steelswarm Roach (1x)
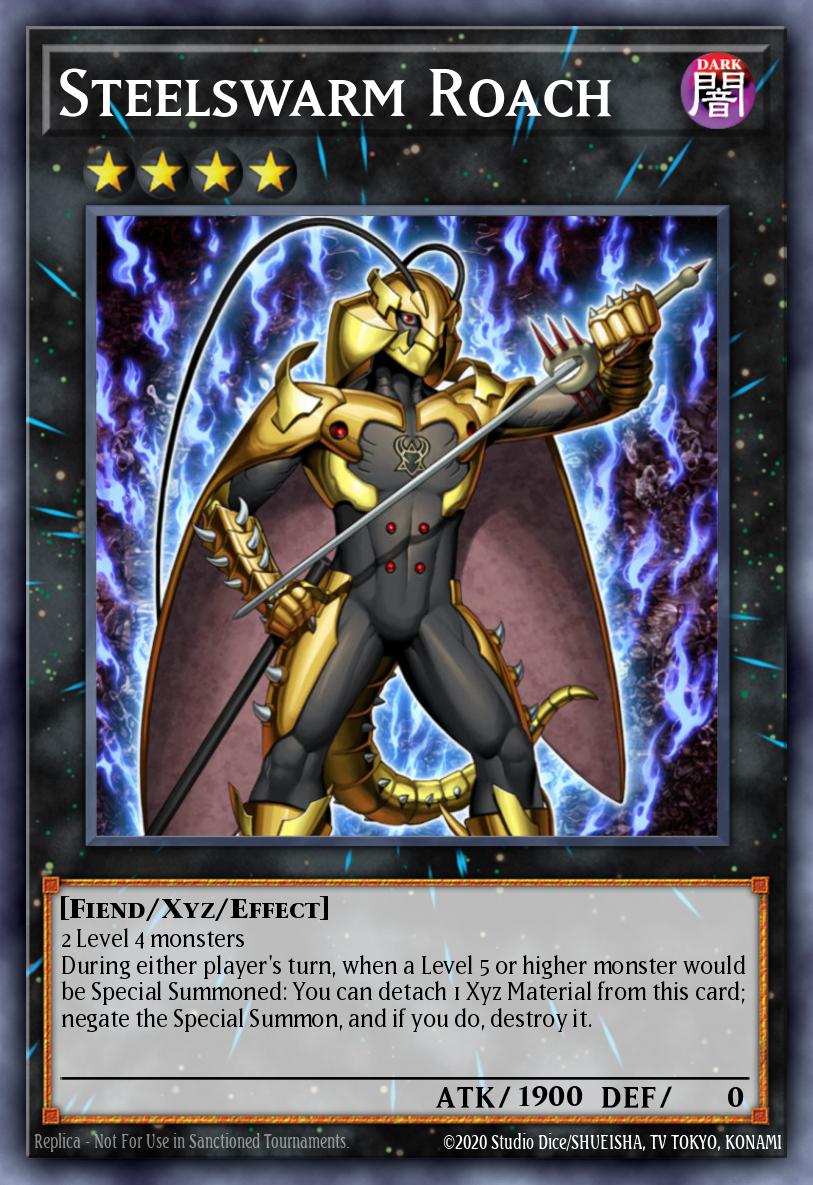
Good as a turn 1 monster to summon against some decks that Roach can be used against like Thunder Dragon or Harpie Lady.
Number 50: Blackship of Corn (1x)
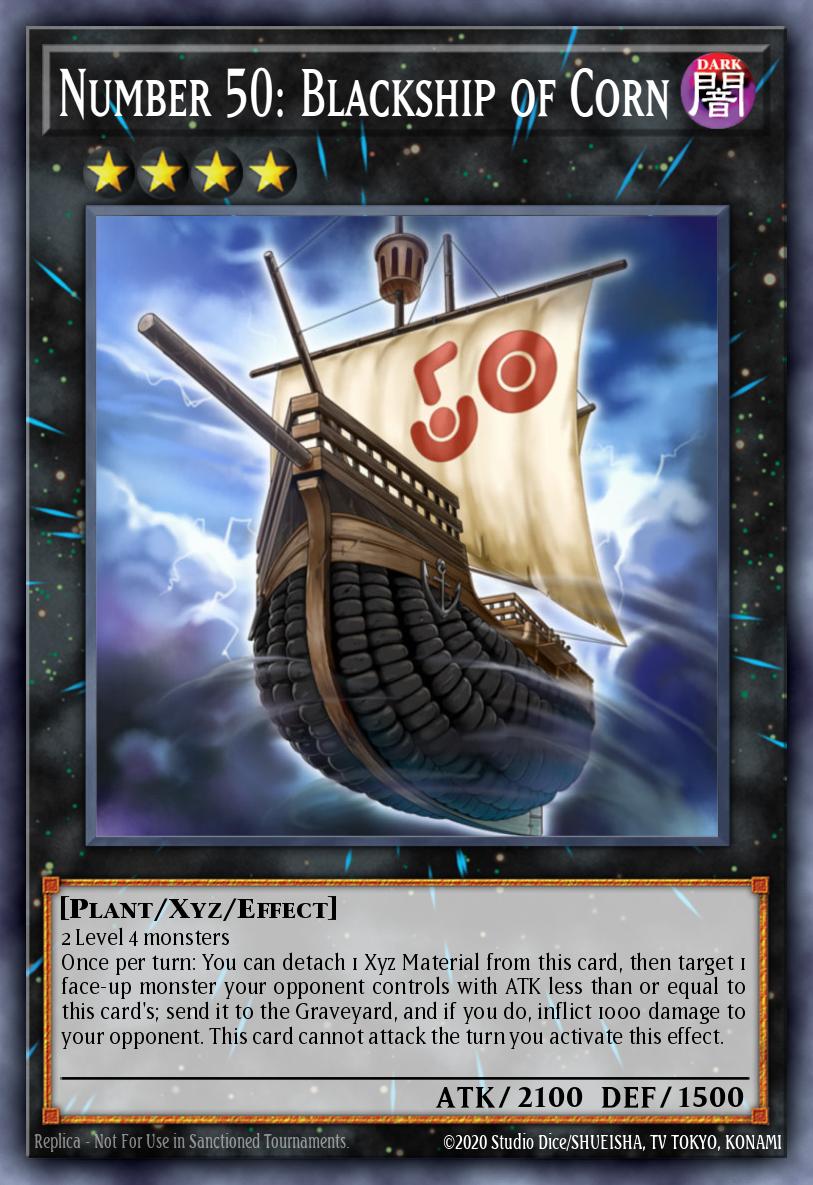
Even though this card doesn't have a lot of ATK, it can be useful when you're up against something like Bloom Diva the Melodious Choir so you can play faster.
Number 18: Heraldry Patriarch (1x)
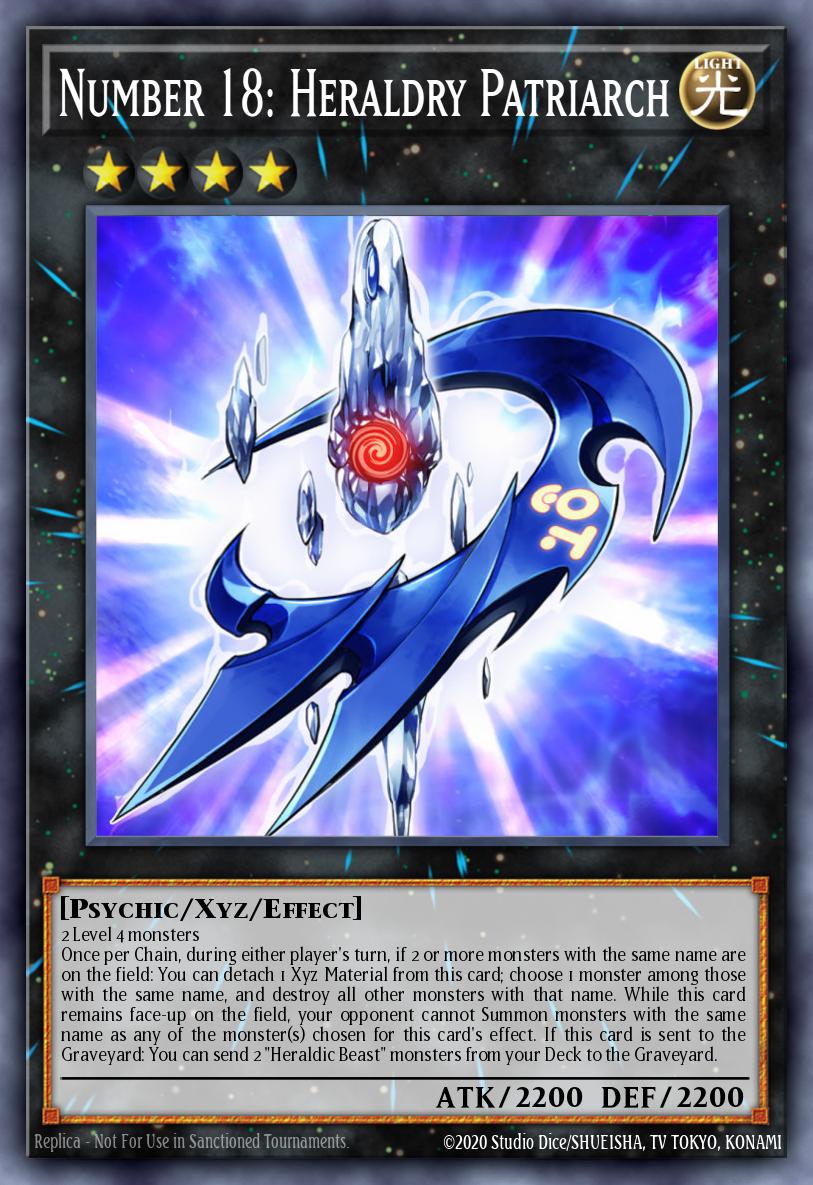
Heraldry Patriarch is essentially an anti-Harpie tech. Harpies are all renamed " Harpie Lady " so the first effect of Heraldry Patriarch can be used for removal, even on your opponent's turn. The Heraldry Patriarch will then prevent opponents from reviving Harpies as they are all considered "Harpie Lady" while in the Graveyard.
Number 39: Utopia and Number C39: Utopia Ray (1x)
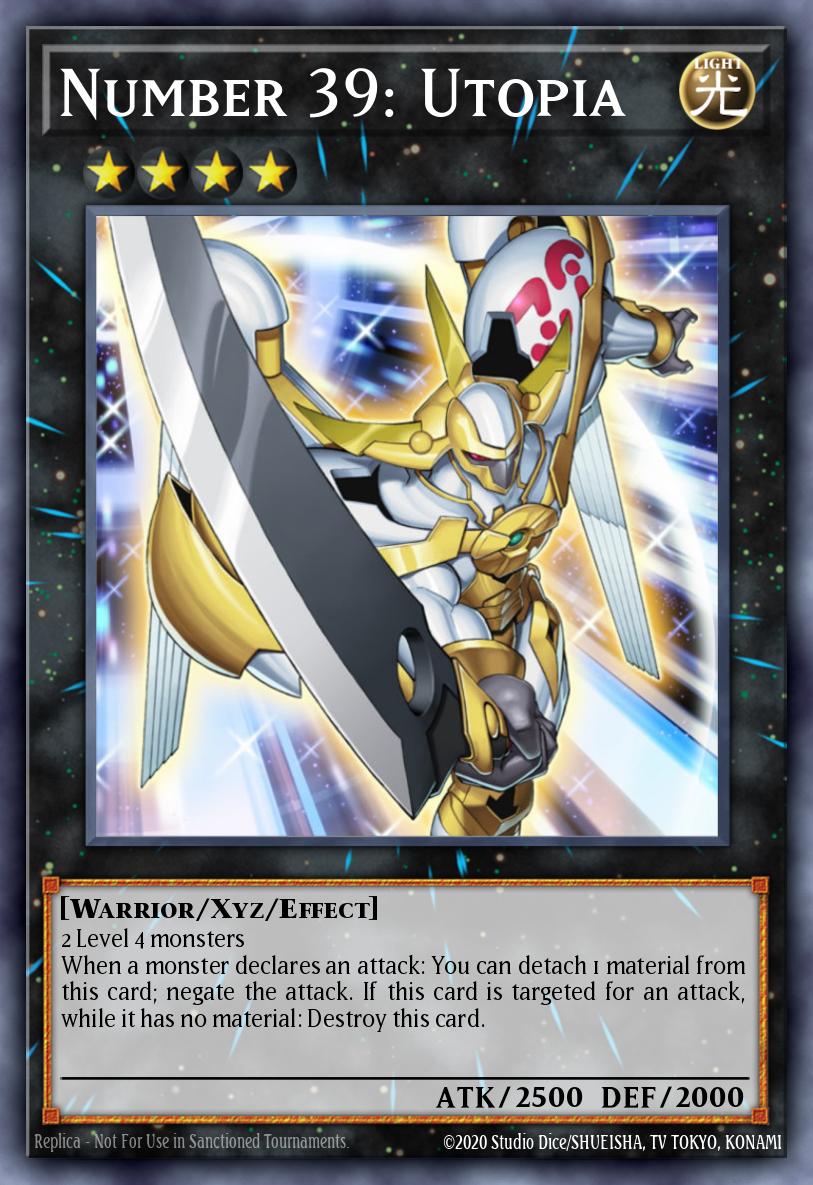
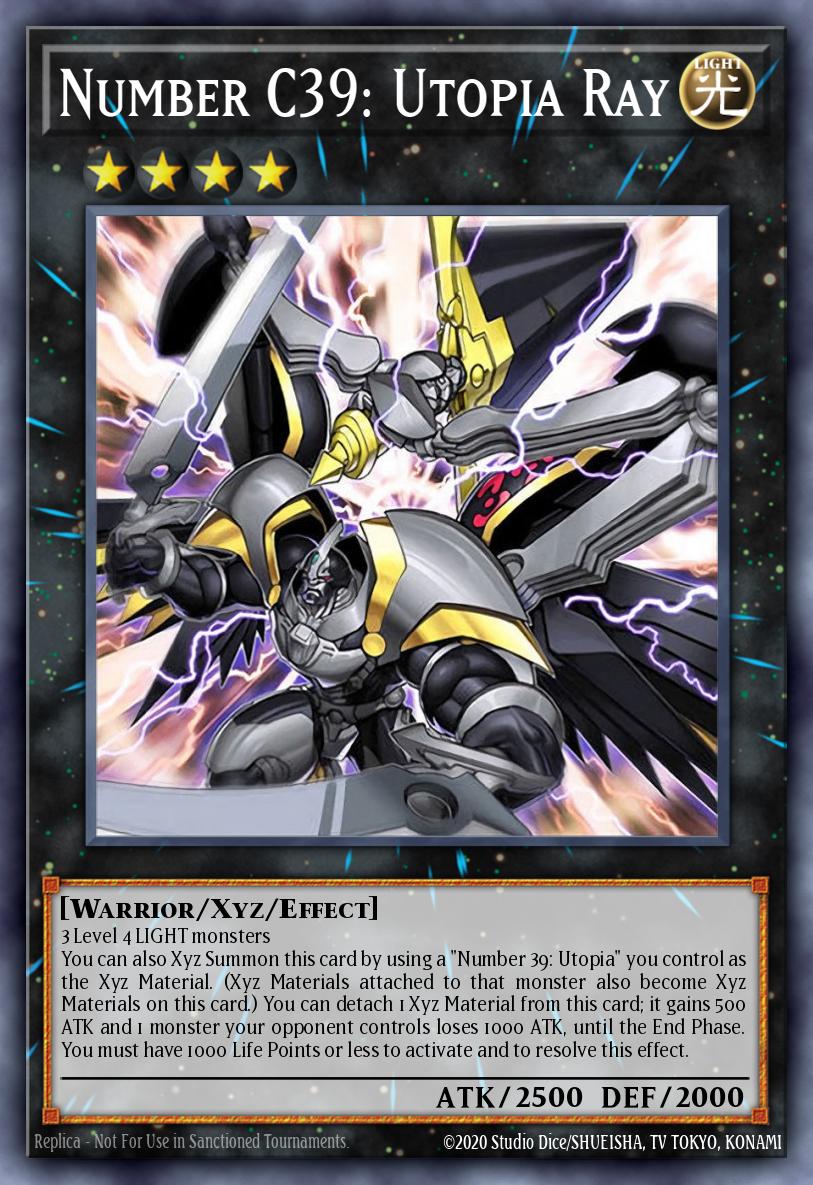
Today's decks commonly use Utopia cards to create magical plays that turn defeat into victory
- Utopia Ray can be summoned using a single Utopia as material. Take advantage of this when you're attacking, trading in Utopia's guard effect for Utopia Ray's ATK action.
- Utopia is a good versatile choice to take on your first turn. Utopia's protective effect can be used to defend against enemy attacks. And later you can convert Utopia into Utopia Ray.
Number 91: Thunder Spark Dragon (1x)
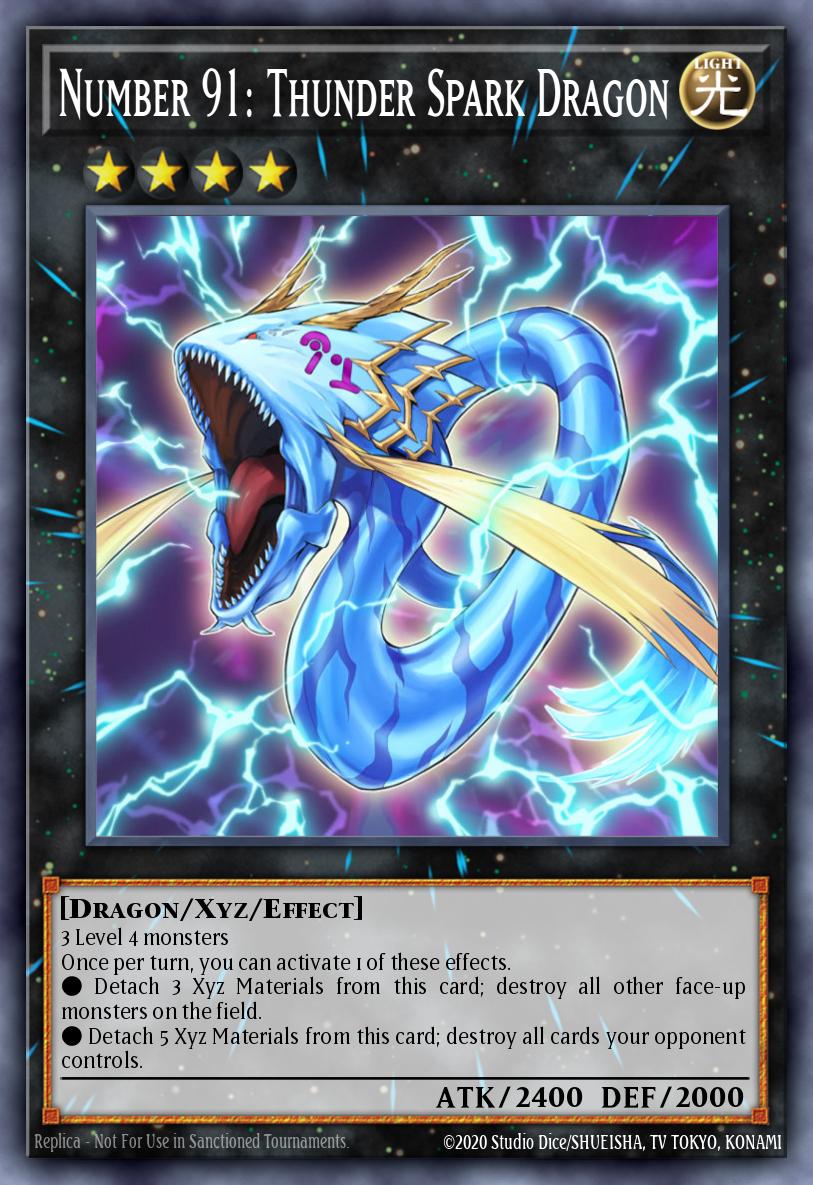
Summon Thunder Spark Dragon and use its effect to clear the field. Eliminates your opponent's entire field and is especially punishing for opponents who use too much of their field.
Daigusto Emeral (1x)
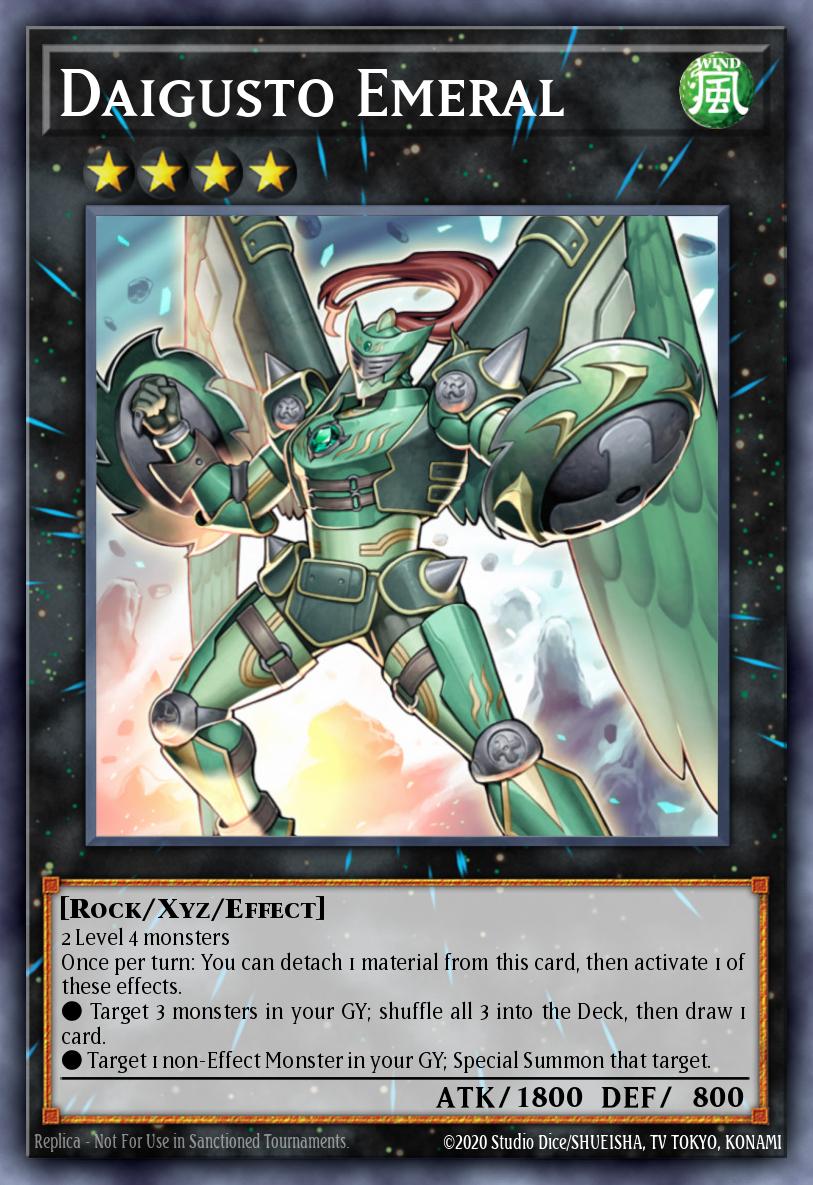
Although the Yosenjus can return to the hand, if you use them for an XYZ, they can end up in the Graveyard. This is just to help restore them so you can use them again.
Gagaga Samurai (1x)
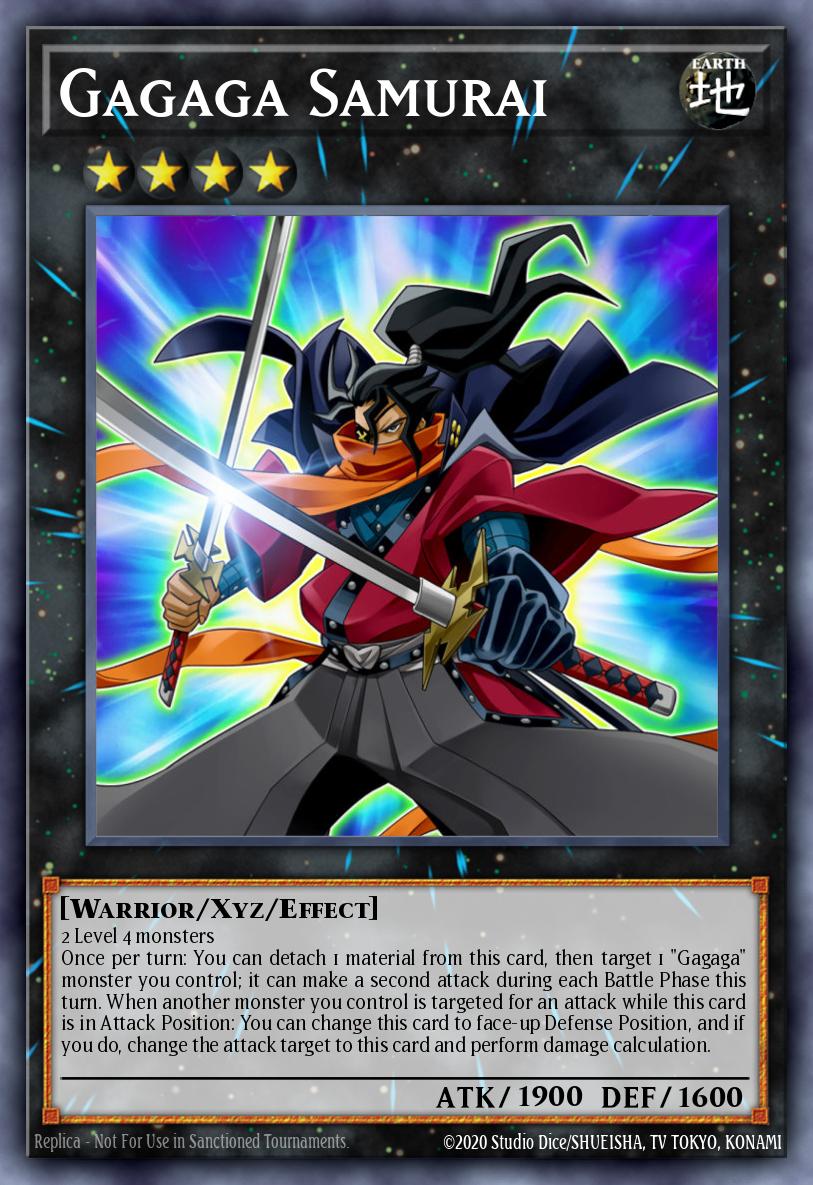
Samura i is very good at pushing damage because of his dual attack effect. You can also double attack Cowboy in attack position to defeat two of your opponent's monsters.
Diamond Dire Wolf (1-2x)
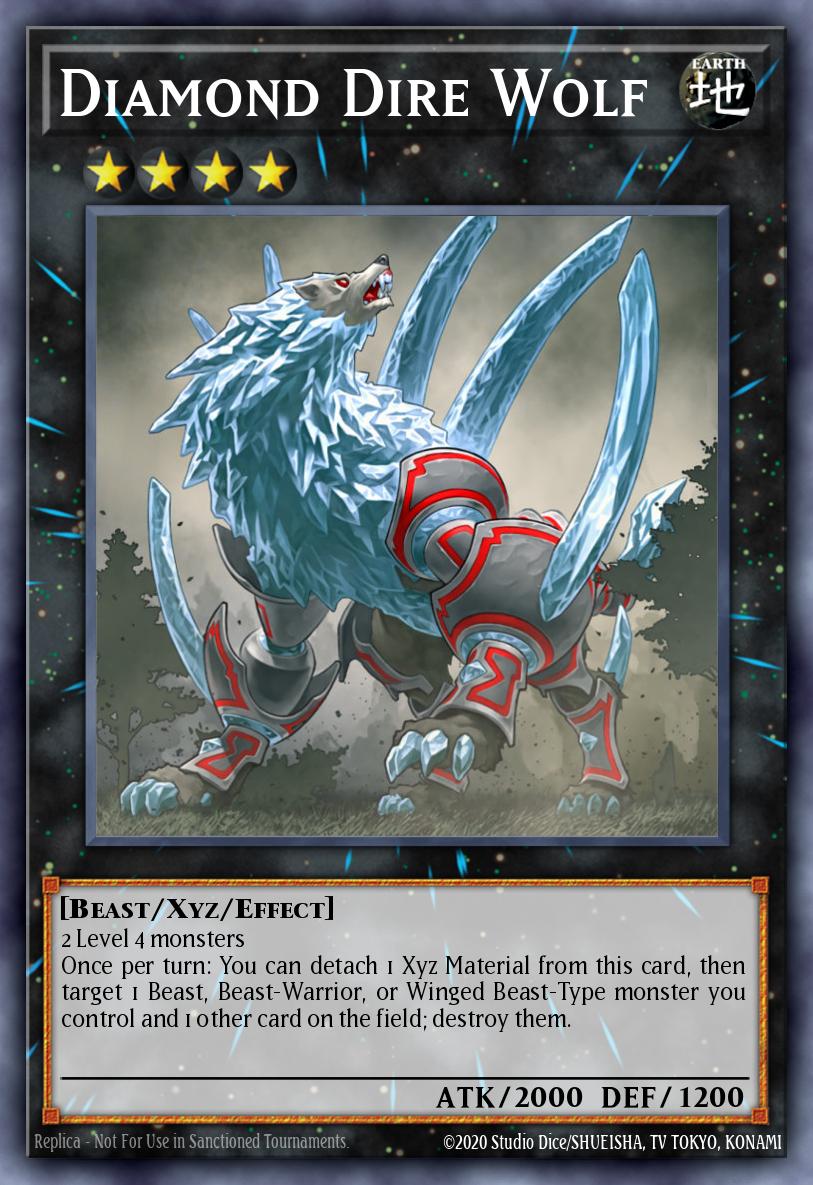
A removal effect costs more, but is still somewhat effective. As for destroying your field, prioritize destroying Tsujik or Izna after using their effects in the Main Phase.
Gagaga Cowboy (1x)

A fairly stable Rank 4 monster. Burning effects in defensive positions can sometimes give you some wins. While attack position effects can help you attack your opponent's monsters.
Maestroke the Symphony Djinn (1x)
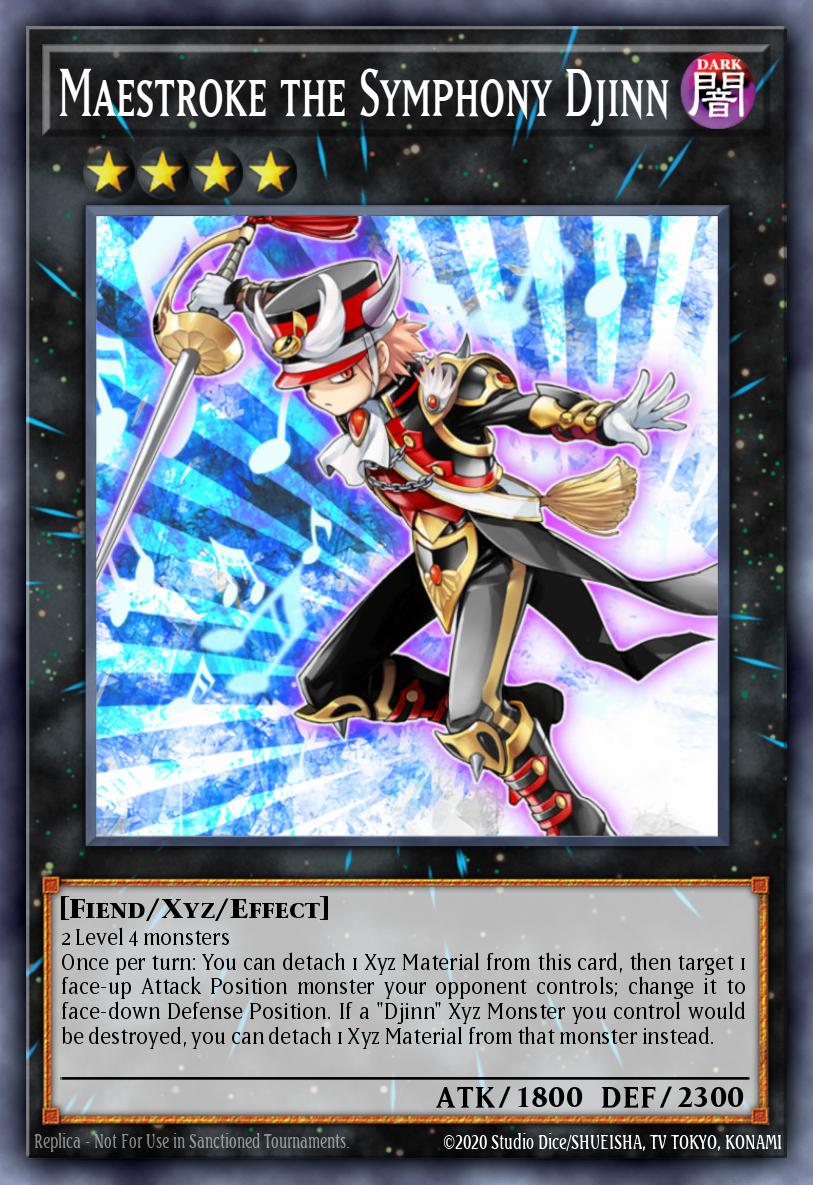
Most commonly used monsters have lower DEF than their ATK. Turning them face down can help you get through them more easily or use this effect to reset some effects that were used on them like ATK boost cards or equipment. This is basically a Book of Moon in the form of an Xyz monster.
Stellarknight Delteros (1x)
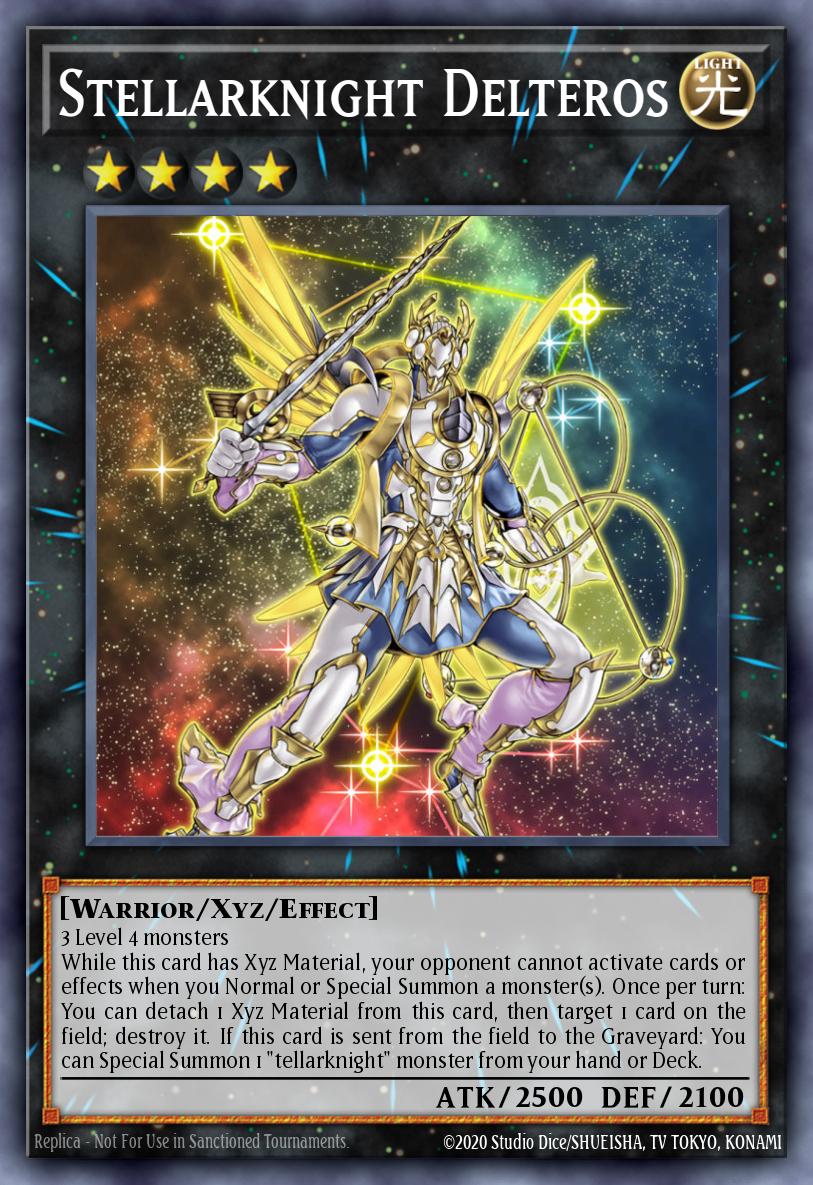
Having 3 monsters on the field can be quite rare and it is usually not worth using all of them to create Xyz Rank 4. However, this option can be useful in cases where your monster is trapped or destroyed by something like Fiendish Chain / Forbidden Chalice .
Delteros provides card removal effects and has some float potential that can be good for blocking attacks, but you will need to bring another card like Satellarknight Altair .
Brotherhood of the Fire Fist - Tiger King (1x)
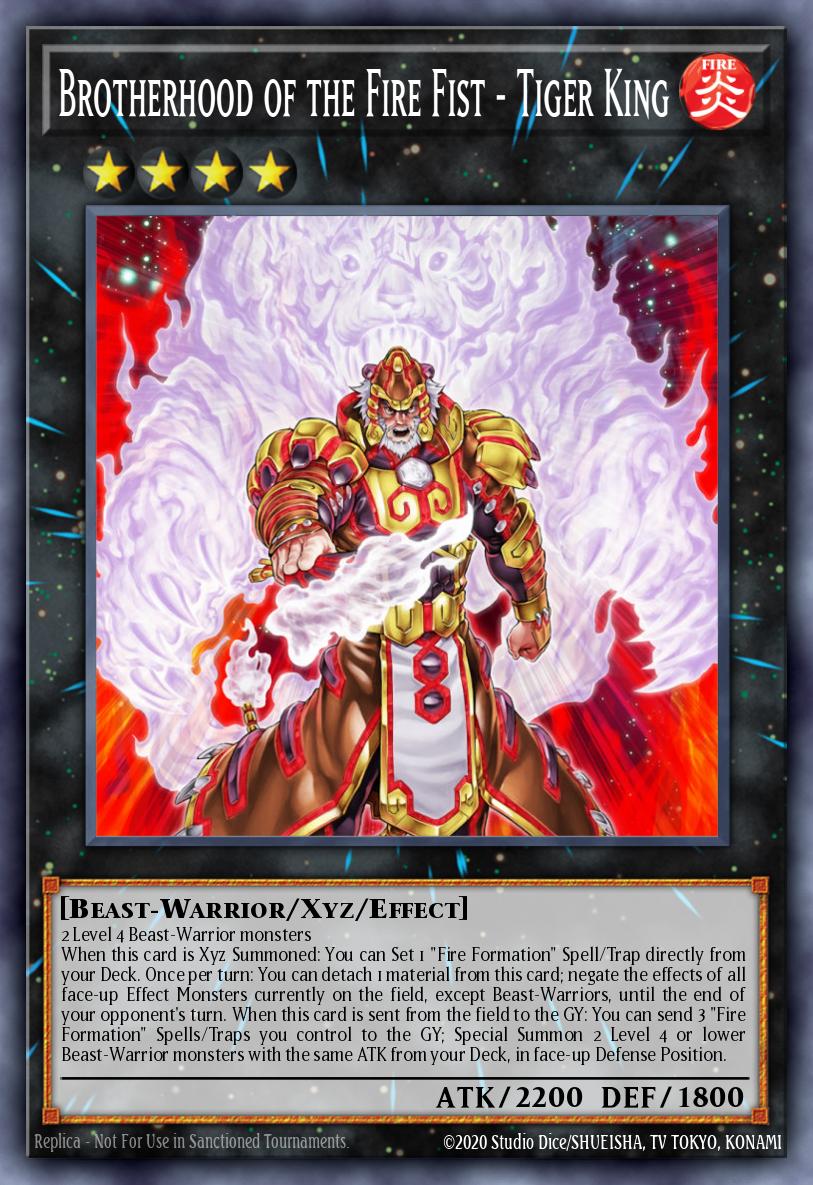
When you summon Tiger King , you can take Tenki, which leads to fetching another Beast-Warrior monster, which is great for increasing resources. Mass effect negation is powerful because it can turn off powerful effects, like Cyber Slash Harpie Lady . Finally, Tiger King transforms into two Level 4 monsters for you to set up your next Xyz stage. However, you need to remove your entire backrow for this to work.
Tech Cards
Sphere Kuriboh, Battlin' Boxer Veil and Kiteroid (Handtrap controls life points)
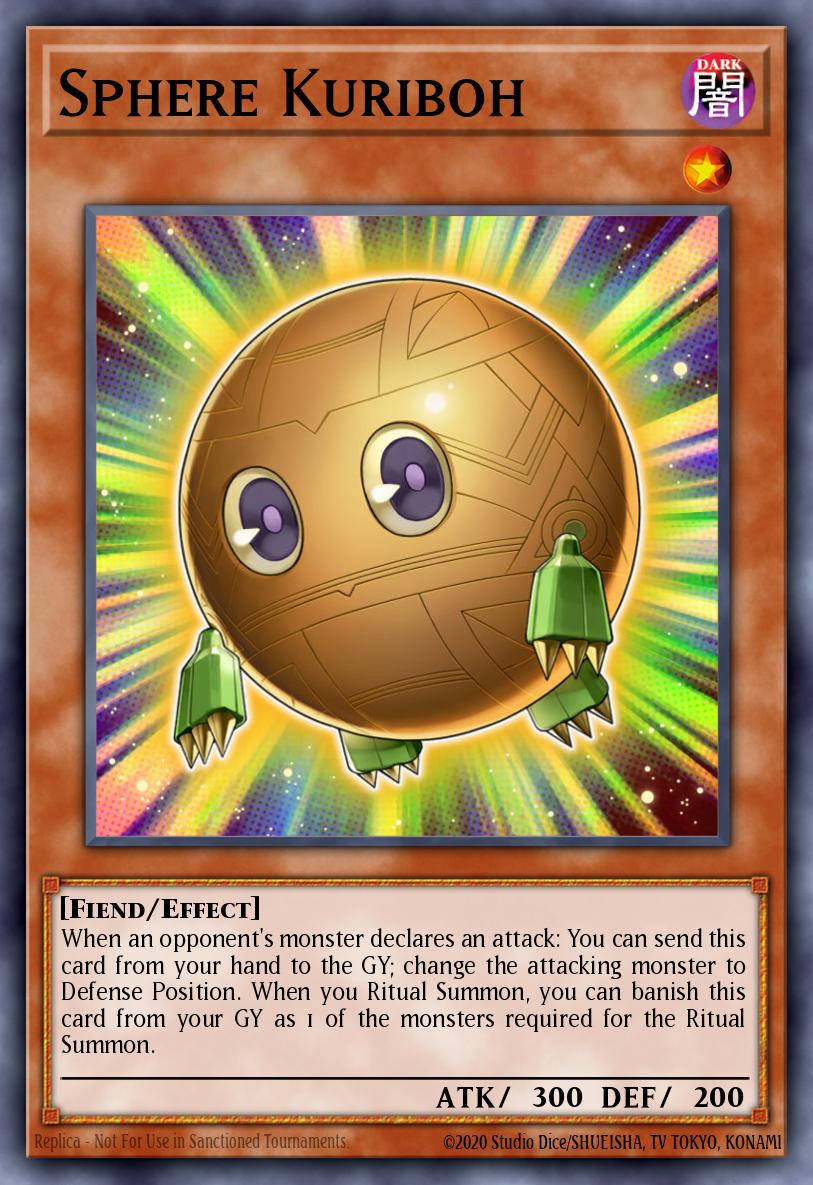

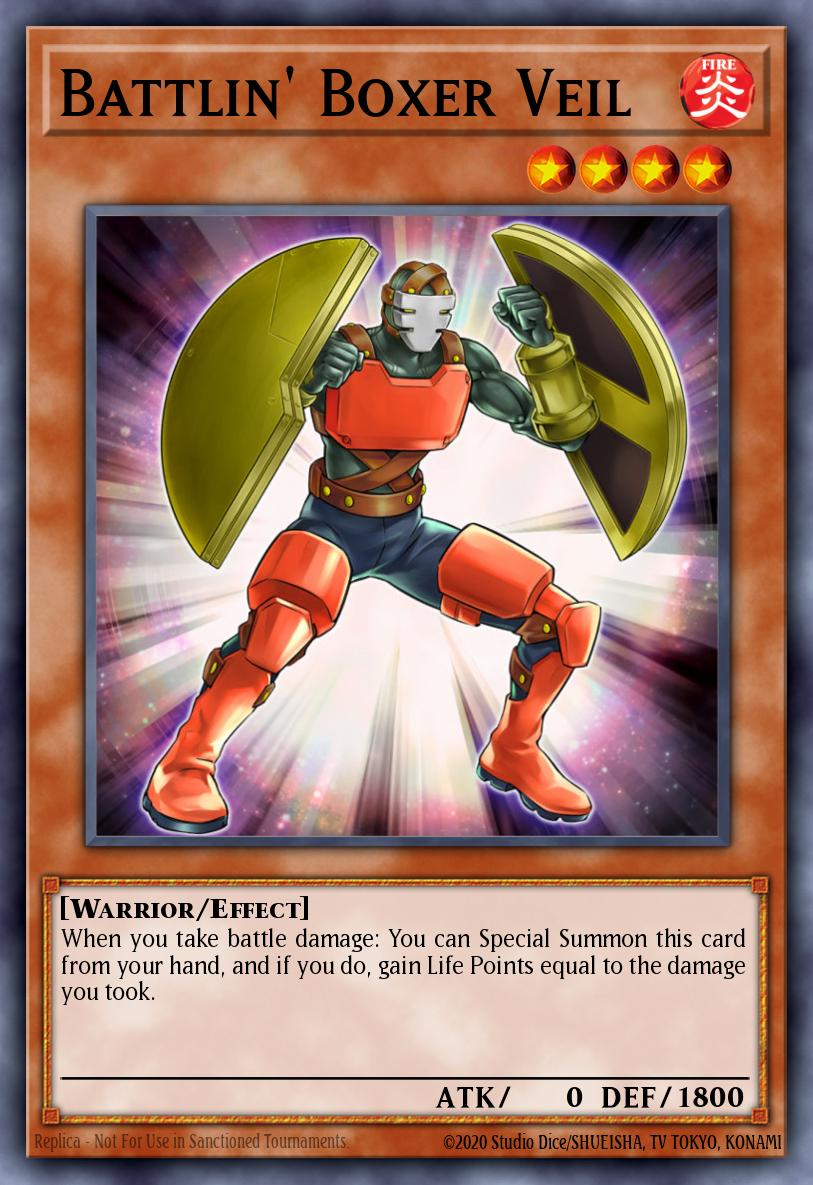


Due to Yosenjus's tendency to return to hand, there is a high chance that your field will be left empty on your opponent's turn. This leaves you very vulnerable to OTK unless you run defensive options like I recommended.
- Special Summon Veil after taking massive damage, regain your LP and place it on the field. Veil can suffer a follow-up attack, or if it survives until your turn, you can use it as an Xyz material.
- Kiteroid gives you up to 2 survival times. That's why it is limited to 2 because the format of Duel Links will not allow too many attacks like in Master Duel.
- Sphere Kuriboh is a handtrap used in almost every deck of every archetype. The ability to provide both defense and return the opposing monster to defense position so you can deal with it later is absolutely amazing.
Fire Formation - Gyokkou (Good use for the Beast-Warrior line)
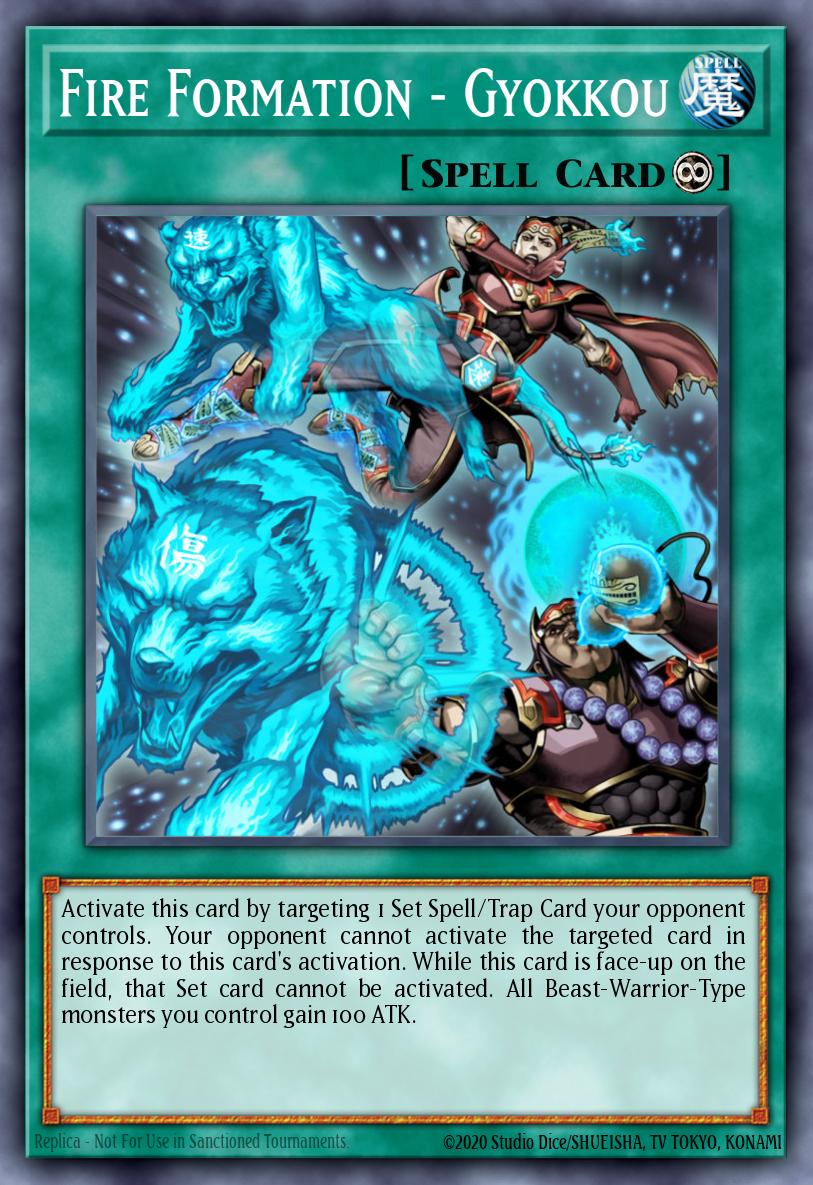
Prevent your opponent from activating cards like Floodgate Trap Hole and Void Vanishment . Additionally, the general removal effect is also very useful.
Necrovalley (Grave lock)
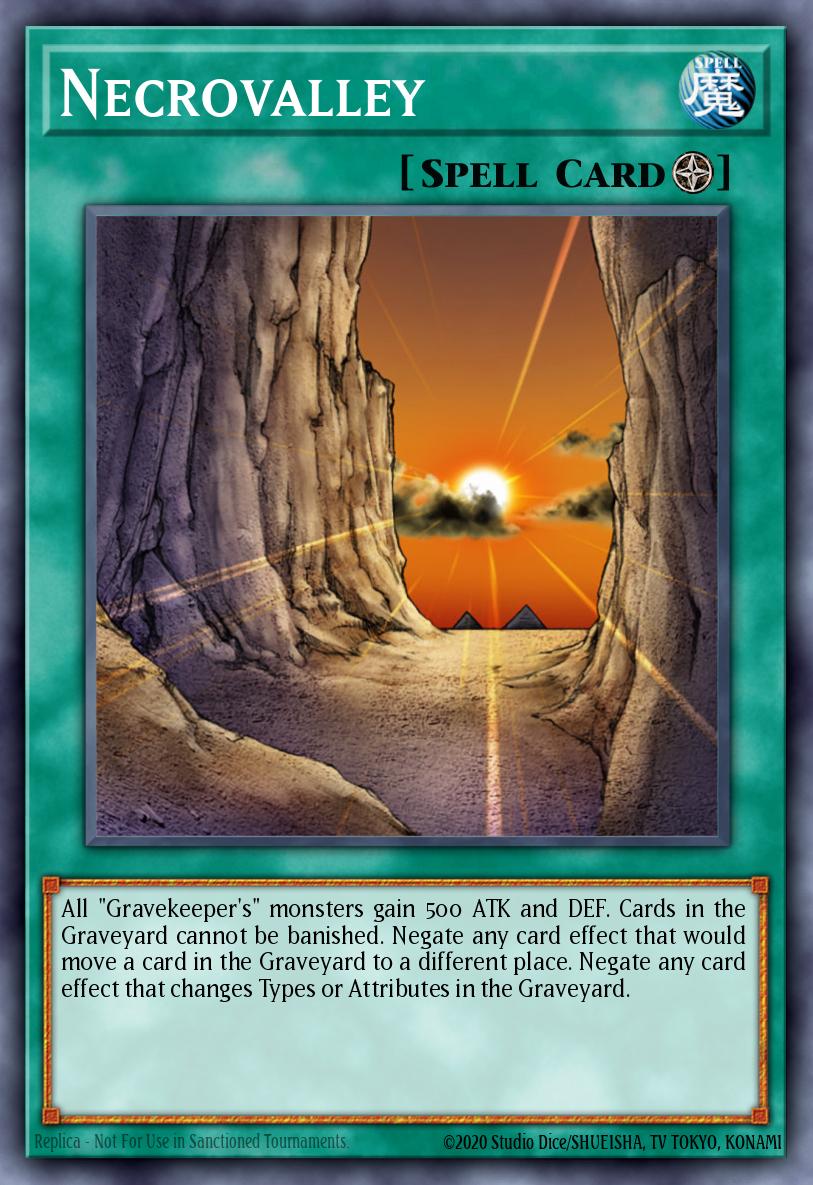
Since the deck barely uses the Graveyard, having this can be good for interrupting your opponent's turn. This card can also help keep your Sword Sting face down as opponents that rely on their Graveyard will want to focus on Necrovalley first.
Cosmic Cyclone, Mystical Space Typhoon and Night Beam (Backrow Removal)
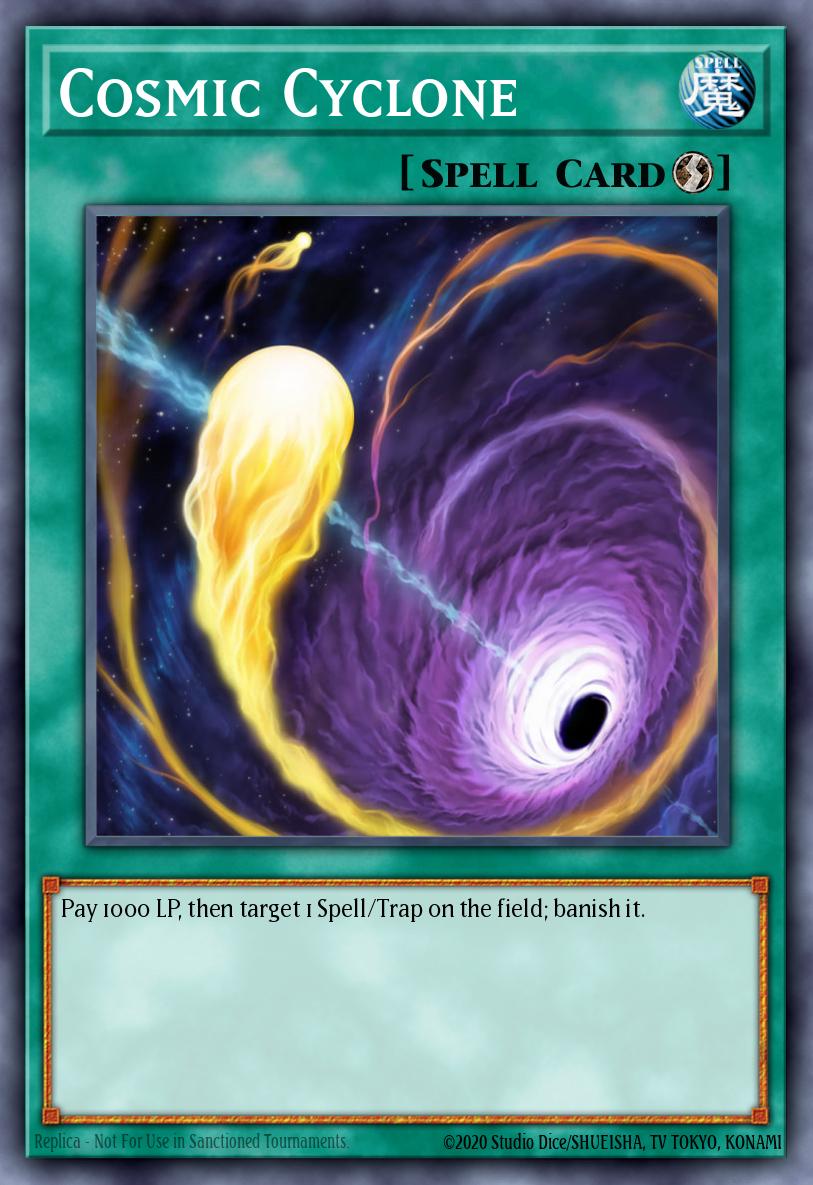
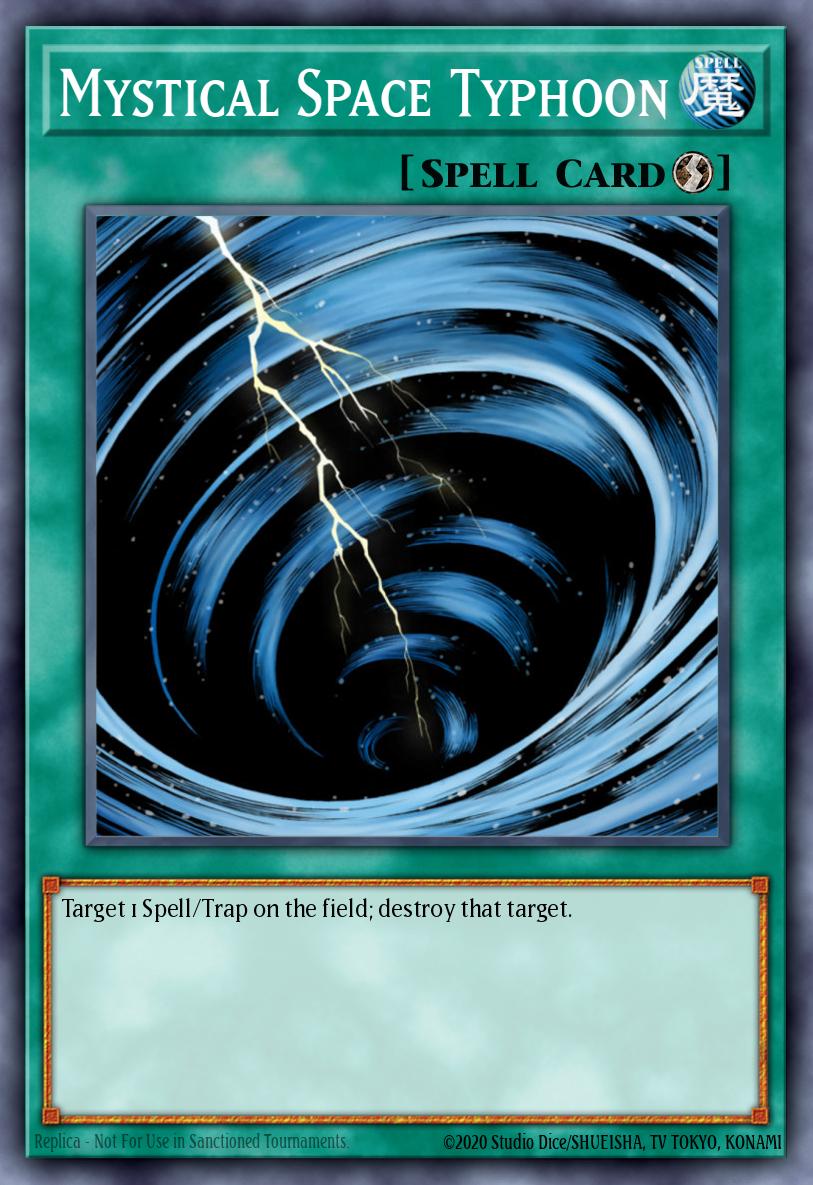
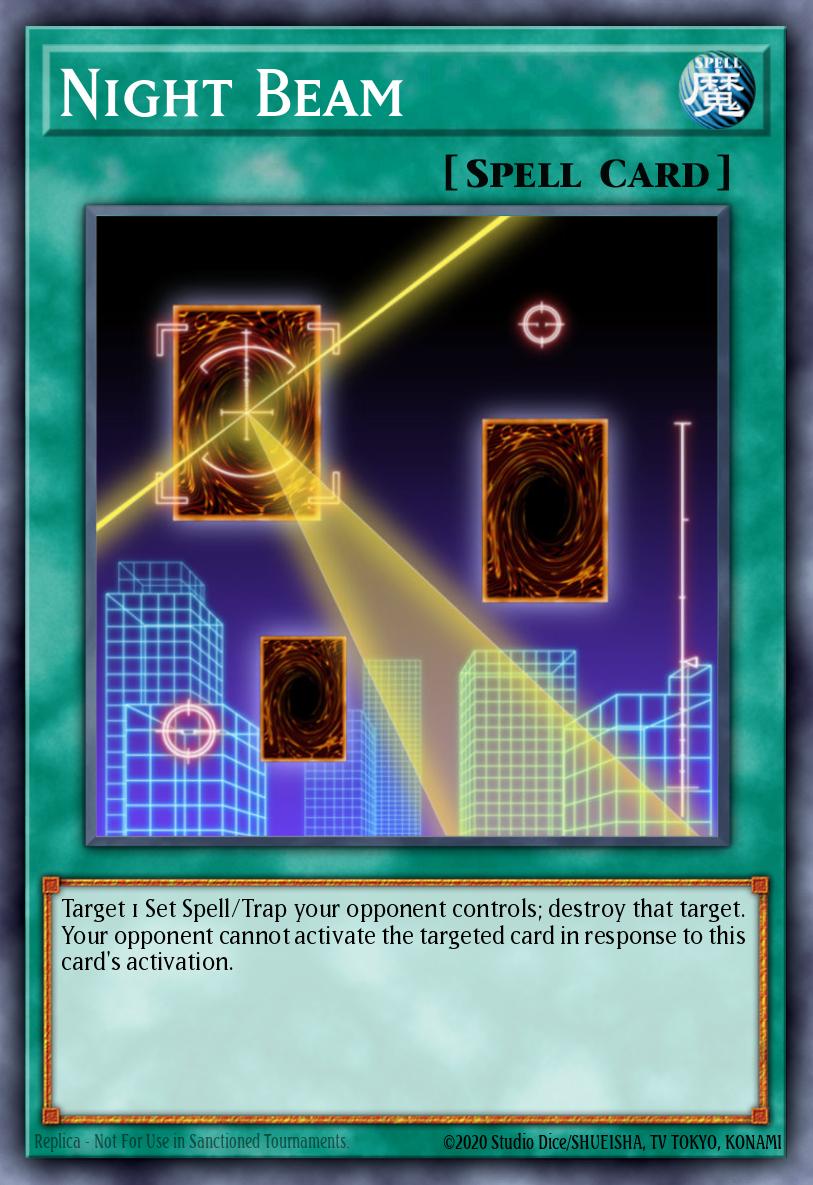
Complements the lack of cards that remove the opponent's backrow. Depending on the card, you will want to activate them:
- MST gives you backrow removal at no cost. Even if the backrow activates in response, it will be negated and destroyed.
- Cosmic Cyclone is the option you use to activate Skill Destiny Draw . Not only that, it also provides the ability to evict backrows. This will be useful against decks where backrows can come back from the Grave like Evil Eyes.
- Night Beam will give you a more certain kill ability than MST, but it's not Quick-Play so you won't be able to use it during your opponent's turn like the two cards mentioned above.
No matter what, there is always a version that uses all three of these cards. Therefore, you can consider or not, just insert all 3 cards, you will get up to 3 extremely annoying backrow removals above.
Book of Moon (Other defense measures)
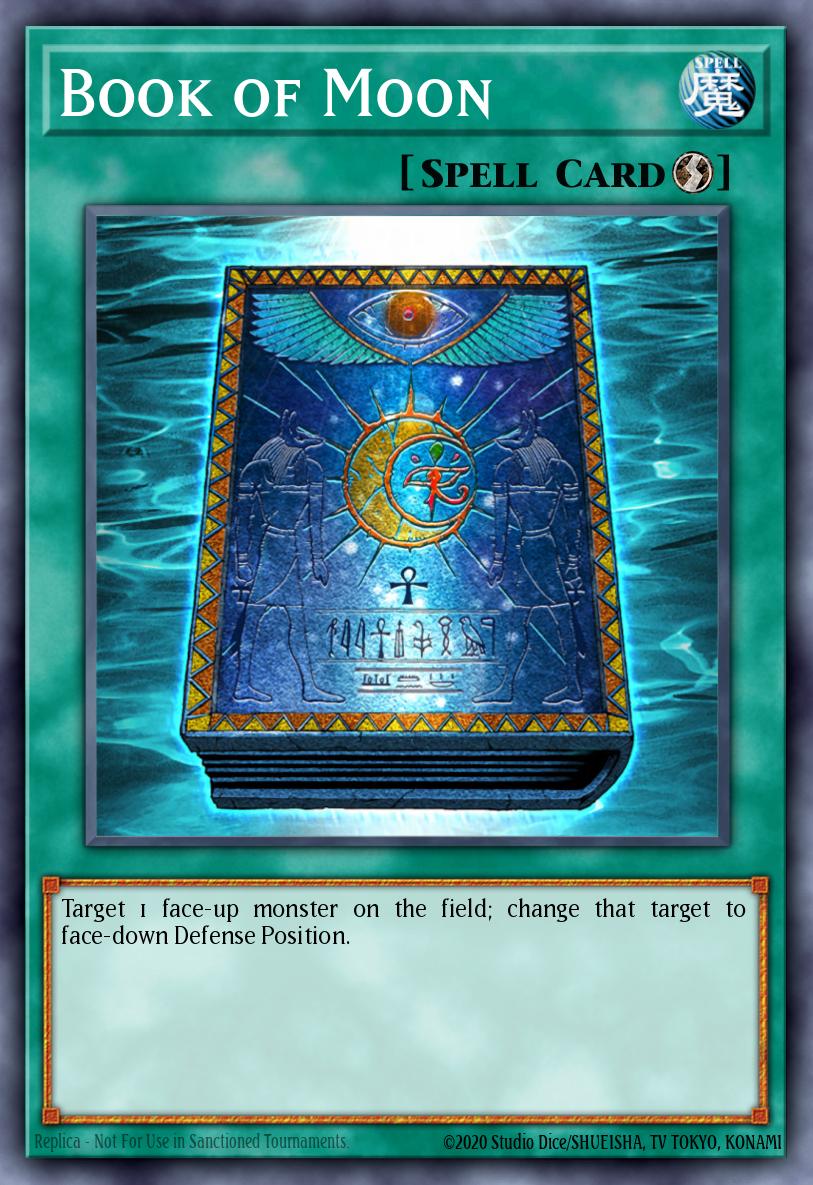
Why not use this card multiplied by 3 in the deck? Anyway, this is a card released in the new Box and you can access it for free and easily (Depending on your luck). But in general, you can use this card to defend your field as well as overcome your opponent's field. Either way, you should use this card in your deck.
Drowning Mirror Force (Main defense)
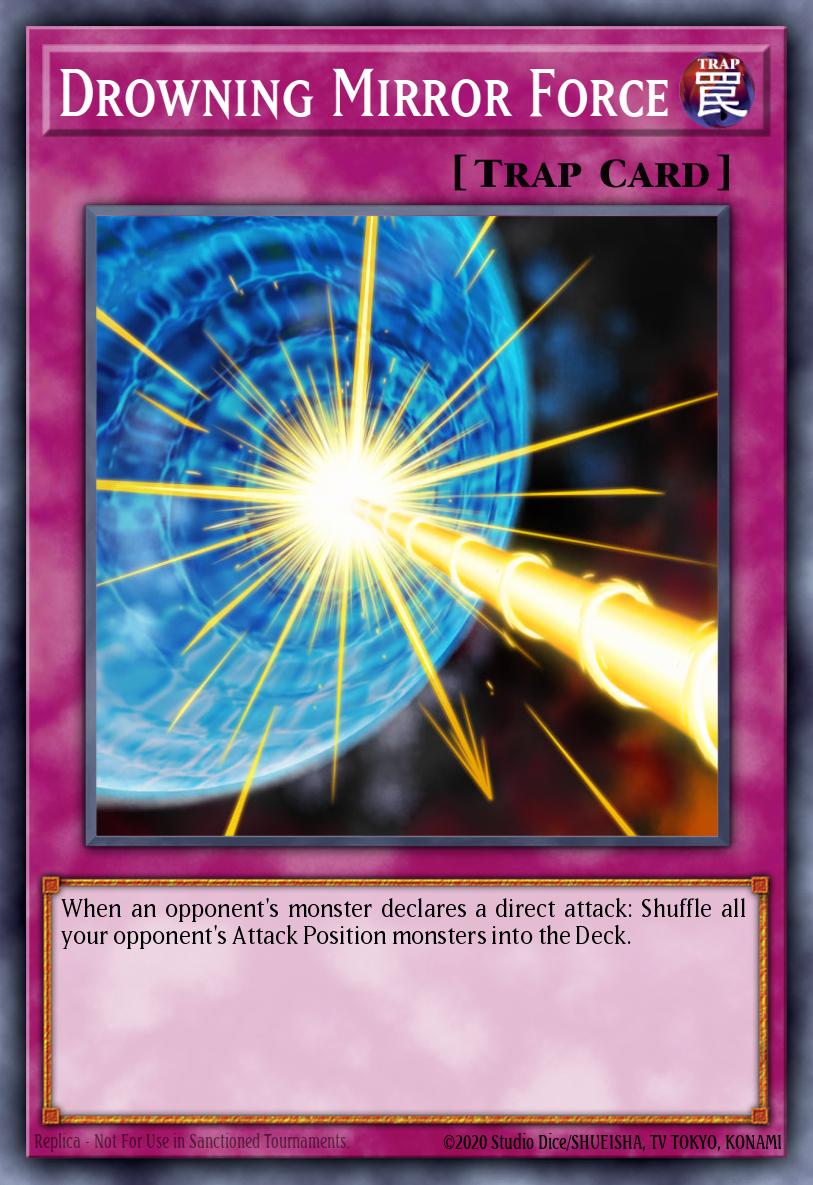
The card is frequently used for Yosenju. As mentioned above, Yosenju monsters will often return to the hand at the end of the turn. Therefore, you need to have a strong backrow system to compensate for this weakness. This card can instantly return your opponent's monsters to the deck without targeting a target. This is its great power. That's why this is one of the highly valued cards in Yosenju's deck. However, you will need to pay attention with the Superheavy Samurai. They are all from a defensive face-up position so it will be difficult to use this card on them.
Main Combos
Most of Yosenju's combos rely on continuous summons combined with his techs to return cards to the opponent's hand. To be honest, there probably won't be a combo at all. But you will need to understand more about how this deck works so I will give a few example combos that can occur in this deck:
Yosen Training Grounds, Fire Formation - Tenki and Blowing Up Yosen (Skill Card) (Combo #1 (Draw combo))
- You'll want to activate Fire Formation - Tenki first and bring a Yosenju monster into your hand depending on the monster you have in hand.
- Activate Yosen Training Grounds
- Normal summon Karma 2, its ability will allow you to normal summon Karma 1, right now, Karma 1 allows you to both summon Karma 3 and allows you to choose a face-up opponent's card to return. hand again. Summon Karma 3
- At this point you will want to activate your Skill to add counters to Yosen Training Grounds. You will have up to 6 counters if used correctly. Use 3 counters to search for cards (Can be Sword Sting or Tsujik) or use 1 counter to increase ATK. Depending on the situation, you will use your counters appropriately.
- At this time, you can go into an OTK turn if the opponent's field is too empty or the opponent's field still has some annoying monster, Xyz summon a strong monster like Number 70, for example. Take down and quickly OTK.
Yosen Training Grounds and Yosenju Izna (Combo #2 (Draw combo))
- Continue with your usual summoning, but this time you should summon Izna last.
- Use 3 counters on Yosen Training Grounds to search for cards (Should be Sword Sting)
- Using Izna allows you to draw an additional card. At this time, you will have 2 more cards in your hand, on the field there will be 3 Yosenju monsters and a spell card.
Yosenjus' Sword Sting, Yosenju Kama 1 and Yosenju Izna (Combo #3 (Combo to turn on cards))
- Summons Karma 1 and Izna last. Karma 1 allows you to return 1 face-up card back to your opponent's hand, Izna allows you to draw 1 additional card.
- Place the Sword Sting face down on the field (If you have both Sword Stings in your hand, don't hesitate to place them on the field)
- Assuming you control a Karma 2, you should use it to deal small damage to your opponent first.
- At the end of the turn the Yosenju will return to the hand. At this point, you can wait until your opponent's Standby Phase or wait until Battle Phase and then activate Sword Sting. Knock back up to 2 cards your opponent controls to interrupt their combo. This is Yosenju's constant annoyance. If you have a second Sword Sting, wait for your turn and then clear their field, because Sword Sting can only activate once per turn, so you need to keep this in mind.
Drowning Mirror Force, Yosenju Tsujik and Yosenju Kama 2 (Combo #4 (Combo to turn on cards))
- Summons Karma 2 first and Karma 3, always ending in Izna or another Karma up to you but Izna will allow you to draw more cards so this is considered a great bargain and is used more often.
- Set Drowning Mirror Force onto the field and prepare for your opponent's turn
- Assuming you draw more Tsujik, you should use it to increase Karma 2's ATK and use Karma 2 to punch your opponent. Although the amount of damage is small, it is enough to seriously injure your opponent. At this point, Karma 3 will allow you to bring another Yosenju card to your hand (Depending on the situation, you should choose wisely).
- At the end of your turn, the Yosenju return to your hand. What is waiting for the opponent now is DMF, if they attack, their field is once again empty, making way for you to OTK them next turn.
Yosenju Oyam, Yosenju Tsujik and Yosenju Kama 2 (Combo #5 (Protection combo))
Use the same as combo 4 but on your opponent's next turn, what's waiting for them is Oyam. It will sacrifice a way you can use with your opponent's monster but gives you the ability to search (find) cards. Thus, this sacrifice is truly of great significance.
Final thoughts
Actually, if used properly, the Yosenju will not need an Extra Deck, they themselves have greater power than humans with the ability to turn cards into the hand very annoyingly in a few turns. In combos, I won't say much about Extra Decks because depending on the situation, you will know which Extra Deck card is correct to use, they are very diverse depending on how you use them. However, I hope this guide can help you understand more about Yosenju and happily their Pendulum version - Mayosenju has been released, so in the future I may update another one. tutorial about that line of articles. Please look forward to it! ;)
duel-links
29
5
 Spell
Spell Continuous
Fire Formation - Gyokkou
Activate this card by targeting 1 Set Spell/Trap Card your opponent controls. Your opponent cannot activate the targeted card in response to this card's activation. While this card is face-up on the field, that Set card cannot be activated. All Beast-Warrior-Type monsters you control gain 100 ATK.
 WIND
WIND 6
6Yosenju Oyam
ATK:
0
DEF:
0
When an opponent's monster declares a direct attack: You can send 1 "Yosenju" monster from your hand to the Graveyard, except "Yosenju Oyam"; Special Summon this card from your hand. You can only use this effect of "Yosenju Oyam" once per turn. At the start of the Damage Step, if this card battles an opponent's face-up monster: You can make this card's ATK and DEF become equal to the original ATK of the opponent's monster it is battling, until the end of this turn. When this card is destroyed by battle and sent to the Graveyard: You can add 1 "Yosenju" card from your Deck to your hand.
Neo New Sylvio (Skill Card)
ATK:
0
DEF:
0
At the beginning of the Duel, add 1 "Yosenju Shinchu L", and 1 "Yosenju Shinchu R" to the bottom of your Deck. In addition, the following effect can be used once per Duel after your Life Points decrease by 2000. Return 1 "Yosenju" card in your hand to your Deck and add 1 "Yosenju Oroshi Channeling" to your hand from outside of your Deck. This Skill can only be used if you begin the Duel with a Deck that contains at least 9 "Yosenju" cards. (Extra Deck does not count.)
 DARK
DARK
Number 50: Blackship of Corn
ATK:
2100
DEF:
1500
2 Level 4 monsters Once per turn: You can detach 1 Xyz Material from this card, then target 1 face-up monster your opponent controls with ATK less than or equal to this card's; send it to the Graveyard, and if you do, inflict 1000 damage to your opponent. This card cannot attack the turn you activate this effect.
 Trap
Trap Normal
Yosenjus' Sword Sting
If you control no monsters: Reveal up to 2 "Yosenju" monsters with different names in your hand, then target the same number of face-up cards your opponent controls; return them to the hand. You can only activate 1 "Yosenjus' Sword Sting" per turn.
DARKNumber 70: Malevolent Sin
ATK:
2400
DEF:
1200
2 Level 4 monsters Once per turn: You can detach 1 Xyz Material from this card, then target 1 monster your opponent controls; banish it until your opponent's next Standby Phase. At the end of the Damage Step, if this card attacked: You can make this card gain 300 ATK, and if you do, increase its Rank by 3.
Spell Quick
QuickBook of Moon
Target 1 face-up monster on the field; change that target to face-down Defense Position.
 EARTH
EARTHNumber 52: Diamond Crab King
ATK:
0
DEF:
3000
2 Level 4 monsters Once per turn: You can detach 1 Xyz Material from this card; change this card's DEF to 0, and if you do, change its ATK to 3000. These changes last until the end of this turn. If this card attacks, it is changed to Defense Position at the end of the Battle Phase. If this card is attacked, change it to Attack Position at the end of the Damage Step if it has no Xyz Materials. You can only control 1 "Number 52: Diamond Crab King".
Spell
ContinuousYosen Training Grounds
Each time a "Yosenju" monster(s) is Normal or Special Summoned, place 1 Yosen Counter on this card. You can remove any number of Yosen Counters from this card; apply this effect, depending on the number of Yosen Counters removed. You can only use this effect of "Yosen Training Grounds" once per turn. ● 1 Counter: All "Yosenju" monsters you currently control gain 300 ATK until the end of this turn (even if this card leaves the field). ● 3 Counters: Add 1 "Yosenju" card from your Deck or Graveyard to your hand.
 FIRE
FIREBrotherhood of the Fire Fist - Tiger King
ATK:
2200
DEF:
1800
2 Level 4 Beast-Warrior monsters When this card is Xyz Summoned: You can Set 1 "Fire Formation" Spell/Trap directly from your Deck. Once per turn: You can detach 1 material from this card; negate the effects of all face-up Effect Monsters currently on the field, except Beast-Warriors, until the end of your opponent's turn. When this card is sent from the field to the GY: You can send 3 "Fire Formation" Spells/Traps you control to the GY; Special Summon 2 Level 4 or lower Beast-Warrior monsters with the same ATK from your Deck, in face-up Defense Position.
WINDDaigusto Emeral
ATK:
1800
DEF:
800
2 Level 4 monsters Once per turn: You can detach 1 material from this card, then activate 1 of these effects. ● Target 3 monsters in your GY; shuffle all 3 into the Deck, then draw 1 card. ● Target 1 non-Effect Monster in your GY; Special Summon that target.

Destiny Draw (Skill Card)
ATK:
0
DEF:
0
[If you lose 2000 or more LP, you can activate this Skill during your next Draw Phase.] During your Draw Phase, you may search your Deck for any card, reveal it to your opponent, and add it to your hand instead of drawing. If you do that, flip this card over.
 WATER
WATERAbyss Dweller
ATK:
1700
DEF:
1400
2 Level 4 monsters While this card has a material attached that was originally WATER, all WATER monsters you control gain 500 ATK. Once per turn (Quick Effect): You can detach 1 material from this card; your opponent cannot activate any card effects in their GY this turn.
WIND
4Yosenju Kama 1
ATK:
1600
DEF:
500
If this card is Normal Summoned, you can: Immediately after this effect resolves, Normal Summon 1 "Yosenju" monster from your hand, except "Yosenju Kama 1". If you control another "Yosenju" monster: You can target 1 face-up card your opponent controls; return it to the hand. This effect can only be used once while this card is face-up on the field. Once per turn, during the End Phase, if this card was Normal Summoned this turn: Return it to the hand.
Spell
ContinuousFire Formation - Tenki
When this card is activated: You can add 1 Level 4 or lower Beast-Warrior monster from your Deck to your hand. All Beast-Warrior monsters you control gain 100 ATK. You can only activate 1 "Fire Formation - Tenki" per turn.
DARK
1Sphere Kuriboh
ATK:
300
DEF:
200
When an opponent's monster declares an attack: You can send this card from your hand to the GY; change the attacking monster to Defense Position. When you Ritual Summon, you can banish this card from your GY as 1 of the monsters required for the Ritual Summon.
Spell Field
FieldNecrovalley
All "Gravekeeper's" monsters gain 500 ATK and DEF. Cards in the Graveyard cannot be banished. Negate any card effect that would move a card in the Graveyard to a different place. Negate any card effect that changes Types or Attributes in the Graveyard.
 LIGHT
LIGHTNumber 39: Utopia
ATK:
2500
DEF:
2000
2 Level 4 monsters When a monster declares an attack: You can detach 1 material from this card; negate the attack. If this card is targeted for an attack, while it has no material: Destroy this card.
Spell
QuickCosmic Cyclone
Pay 1000 LP, then target 1 Spell/Trap on the field; banish it.
Spell
QuickMystical Space Typhoon
Target 1 Spell/Trap on the field; destroy that target.
LIGHTNumber 18: Heraldry Patriarch
ATK:
2200
DEF:
2200
2 Level 4 monsters Once per Chain, during either player's turn, if 2 or more monsters with the same name are on the field: You can detach 1 Xyz Material from this card; choose 1 monster among those with the same name, and destroy all other monsters with that name. While this card remains face-up on the field, your opponent cannot Summon monsters with the same name as any of the monster(s) chosen for this card's effect. If this card is sent to the Graveyard: You can send 2 "Heraldic Beast" monsters from your Deck to the Graveyard.
Blowing Up Yosen (Skill Card)
ATK:
0
DEF:
0
Select 1 "Yosen Training Grounds" you control and place Yosen Counter(s) on it equal to the number of "Yosenju" monsters on your field. This Skill can only be used once per Duel. In addition, add a Pendulum Zone to your field if you began the Duel with a Deck that has 9 or more "Yosenju" monsters. (Extra Deck does not count.)
LIGHTNumber C39: Utopia Ray
ATK:
2500
DEF:
2000
3 Level 4 LIGHT monsters You can also Xyz Summon this card by using a "Number 39: Utopia" you control as the Xyz Material. (Xyz Materials attached to that monster also become Xyz Materials on this card.) You can detach 1 Xyz Material from this card; it gains 500 ATK and 1 monster your opponent controls loses 1000 ATK, until the End Phase. You must have 1000 Life Points or less to activate and to resolve this effect.
LIGHTNumber 91: Thunder Spark Dragon
ATK:
2400
DEF:
2000
3 Level 4 monsters Once per turn, you can activate 1 of these effects. ● Detach 3 Xyz Materials from this card; destroy all other face-up monsters on the field. ● Detach 5 Xyz Materials from this card; destroy all cards your opponent controls.
DARKSteelswarm Roach
ATK:
1900
DEF:
0
2 Level 4 monsters During either player's turn, when a Level 5 or higher monster would be Special Summoned: You can detach 1 Xyz Material from this card; negate the Special Summon, and if you do, destroy it.
FIRE
4Battlin' Boxer Veil
ATK:
0
DEF:
1800
When you take battle damage: You can Special Summon this card from your hand, and if you do, gain Life Points equal to the damage you took.
EARTHGagaga Cowboy
ATK:
1500
DEF:
2400
2 Level 4 monsters Once per turn: You can detach 1 Xyz Material from this card; apply this effect, depending on this card's current battle position. ● Attack Position: If this card attacks an opponent's monster this turn, it gains 1000 ATK, also the opponent's monster loses 500 ATK, during the Damage Step only. ● Defense Position: Inflict 800 damage to your opponent.
EARTHDiamond Dire Wolf
ATK:
2000
DEF:
1200
2 Level 4 monsters Once per turn: You can detach 1 Xyz Material from this card, then target 1 Beast, Beast-Warrior, or Winged Beast-Type monster you control and 1 other card on the field; destroy them.
LIGHTStellarknight Delteros
ATK:
2500
DEF:
2100
3 Level 4 monsters While this card has Xyz Material, your opponent cannot activate cards or effects when you Normal or Special Summon a monster(s). Once per turn: You can detach 1 Xyz Material from this card, then target 1 card on the field; destroy it. If this card is sent from the field to the Graveyard: You can Special Summon 1 "tellarknight" monster from your hand or Deck.
WIND
4Yosenju Izna
ATK:
800
DEF:
1200
Once per turn, during the End Phase, if this card was Normal Summoned this turn: Return it to the hand. You can only use each of the following effects of "Yosenju Izna" once per turn. ● You can discard this card; this turn, your opponent cannot activate cards or effects when a "Yosenju" monster(s) is Normal or Special Summoned. ● If you control another "Yosenju" monster: You can draw 1 card.
WIND
4Yosenju Kama 3
ATK:
1500
DEF:
800
If this card is Normal Summoned, you can: Immediately after this effect resolves, Normal Summon 1 "Yosenju" monster from your hand, except "Yosenju Kama 3". When another "Yosenju" monster you control inflicts battle damage to your opponent: You can add 1 "Yosenju" card from your Deck to your hand, except "Yosenju Kama 3". You can only use this effect of "Yosenju Kama 3" once per turn. Once per turn, during the End Phase, if this card was Normal Summoned this turn: Return it to the hand.
Spell
NormalNight Beam
Target 1 Set Spell/Trap your opponent controls; destroy that target. Your opponent cannot activate the targeted card in response to this card's activation.
EARTHGagaga Samurai
ATK:
1900
DEF:
1600
2 Level 4 monsters Once per turn: You can detach 1 material from this card, then target 1 "Gagaga" monster you control; it can make a second attack during each Battle Phase this turn. When another monster you control is targeted for an attack while this card is in Attack Position: You can change this card to face-up Defense Position, and if you do, change the attack target to this card and perform damage calculation.
DARKMaestroke the Symphony Djinn
ATK:
1800
DEF:
2300
2 Level 4 monsters Once per turn: You can detach 1 Xyz Material from this card, then target 1 face-up Attack Position monster your opponent controls; change it to face-down Defense Position. If a "Djinn" Xyz Monster you control would be destroyed, you can detach 1 Xyz Material from that monster instead.
WIND
1Kiteroid
ATK:
200
DEF:
400
During damage calculation, if your opponent's monster attacks directly (Quick Effect): You can discard this card; you take no battle damage from that battle. During damage calculation, if your opponent's monster attacks directly (Quick Effect): You can banish this card from your Graveyard; you take no battle damage from that battle.
Trap
NormalDrowning Mirror Force
When an opponent's monster declares a direct attack: Shuffle all your opponent's Attack Position monsters into the Deck.
WIND
4Yosenju Tsujik
ATK:
1000
DEF:
0
During the End Phase, if this card was Normal Summoned this turn: Return it to the hand. You can only use each of these effects of "Yosenju Tsujik" once per turn. ● During either player's Damage Step, when a "Yosenju" monster you control battles an opponent's monster: You can discard this card; that monster you control gains 1000 ATK until the end of this turn. ● You can target 1 "Yosenju" monster on the field; it gains 1000 ATK until the end of this turn.
WIND
4Yosenju Kama 2
ATK:
1800
DEF:
200
If this card is Normal Summoned, you can: Immediately after this effect resolves, Normal Summon 1 "Yosenju" monster from your hand, except "Yosenju Kama 2". This card can attack your opponent directly, but when it does so using this effect, the battle damage inflicted to your opponent is halved. Once per turn, during the End Phase, if this card was Normal Summoned this turn: Return it to the hand.
The Tie that Binds
ATK:
0
DEF:
0
Until the end of your turn, the ATK of all face-up monsters on your field increases by the number of monsters on your field times 100. This Skill can only be used once per turn.
Menu
https://metaduelist.com/