The playing style of this deck is unique, fun, and challenging. Of all the Duel Links decks that exist, this is the most difficult and interactive. Matches can go on for a long time, and resource management is essential to any victory. As you will see from this guide, there are definitely standard plays that you must learn about this deck. However, the beauty of this deck is in the new situations that constantly arise. Every few matches I discover a new interaction I've never encountered before or some crazy combo that I feel would be awesome if done right. There are countless ways to play wrong, but there are also countless ways to beat your opponent. This deck is easy to learn to play, but very difficult to perfect. Hopefully, after reading this guide, you will be one step closer to becoming a Triamid Master !.
Instructions for playing Triamid
Sections covered in this guide:
Directions for building and using Skills
As of now, there are two play styles in the game, each with its own unique build and gameplay. The first to use is to use a generic skill like Balance or Sealed Tombs . Another way is to use Harpies' Hunting Ground . After a while and after Balance was nefted along with Noble Knight , Harpies' Hunting Ground usage became the most successful in recent tournament play.
Construction direction according to Sealed Tombs
Sealed Tombs (Skill Card) (Used but with low effectiveness)

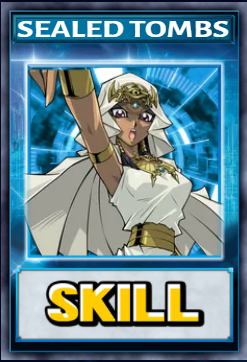
Sealed Tombs (Skill Card)
ATK:
0
DEF:
0
Can be used if your Life Points are lower than your opponent's by 1000 or more. Until the end of your opponent's next turn, neither player can banish cards from the Graveyard or Special Summon monsters from the Graveyard. This Skill can only be used once per Duel.
Building around Sealed Tombs has the ability to supplement the lack of interaction with the enemy through locking the tomb after using Cosmic Cyclone . The main advantages of this build include: overall flexibility while maintaining high stability (but not guaranteed, like Balance ). This deck is significantly cheaper to buy or build with Gems or top-ups but very little as most cards can be purchased through free in-game means (like Card Trader ) or all of them. in the same box together. Weaknesses of this build include: extremely large number of core cards causing lack of room for protection/Tech Cards, lack of build options and reliance on destruction and/or removal during most interruptions.
Building direction according to Balance
Balance (Temporarily effective)

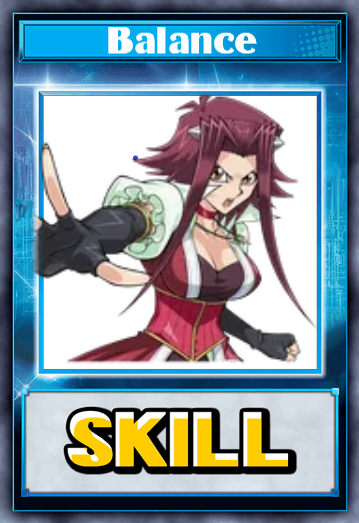
Balance
ATK:
0
DEF:
0
Your starting hand will reflect the card balance of your Deck. This Skill will not activate unless you have at least 6 of each type of card (Monster, Spell, and Trap) in your Deck. You cannot Special Summon or activate monster effects until the end of the Main Phase of your first turn.
Initially, we tried to include both Tech Cards and Cores in the Balance build with a card count of 20, but it wasn't strong enough. By simply adding more cards, this allows us to play more Tech Cards without sacrificing vital Field Spell resources, while maintaining the perfect balance of 1 monster, 1 spell, and 1 trap, with the possibility of an additional Field Spell or monster as a fourth card. Because having trap cards to protect is paramount in many matches, the Balance version is preferred over Tie that Binds and Sealed Tombs .
Construction direction follows Harpies' Hunting Ground
Harpies' Hunting Ground (Skill Card) (High efficiency)
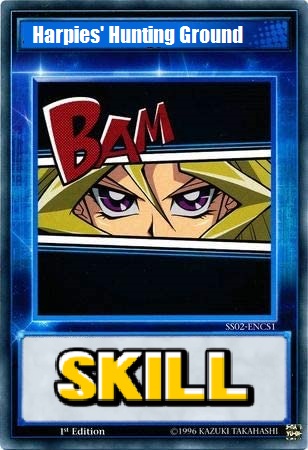
Harpies' Hunting Ground (Skill Card)
ATK:
0
DEF:
0
Can only be used at the beginning of the Main Phase of your first turn. Return 1 card fronm your hand to your Deck and place 1 "Harpies' Hunting Ground" to your Field Zone from your Deck. If you control a Field Spell, place it in the Graveyard.
Harpies' Hunting Ground is another main skill that is more popular than the two skills mentioned above, and can only be found in Mai Valentine . With the rise of Harpies in the newly released Box, you can trick your opponents into thinking you play Harpies. You can also activate any environmental spell card from your deck using Triamid's effect. Harpies' Hunting Ground can also be used as a Triamid Pulse material to activate a 2nd effect to recycle 1 Triamid from the grave to continue performing his combo.
Gameplay is simpler with Destiny Draw
Destiny Draw (Skill Card) (Can be used in place of any of the above skills)
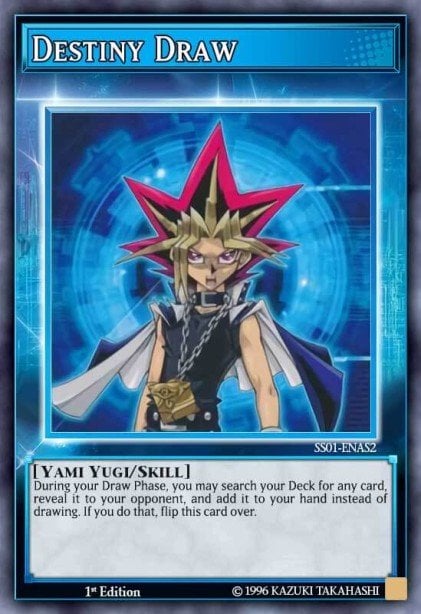
Destiny Draw (Skill Card)
ATK:
0
DEF:
0
[If you lose 2000 or more LP, you can activate this Skill during your next Draw Phase.] During your Draw Phase, you may search your Deck for any card, reveal it to your opponent, and add it to your hand instead of drawing. If you do that, flip this card over.
Destiny Draw allows you to draw any card in your deck when your life points decrease by 2000. This is a skill that makes your opponents dare not attack when they cannot finish the match and this is can be a way to make your opponent slow down.
Core Cards
Triamid Master (x2-3)
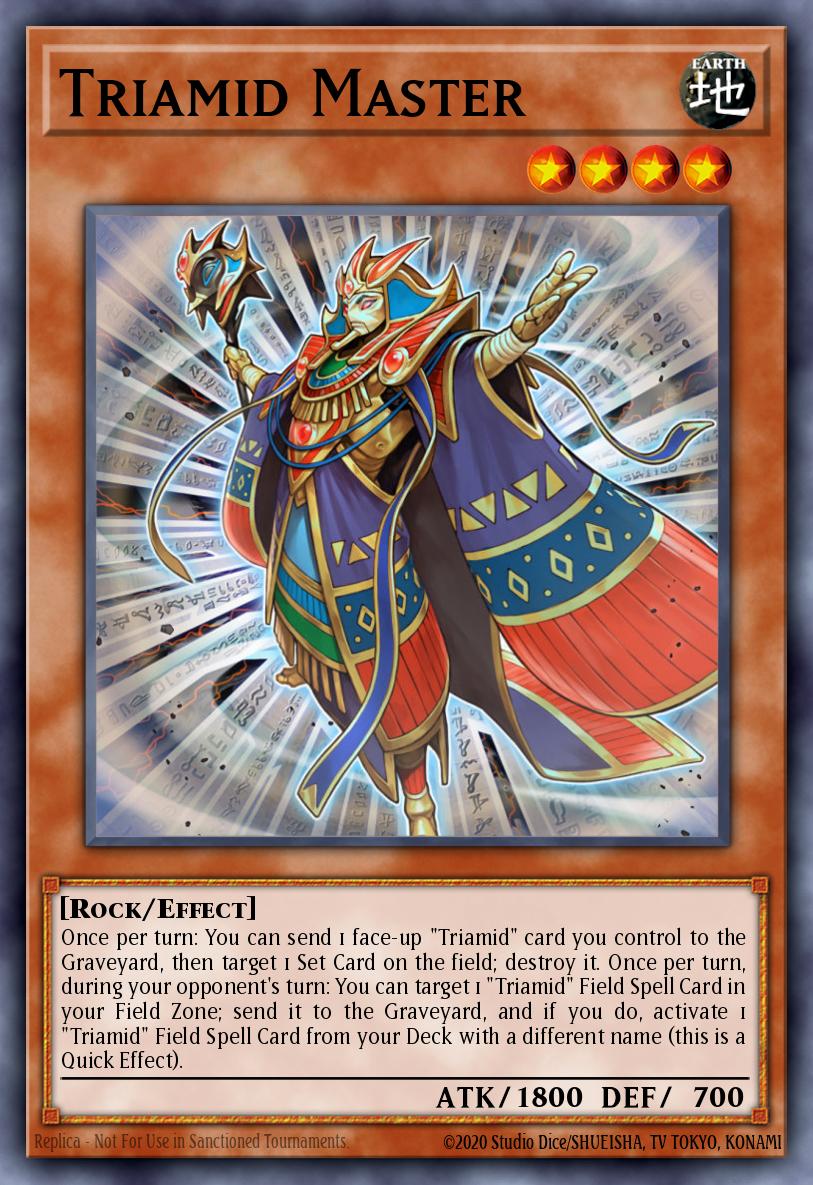
 EARTH
EARTH 4
4Triamid Master
ATK:
1800
DEF:
700
Once per turn: You can send 1 face-up "Triamid" card you control to the Graveyard, then target 1 Set Card on the field; destroy it. Once per turn, during your opponent's turn: You can target 1 "Triamid" Field Spell Card in your Field Zone; send it to the Graveyard, and if you do, activate 1 "Triamid" Field Spell Card from your Deck with a different name (this is a Quick Effect).
This monster is the largest of the three monsters in this deck, with a solid 1800 ATK. Triamid Master 's main effect allows you to send any face-up Triamid card you control to the graveyard (including itself) to target any card on the field and destroy it. This effect is very good against Spell/Trap cards, especially good against Subterrors . Triamid Master 's second effect is shared by all three Triamid monsters. Each card will allow you to send a field spell card from your field to the graveyard and play another field spell card with a different name from your deck. This is where the deck's creative playing style comes into play. Triamid Master should be played from x2-3, depending on whether you play 1 or 2 Triamid Dancers .
Triamid Hunter (x2-3)

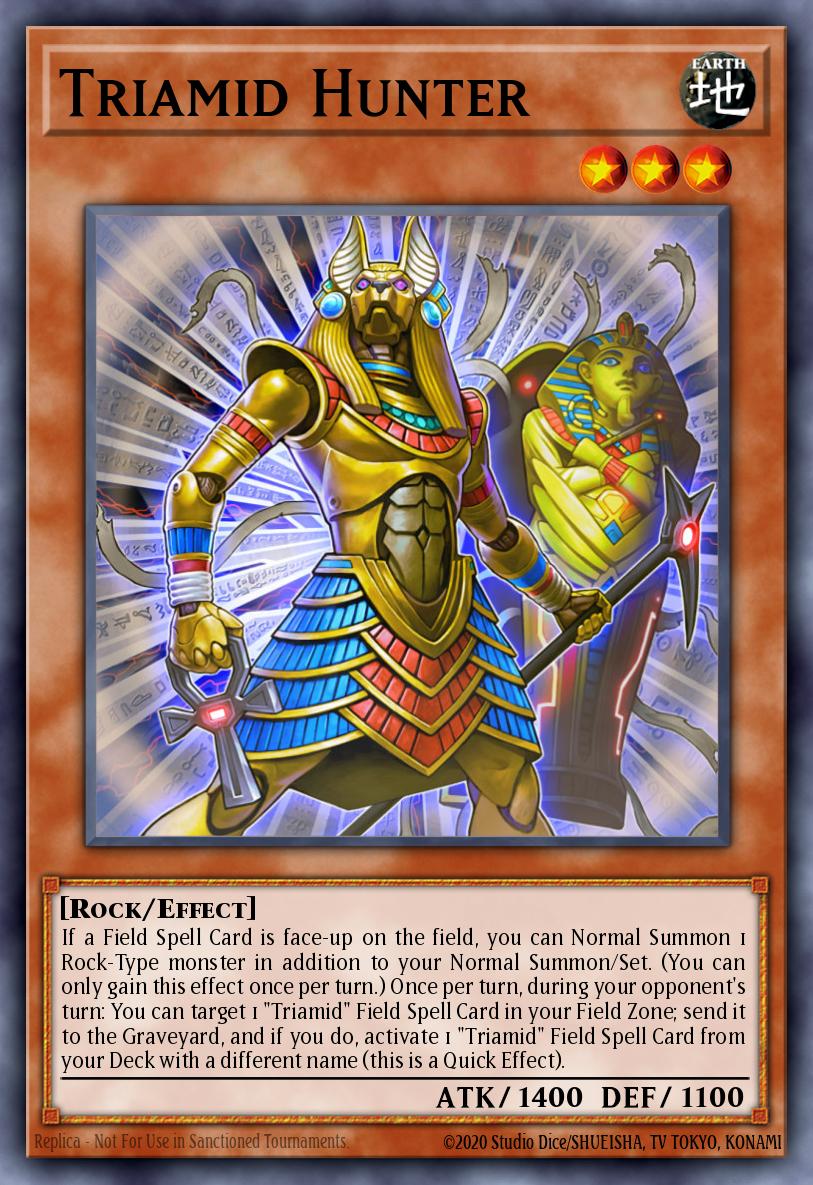 EARTH
3
EARTH
3Triamid Hunter
ATK:
1400
DEF:
1100
If a Field Spell Card is face-up on the field, you can Normal Summon 1 Rock-Type monster in addition to your Normal Summon/Set. (You can only gain this effect once per turn.) Once per turn, during your opponent's turn: You can target 1 "Triamid" Field Spell Card in your Field Zone; send it to the Graveyard, and if you do, activate 1 "Triamid" Field Spell Card from your Deck with a different name (this is a Quick Effect).
When you control a field spell card, Triamid Hunter grants you an additional normal summon of any Rock monster. This effect allows you to set two monsters on the field, which in turn allows you to cycle through two different environment spell cards during your opponent's turn while also providing your graveyard with materials for Triamid 's effect Pulse . Triamid Hunter is extremely important, but also very weak, at 1400 ATK (1900 ATK with Triamid Kingolem ) For this reason, some players choose to play him at 2 and play 3 copies of Triamid Master .
Triamid Dancer (x1-2)

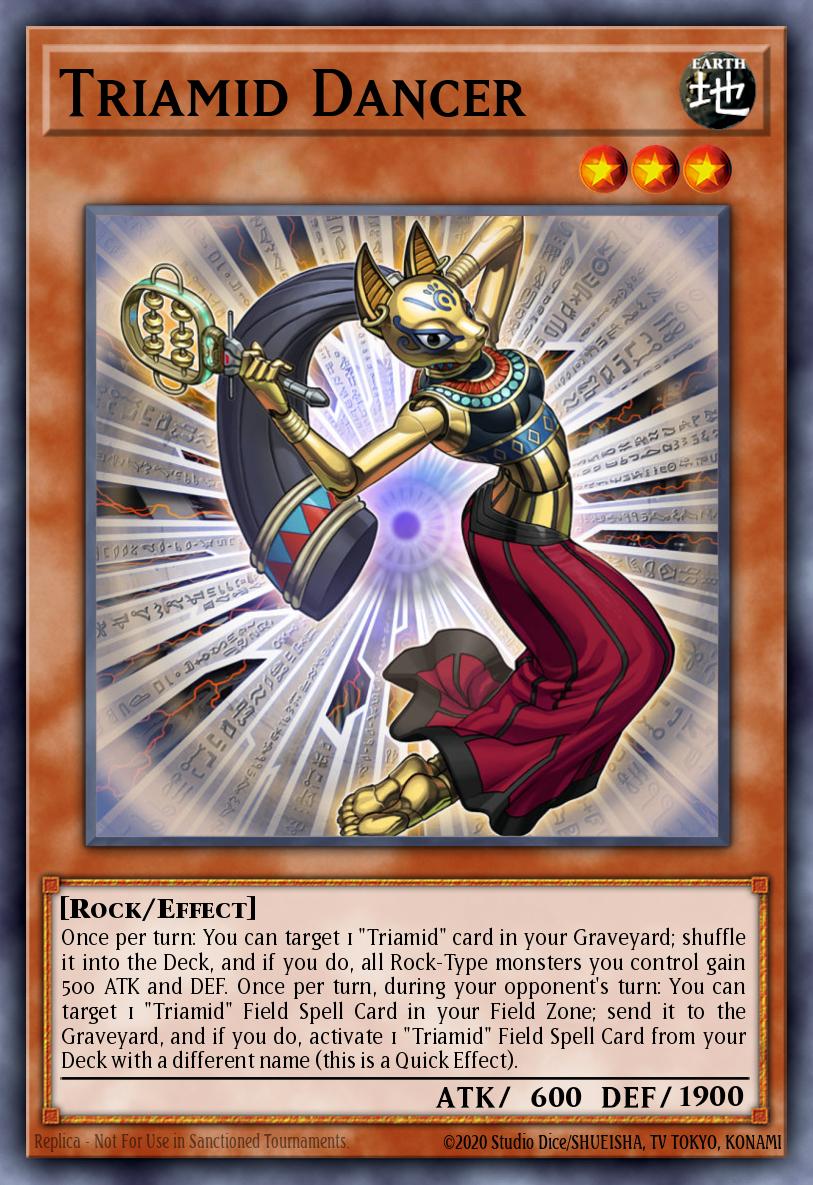 EARTH
3
EARTH
3Triamid Dancer
ATK:
600
DEF:
1900
Once per turn: You can target 1 "Triamid" card in your Graveyard; shuffle it into the Deck, and if you do, all Rock-Type monsters you control gain 500 ATK and DEF. Once per turn, during your opponent's turn: You can target 1 "Triamid" Field Spell Card in your Field Zone; send it to the Graveyard, and if you do, activate 1 "Triamid" Field Spell Card from your Deck with a different name (this is a Quick Effect).
Arguably the worst of the three Triamid monsters, but certainly important. Triamid Dancer is very weak with only 600 ATK, but has a decent DEF of 1900. Using her main effect will be your main goal in every match. By shuffling any Triamid card from your grave into the deck, you can increase the ATK and DEF of all your Rocks by 500. This is a permanent increase. If she stays on the field for more than a turn and activates her effect twice, your Triamid Master will have a rather large 2800 ATK and will be increased to 3300 ATK with the field spell Triamid Kingolem , as you will see in a second. Triamid Dancer should be played in 1-2 copies. She's not good enough to be played in the first turn, but setting up two Triamid Dancers allows you to increase your Triamid ATK at double the rate and very quickly. If you choose two Triamid Dancers , cut the Triamid Master or Triamid Hunter down to two, as 7 monsters is an ideal number.
Triamid Cruiser (x3)
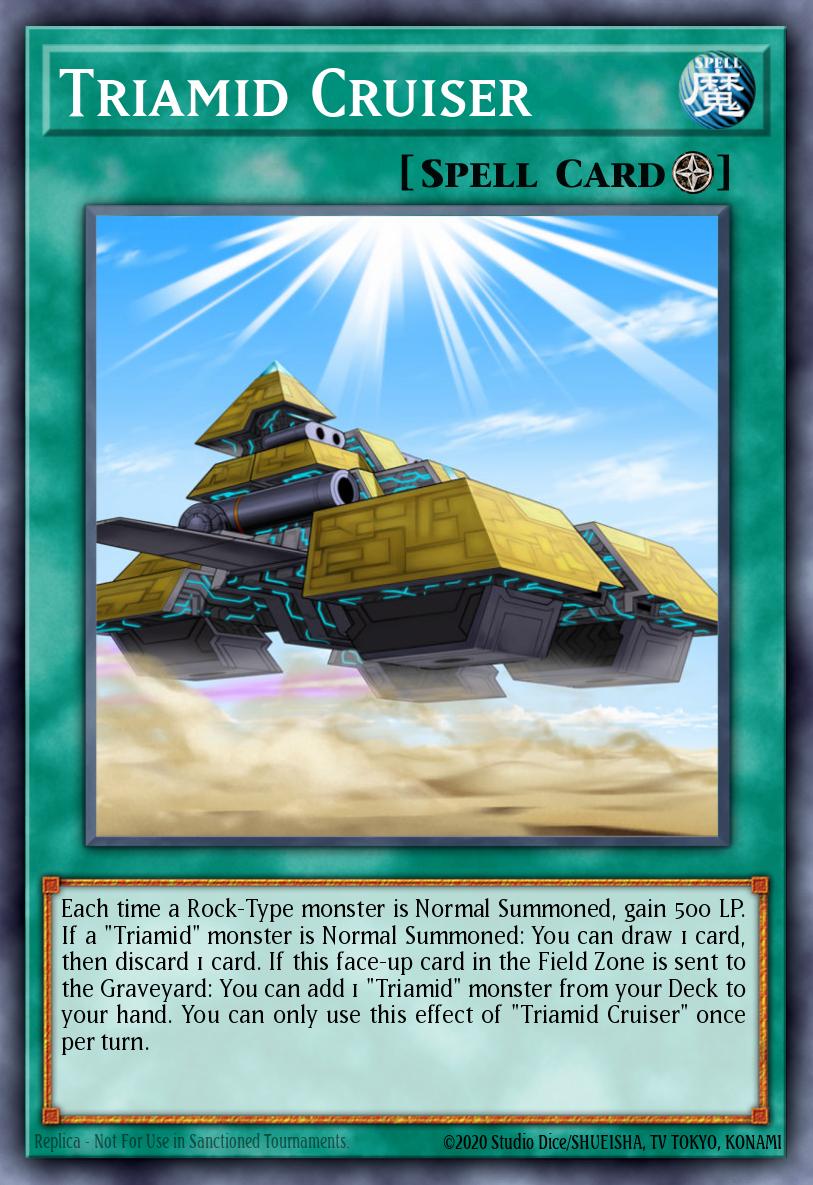
 Spell
Spell Field
FieldTriamid Cruiser
Each time a Rock-Type monster is Normal Summoned, gain 500 LP. If a "Triamid" monster is Normal Summoned: You can draw 1 card, then discard 1 card. If this face-up card in the Field Zone is sent to the Graveyard: You can add 1 "Triamid" monster from your Deck to your hand. You can only use this effect of "Triamid Cruiser" once per turn.
The environmental spell Triamid Cruiser is great and increases the stability of the deck. You will use this card continuously during battle, more times than the three copies allowed. These environmental spell cards activate their effects while on the field and when they are sent to the grave. While the Triamid Cruiser is face-up on the level, you gain 500 Life Points each time a Rock monster is normally summoned (by either player.) Additionally, when a Triamid monster is normally summoned (also by a in two players), you can draw one card and send one card to the grave. At the very least, this will allow you to supply graveyard materials for use with trap cards and other environmental spell cards. At best though, it will draw you into one of the Tech Cards you play and help set up a great field. When Triamid Cruiser is sent to the grave, you can search any Triamid monster in your deck. This deck has three ways to send environmental spell cards to the graveyard: you can use Triamid Master 's effect to send a Triamid and destroy a card, you can use your Triamid monster during the turn of your opponent to send your field spell cards to the grave, or you can simply play a field spell card on the other field spell card. This will allow you to turn Triamid Cruiser into any monster you need when you draw it in tandem with another environment spell card on turn one. Needless to say, Triamid Cruiser is mandatory in 3 leaves.
Triamid Kingolem (x3)
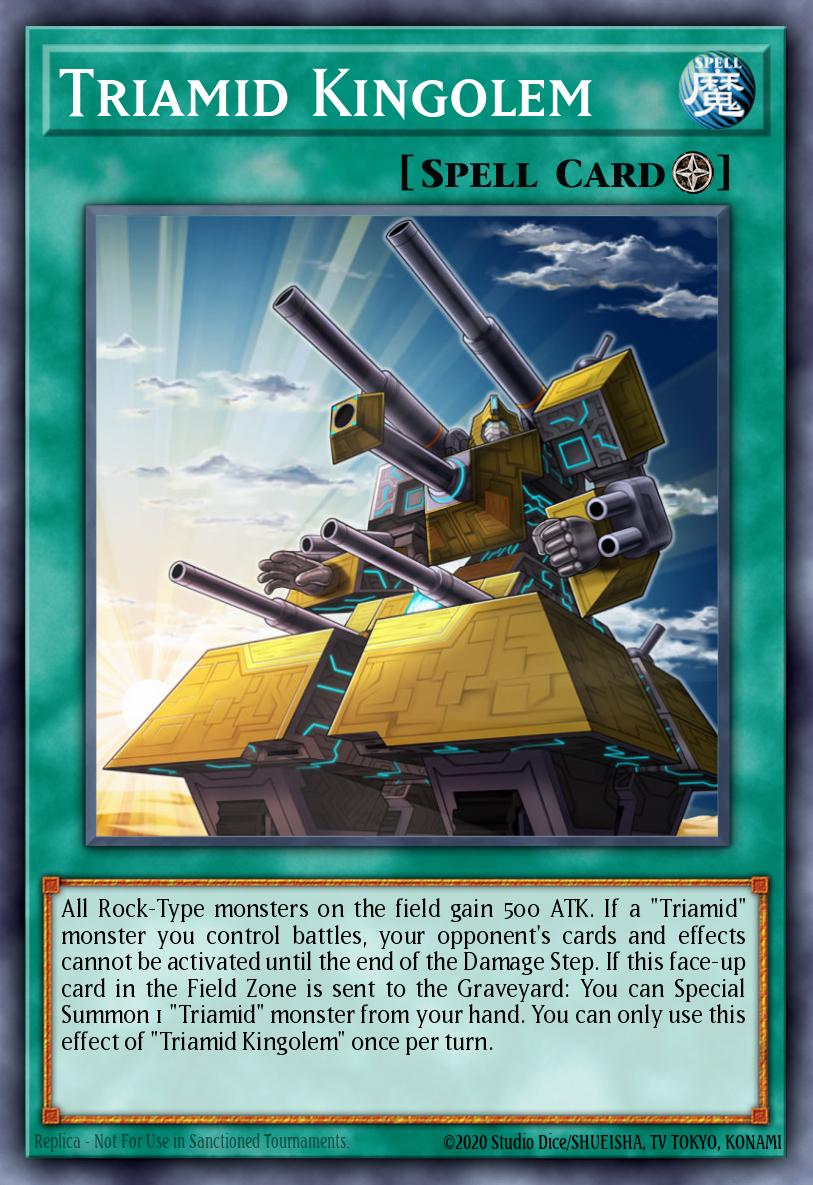 Spell
Field
Spell
FieldTriamid Kingolem
All Rock-Type monsters on the field gain 500 ATK. If a "Triamid" monster you control battles, your opponent's cards and effects cannot be activated until the end of the Damage Step. If this face-up card in the Field Zone is sent to the Graveyard: You can Special Summon 1 "Triamid" monster from your hand. You can only use this effect of "Triamid Kingolem" once per turn.
Despite my lengthy explanation of Triamid Cruiser , Triamid Kingolem is still arguably the best environment spell card. This card is the win condition of the deck. While on the field, Triamid Kingolem increases the Rock monster's attack by 500. More importantly, it prevents your opponent from using any cards or effects when your Triamid monster attacks. That's right, this environmental spell card turns all of your Triamid into Armades, Keeper of Boundaries . The potential of this deck stems from this simple proposition. Triamid Kingolem 's other effect occurs when it is sent to the grave, and it allows you to special summon a Triamid monster from your hand. The deck's turns can become even more hectic because of this effect, as you'll see in some of the scenarios I describe below. Again, using 3 cards is mandatory.
Triamid Fortress (x1-2)
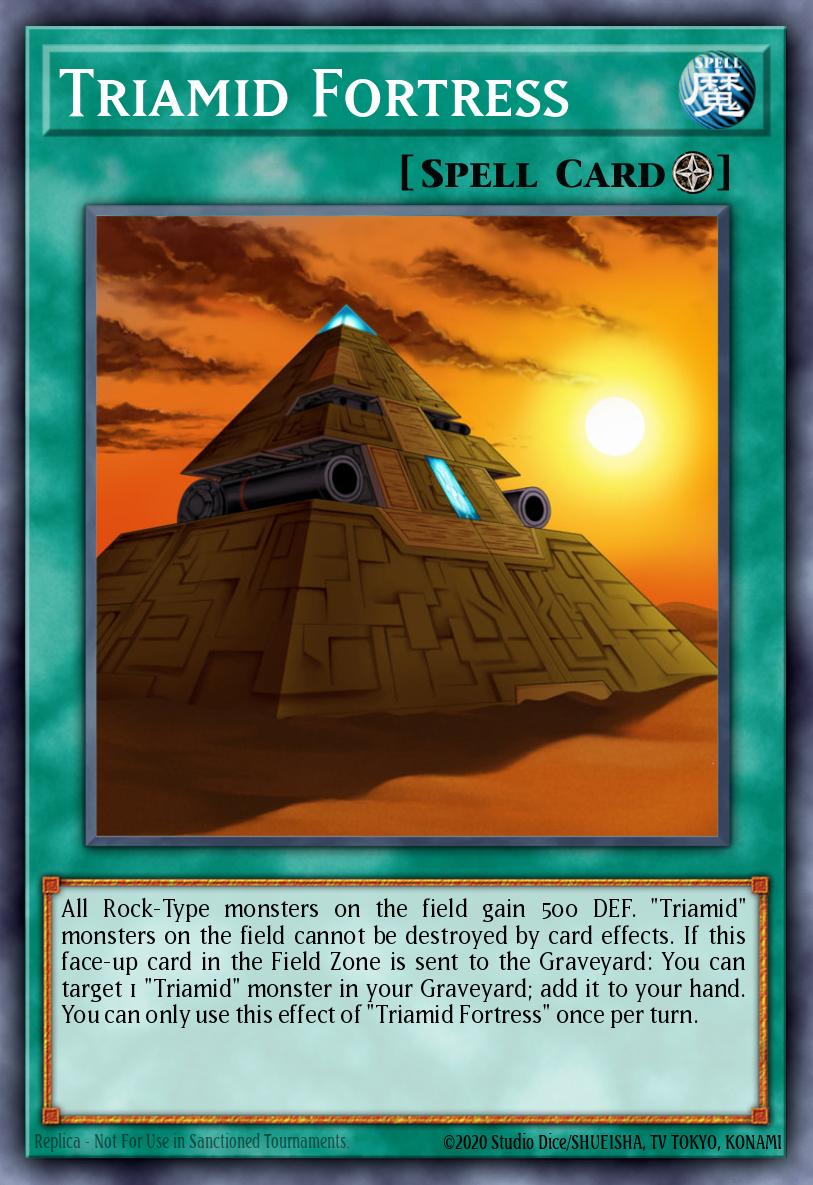 Spell
Field
Spell
FieldTriamid Fortress
All Rock-Type monsters on the field gain 500 DEF. "Triamid" monsters on the field cannot be destroyed by card effects. If this face-up card in the Field Zone is sent to the Graveyard: You can target 1 "Triamid" monster in your Graveyard; add it to your hand. You can only use this effect of "Triamid Fortress" once per turn.
It is definitely the less used of the three environment spell cards. Triamid Fortress gives all Rock monsters a 500 DEF boost and protects your Triamid from destructive effects. When it is sent from the field to the grave, you can add one Triamid monster from the grave to your hand. Normally, this is better in the early turns, but if you use Triamid Cruiser 's card draw and graveyard effects, Triamid Fortress can be useful much earlier than usual. These reasons cause it to be used less than any other environment spell card, so it should be played 1-2 cards. You don't really want to see it in your hand on your first turn, but you definitely want to play through it and get the materials in the grave for your Triamid Pulse .
Triamid Pulse (x1-3)
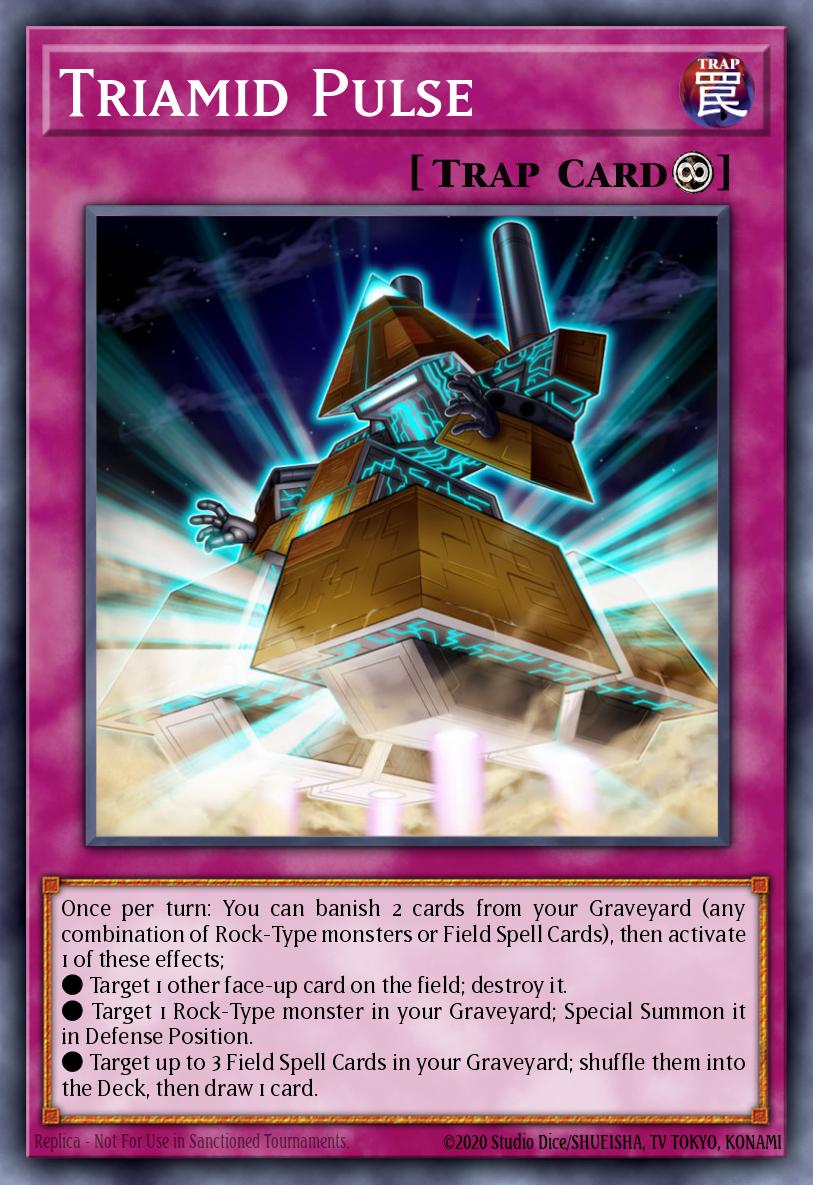
 Trap
Trap Continuous
Triamid Pulse
Once per turn: You can banish 2 cards from your Graveyard (any combination of Rock-Type monsters or Field Spell Cards), then activate 1 of these effects; ● Target 1 other face-up card on the field; destroy it. ● Target 1 Rock-Type monster in your Graveyard; Special Summon it in Defense Position. ● Target up to 3 Field Spell Cards in your Graveyard; shuffle them into the Deck, then draw 1 card.
And finally the only trap card in the deck. This card has been around for quite a while and was used in Magnets in early 2018. However, it can only remove Rock monsters in that deck. Now, we can use it to its full potential in the deck it was created for. Triamid Pulse allows you to discard two cards (Rock Monster, Field Spell Card, or a combination of both) to activate one of its three effects. The first effect is the best and by far the most used: destroy a face-up card on the field, plain and simple. I never saw a second or third effect used until the release of Triamid . The second effect allows you to special summon a Rock monster from your grave in defense position, which can be very handy for blocking attacks. You can also use this effect during your opponent's End Phase to use another Triamid monster's effect to filter the deck and activate another environment spell card. The third and final effect I hardly use, and I only need to use it in extreme matches (up to 20 or 30 turns.) The third effect allows you to shuffle dark Return three environmental spell cards to the deck and draw one card. Remember that this is after you discard two cards from the graveyard, so you don't have unlimited resources. You'll come out slower though, which is great if Stall decks become effective again.
Triamid Sphinx (x1)
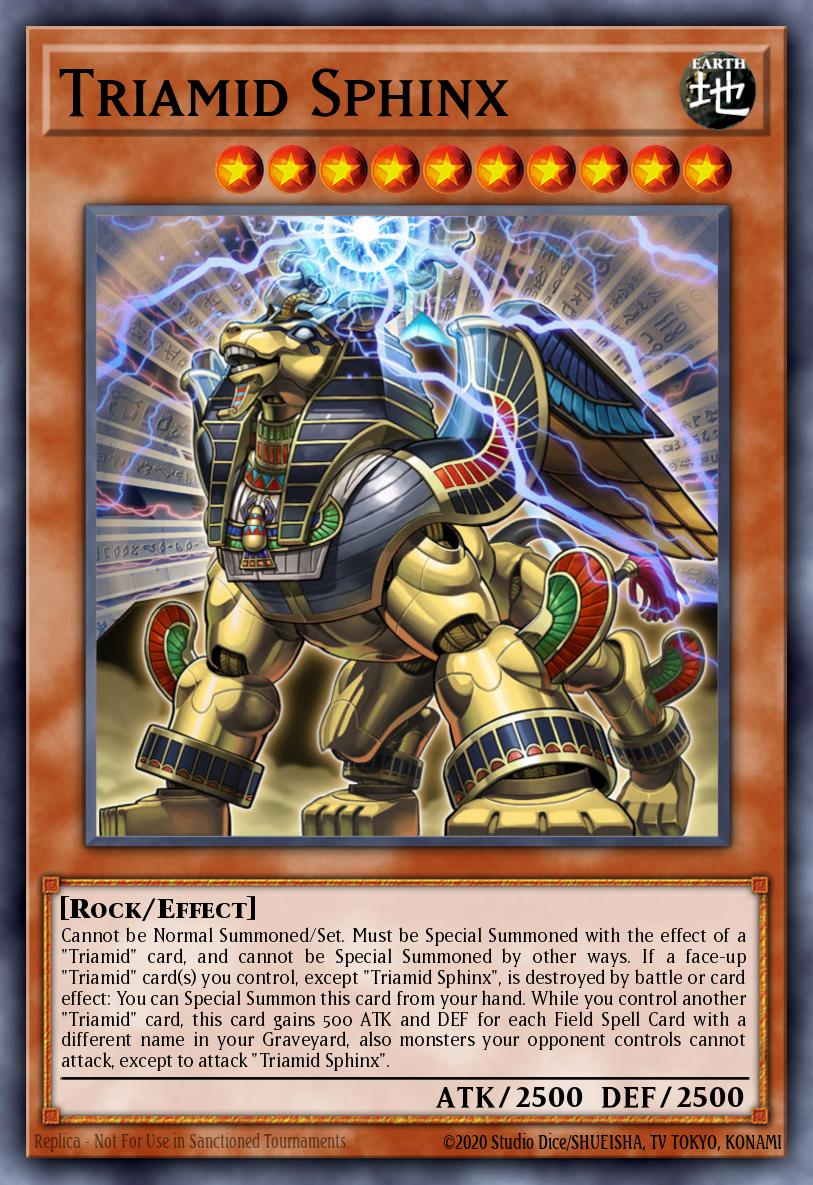 EARTH
10
EARTH
10Triamid Sphinx
ATK:
2500
DEF:
2500
Cannot be Normal Summoned/Set. Must be Special Summoned with the effect of a "Triamid" card, and cannot be Special Summoned by other ways. If a face-up "Triamid" card(s) you control, except "Triamid Sphinx", is destroyed by battle or card effect: You can Special Summon this card from your hand. While you control another "Triamid" card, this card gains 500 ATK and DEF for each Field Spell Card with a different name in your Graveyard, also monsters your opponent controls cannot attack, except to attack "Triamid Sphinx".
Triamid Sphinx is your main monster. Because it cannot be summoned normally but only through the effects of the Triamid and itself. This will usually be what you will summon after 1 of your Triamid is destroyed by an effect or battle. It can gain 4000 ATK if there are 3 environment spell cards in the graveyard.
Powersink Stone (x1-2)
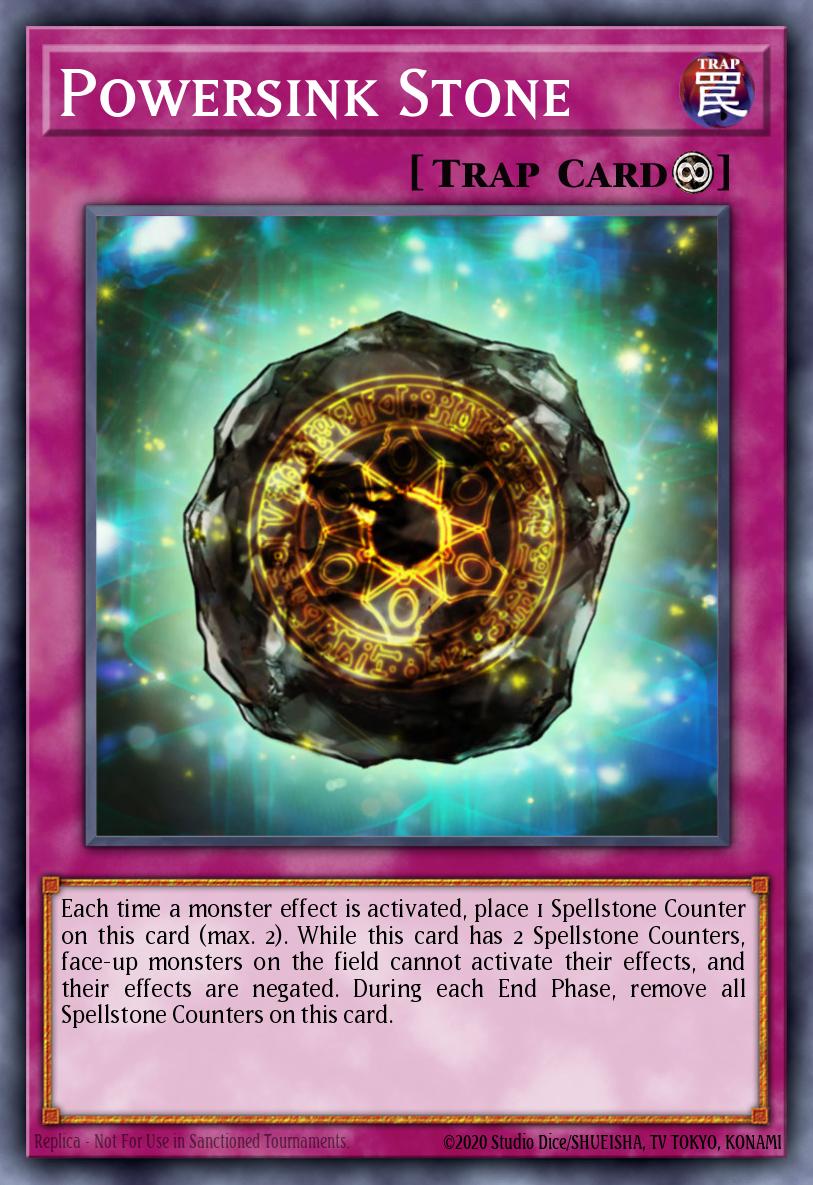 Trap
Continuous
Trap
ContinuousPowersink Stone
Each time a monster effect is activated, place 1 Spellstone Counter on this card (max. 2). While this card has 2 Spellstone Counters, face-up monsters on the field cannot activate their effects, and their effects are negated. During each End Phase, remove all Spellstone Counters on this card.
Powersink Stone is one of the good choices when facing decks that rely heavily on monster effects like Thunder Dragon or Magnet but is often useless against decks that use a lot of Spells/Traps. This card is also a double-edged sword because it also prohibits your own Triamid monsters from activating effects and also makes your combos more complicated. You should consider putting Powersink Stone in your deck.
Extra Deck
The following Extra Deck monsters are completely optional. You can use any Extra Deck monster you have. Triamid will still work well without an Extra Deck but it will become better depending on the situation to summon Extra Deck monsters without relying too much on Triamid Sphinx.
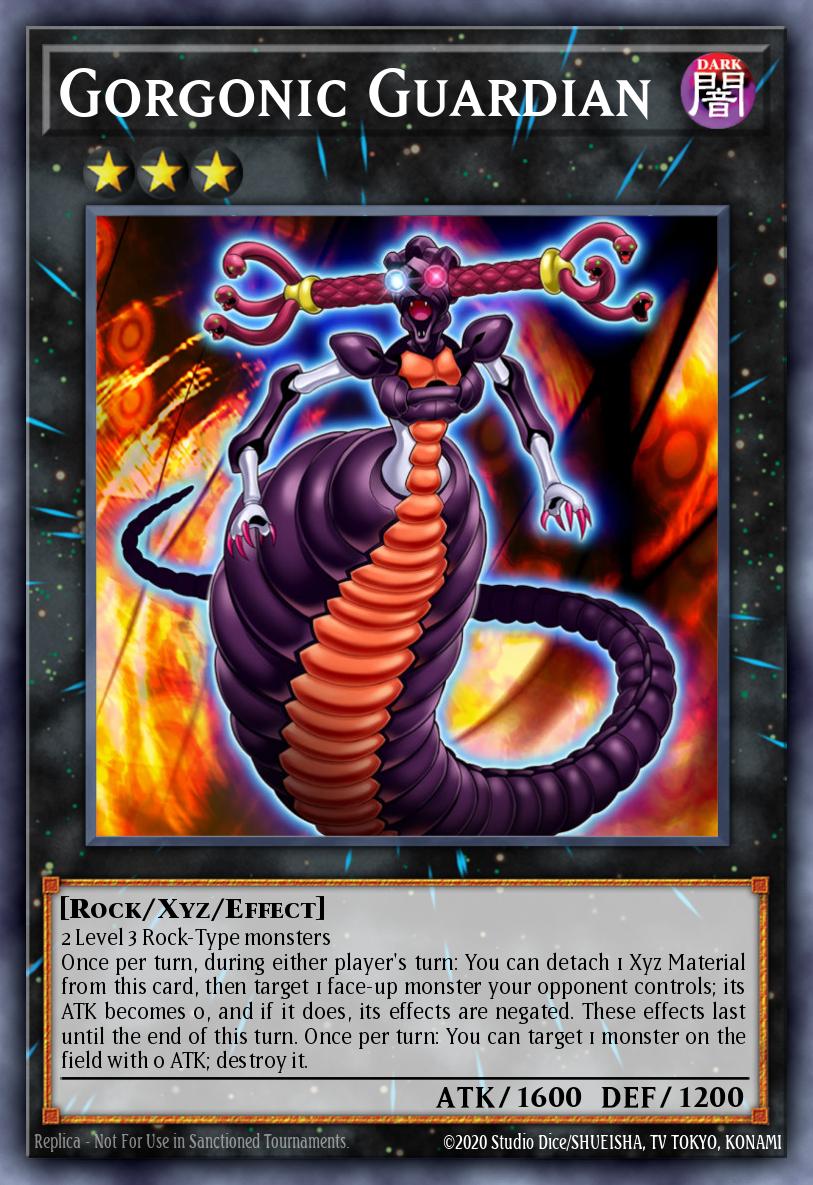
Gorgonic Guardian (x2)
 DARK
DARKGorgonic Guardian
ATK:
1600
DEF:
1200
2 Level 3 Rock-Type monsters Once per turn, during either player's turn: You can detach 1 Xyz Material from this card, then target 1 face-up monster your opponent controls; its ATK becomes 0, and if it does, its effects are negated. These effects last until the end of this turn. Once per turn: You can target 1 monster on the field with 0 ATK; destroy it.
Gorgonic Guardian is currently a very good Xyz monster for Triamid to negate 1 monster during the opponent's turn and the ability to destroy 1 monster on the opponent's turn. Combined with Triamid Pulse , you can use materials extracted from Gorgonic Guardian or after it is destroyed to destroy a card on your opponent's field or summon a Triamid monster to the field again.
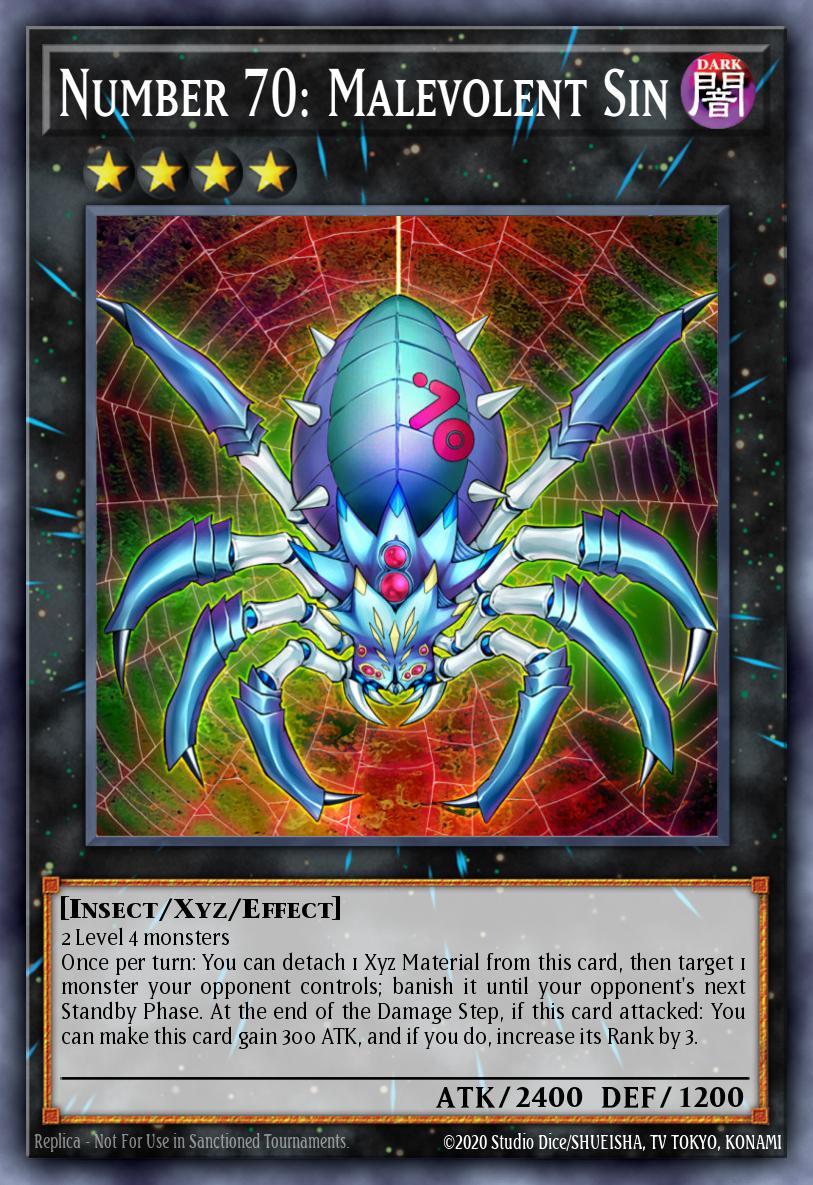
Number 70: Malevolent Sin (x1)
 DARK
DARKNumber 70: Malevolent Sin
ATK:
2400
DEF:
1200
2 Level 4 monsters Once per turn: You can detach 1 Xyz Material from this card, then target 1 monster your opponent controls; banish it until your opponent's next Standby Phase. At the end of the Damage Step, if this card attacked: You can make this card gain 300 ATK, and if you do, increase its Rank by 3.
Number 70: Malevolent Sin allows you to temporarily remove 1 opponent's monster to attack to end the game. Although the discarded monster returns to the field at the end of the turn, it is more than enough to end the game.
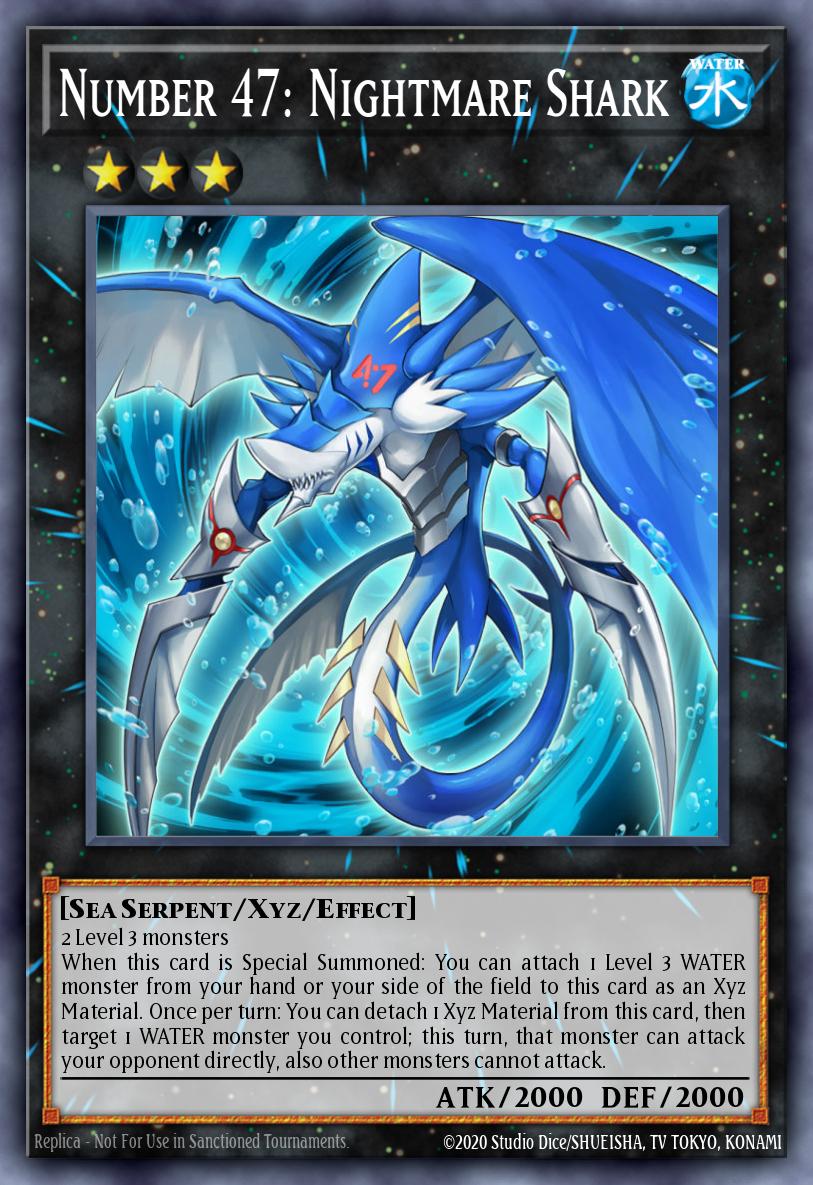
Number 47: Nightmare Shark (x1)
 WATER
WATERNumber 47: Nightmare Shark
ATK:
2000
DEF:
2000
2 Level 3 monsters When this card is Special Summoned: You can attach 1 Level 3 WATER monster from your hand or your side of the field to this card as an Xyz Material. Once per turn: You can detach 1 Xyz Material from this card, then target 1 WATER monster you control; this turn, that monster can attack your opponent directly, also other monsters cannot attack.
Number 47: Nightmare Shark is a monster that helps you end the game ignoring monsters on your opponent's field. You can detach 1 of its ingredients, target it, and use it to attack your opponent directly.
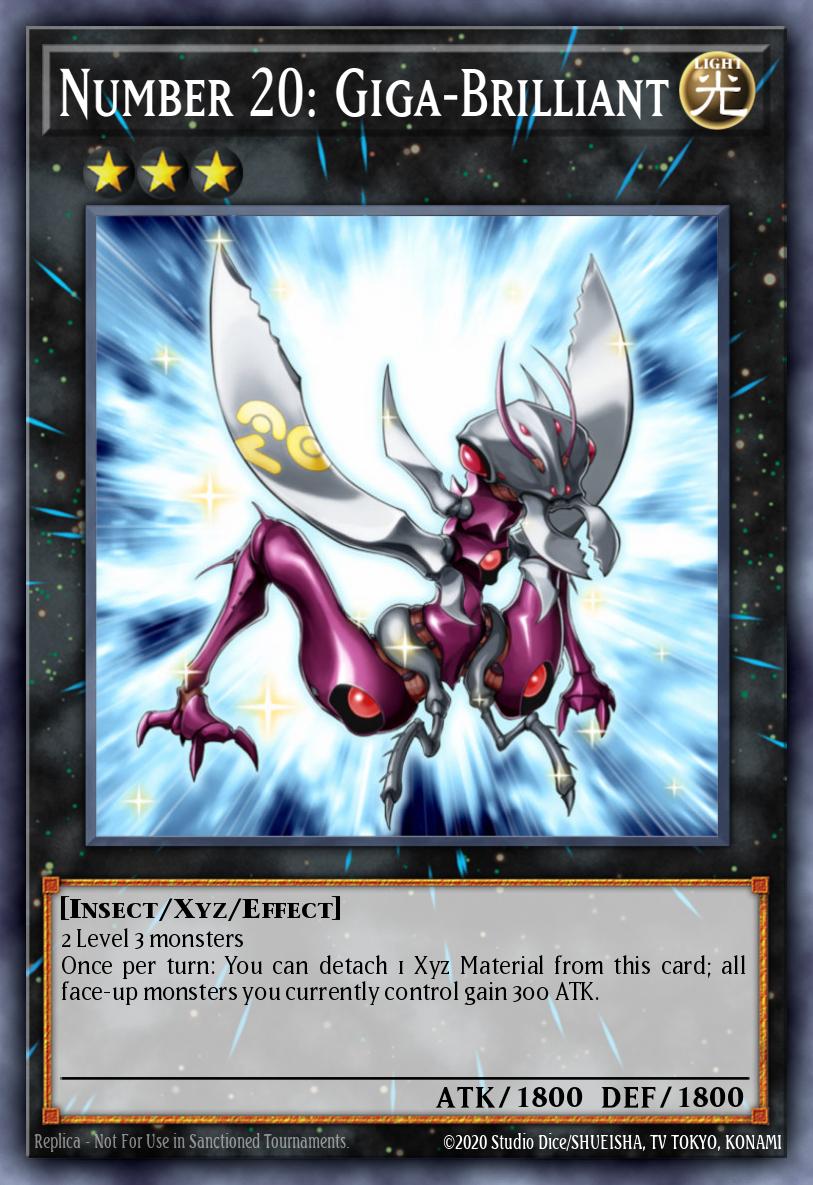
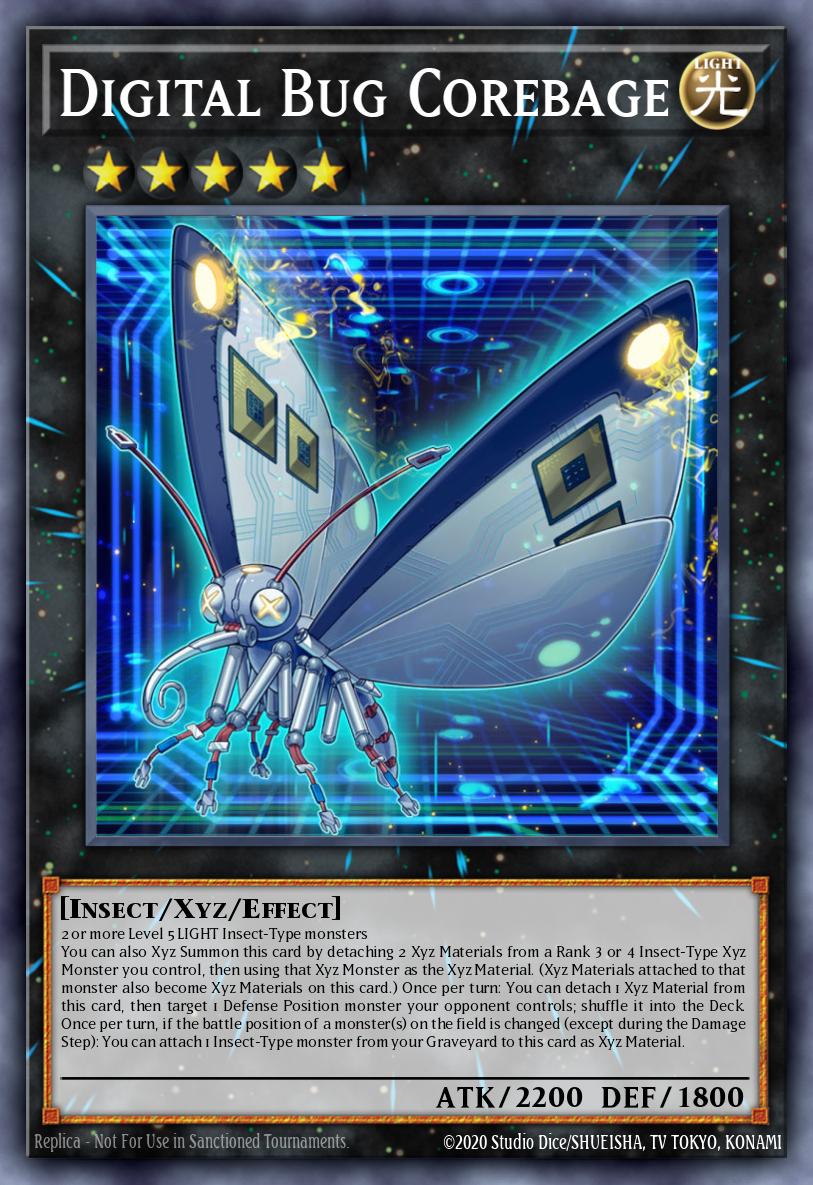
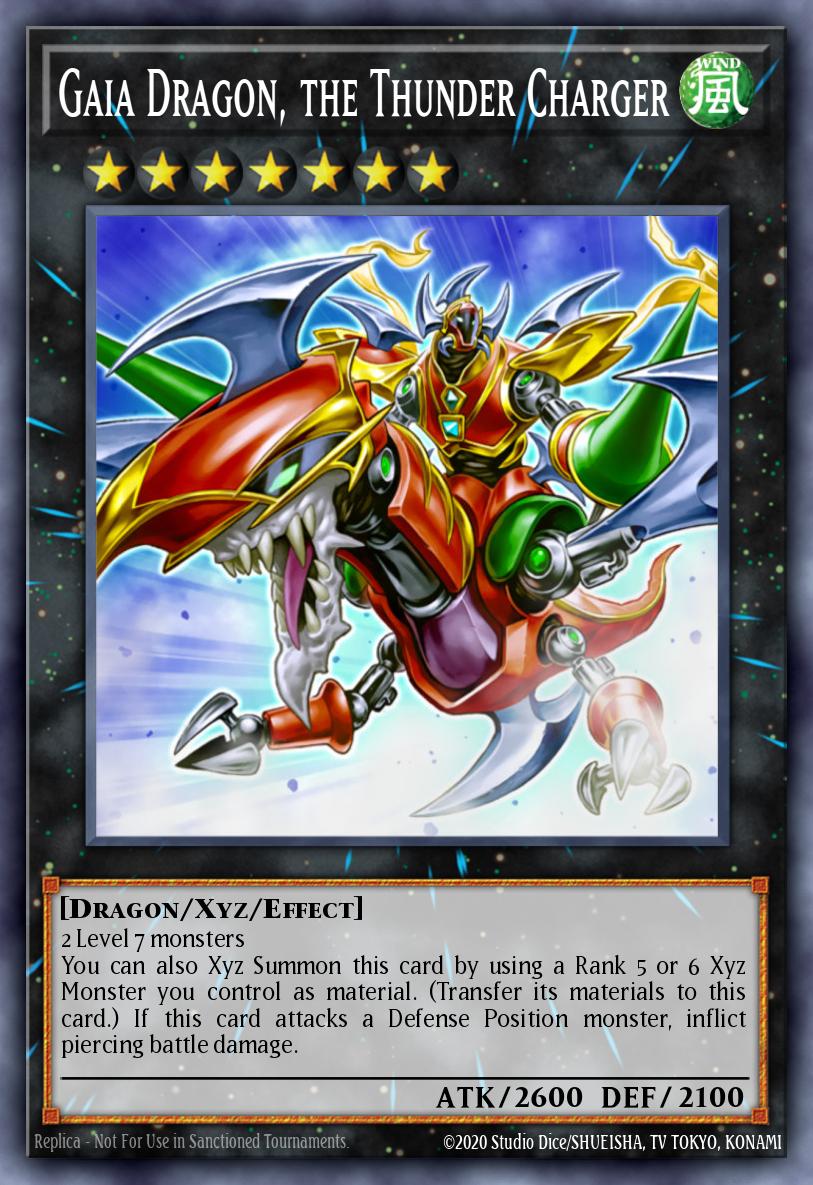
Number 20: Giga-Brilliant, Digital Bug Corebage, Gaia Dragon and the Thunder Charger (x1 per card)
 LIGHT
LIGHTNumber 20: Giga-Brilliant
ATK:
1800
DEF:
1800
2 Level 3 monsters Once per turn: You can detach 1 Xyz Material from this card; all face-up monsters you currently control gain 300 ATK.
 LIGHT
LIGHTDigital Bug Corebage
ATK:
2200
DEF:
1800
2 or more Level 5 LIGHT Insect-Type monsters You can also Xyz Summon this card by detaching 2 Xyz Materials from a Rank 3 or 4 Insect-Type Xyz Monster you control, then using that Xyz Monster as the Xyz Material. (Xyz Materials attached to that monster also become Xyz Materials on this card.) Once per turn: You can detach 1 Xyz Material from this card, then target 1 Defense Position monster your opponent controls; shuffle it into the Deck. Once per turn, if the battle position of a monster(s) on the field is changed (except during the Damage Step): You can attach 1 Insect-Type monster from your Graveyard to this card as Xyz Material.
 WIND
WINDGaia Dragon, the Thunder Charger
ATK:
2600
DEF:
2100
2 Level 7 monsters You can also Xyz Summon this card by using a Rank 5 or 6 Xyz Monster you control as material. (Transfer its materials to this card.) If this card attacks a Defense Position monster, inflict piercing battle damage.
These 3 Xyz cards support each other like climbing a ladder. First you will summon Number 20: Giga-Brilliant , then you will separate 2 of its materials to continue summoning Digital Bug Corebage , you can separate 1 material of Digital Bug Corebage to return 1 monster. in a defensive position that your opponent controls in his hand. You can then summon Gaia Dragon, the Thunder Charger using the Digital Bug Corebage as a material. Gaia Dragon, the Thunder Charger has high attack and deals piercing damage when hitting a monster in defense position.
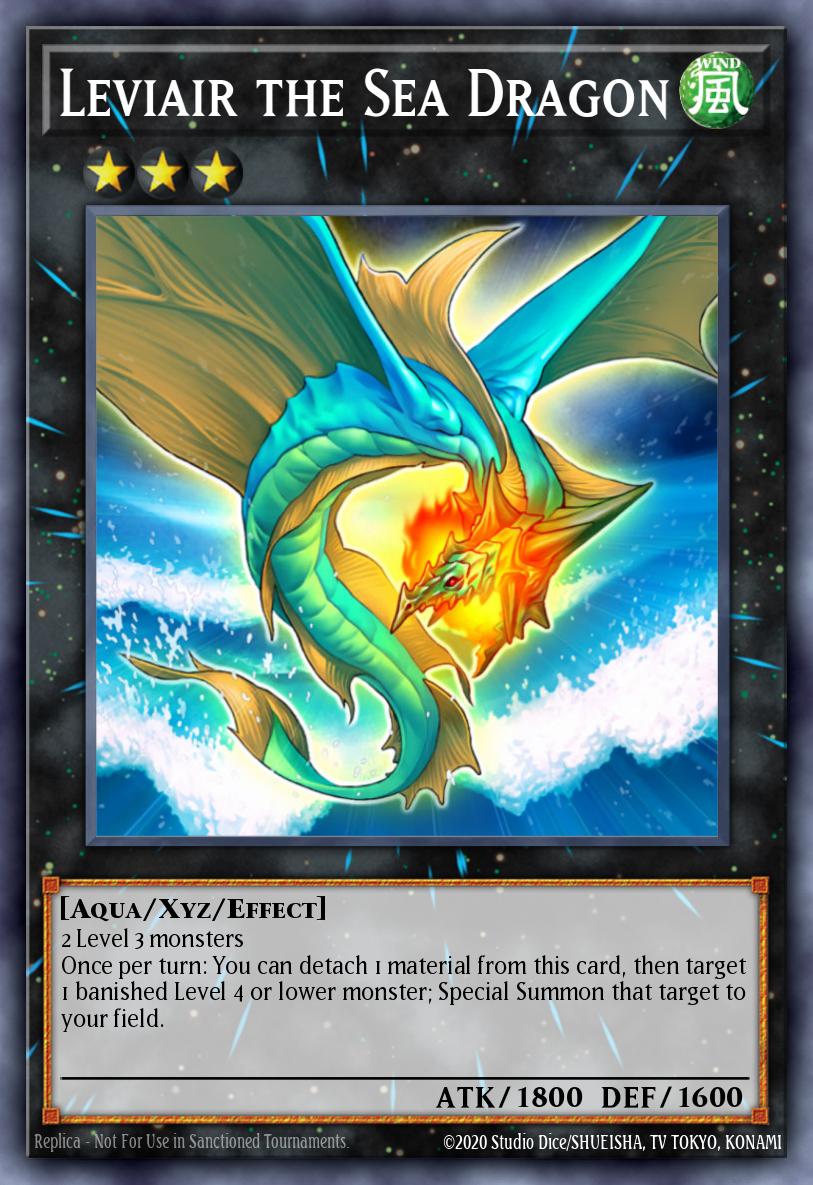
Leviair the Sea Dragon (x1)
 WIND
WINDLeviair the Sea Dragon
ATK:
1800
DEF:
1600
2 Level 3 monsters Once per turn: You can detach 1 material from this card, then target 1 banished Level 4 or lower monster; Special Summon that target to your field.
Leviair the Sea Dragon can help you reuse any discarded Triamid monster by special summoning it to the field. You can continue to use that newly summoned monster to create new, more interesting combos.
Tech Cards
As a mostly pure deck that benefits from maximizing cards of its same archetype, it is difficult to fit Tech Cards into this deck. There is a limited amount of room for cards that are not of the same archetype because the deck loses consistency when it cannot maximize its resources. That said, the Tech Card options we play need to be very high impact to secure spots in the main deck. The least important cards of the archetype that were cut to make room for Tech Cards were Triamid Pulse and Triamid Fortress . However, Triamid Fortress is the first card that should be played because it bricks you when you draw multiple copies of it and you don't want it in your hand on the first turn. Triamid Pulse is also easily bricked when using multiple copies, however it is much more valuable than Triamid Fortress because it destroys cards and revives monsters from graves turn after turn. Dropping Triamid Fortress to a copy or two will free up some space in the main deck. Also, since we're playing Balance , we can comfortably add more trap cards without losing the Balance ratio of your main deck, because as long as you have 7 of each type while playing 21 -23 cards, you are guaranteed to draw at least 1 of each. If you take the total number of cards divisible by 3, you need to play more of that type to ensure you draw at least 1 of each type. For example, if we increase our main deck total to 24, we need to play 8 cards per side. A main deck count of 25 or 26 will still require at least 8 of each, but once we reach 27, we will need to play 9 of each, etc. Here are some Tech Cards to consider.
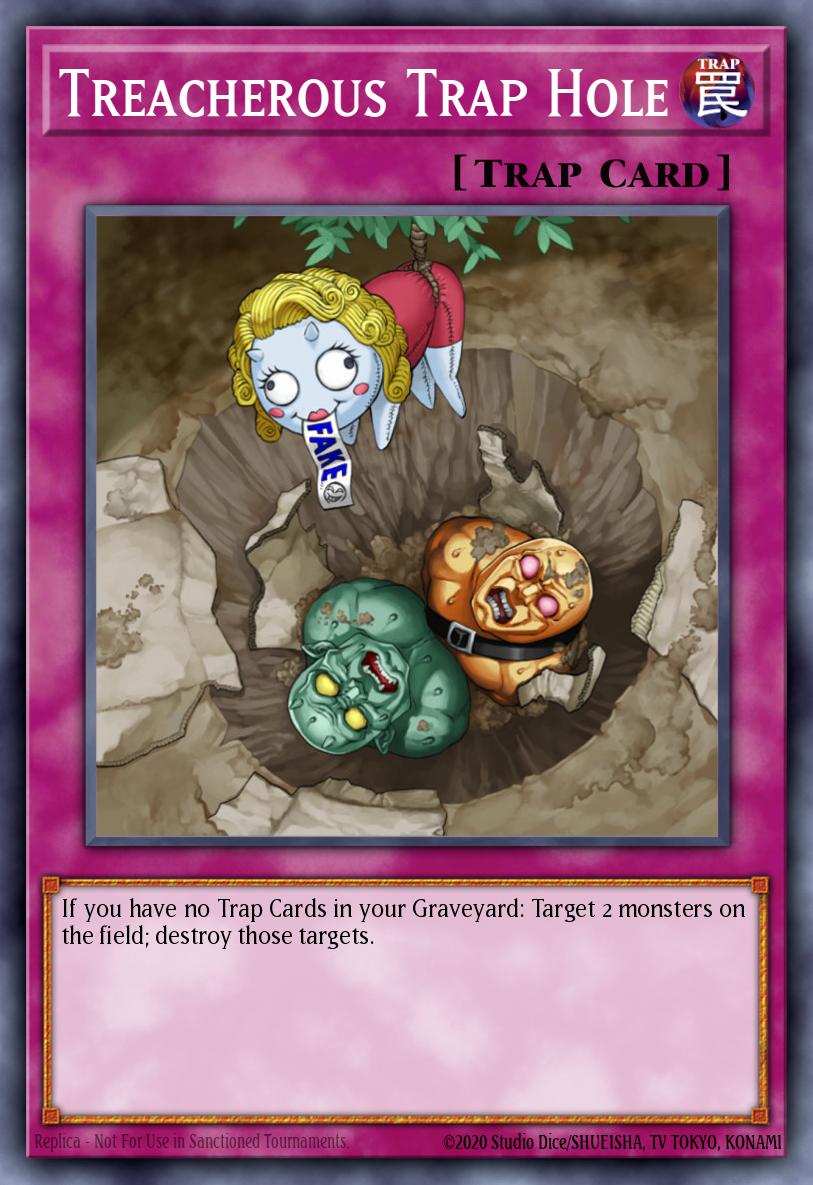
Treacherous Trap Hole (Depends on the situation)

 Trap
Trap Normal
Treacherous Trap Hole
If you have no Trap Cards in your Graveyard: Target 2 monsters on the field; destroy those targets.
The main problem this deck faces is overcoming large monsters; Spell/Trap cards are not a problem. You've got Triamid Kingolem to prevent effects when attacking and Triamid Master to destroy face-down cards. Treacherous Trap Hole helps you deal with the beast problem and will allow you to easily attack directly with an active Triamid Kingolem , ensuring victory most of the time it is in use. Absolutely a Tech Card worth playing, use at least 1 copy.
World Legacy Clash (Depends on the situation)
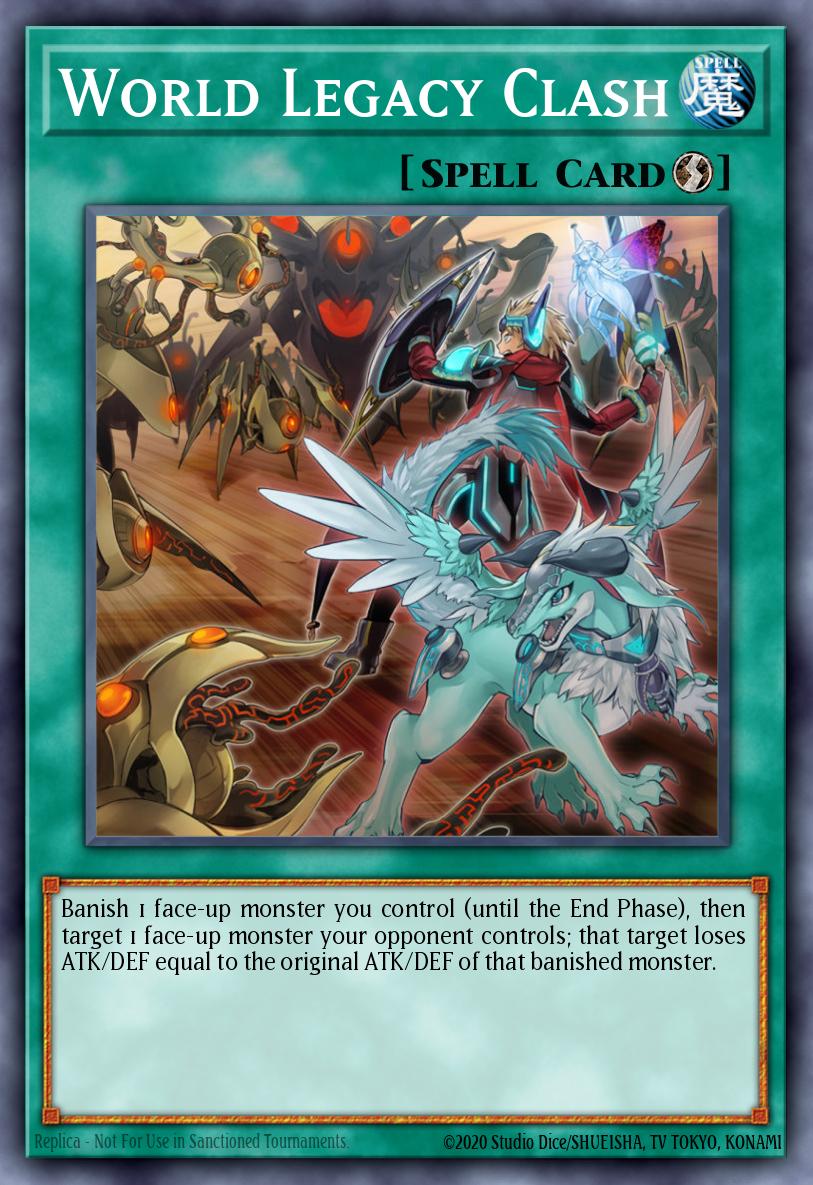 Spell
Spell Quick
QuickWorld Legacy Clash
Banish 1 face-up monster you control (until the End Phase), then target 1 face-up monster your opponent controls; that target loses ATK/DEF equal to the original ATK/DEF of that banished monster.
The interaction of this card with the deck is excellent. World Legacy Clash allows you to use its effect during the Damage Step of your opponent's attack and remove monsters you control. If you remove the attacking monster, you can both block your opponent's monster's attack (as your opponent will not be able to restart the attack after entering the Damage Step) while also reducing its damage. attack of the second monster your opponent controls. However, the truly great interaction comes during the End Phase when your monster returns to the field. If your Toggle is ON, you will be able to recast the returned monster and switch to another environment spell card in your deck. Since each monster has a soft effect once per turn (meaning you can only use that specific card's effect once per turn), its effect will be 'refreshed' when it returns to the field , as if it were a completely different monster. This is essentially like having two separate monsters, allowing you to filter through the two environment spell cards on the field during your opponent's turn. The only downside is that it will conflict with your Spell card ratio in builds around Balance , so there won't be room for it unless you choose to play Ties That Bind or Sealed Tombs .
Paleozoic Canadia (Depends on the situation)
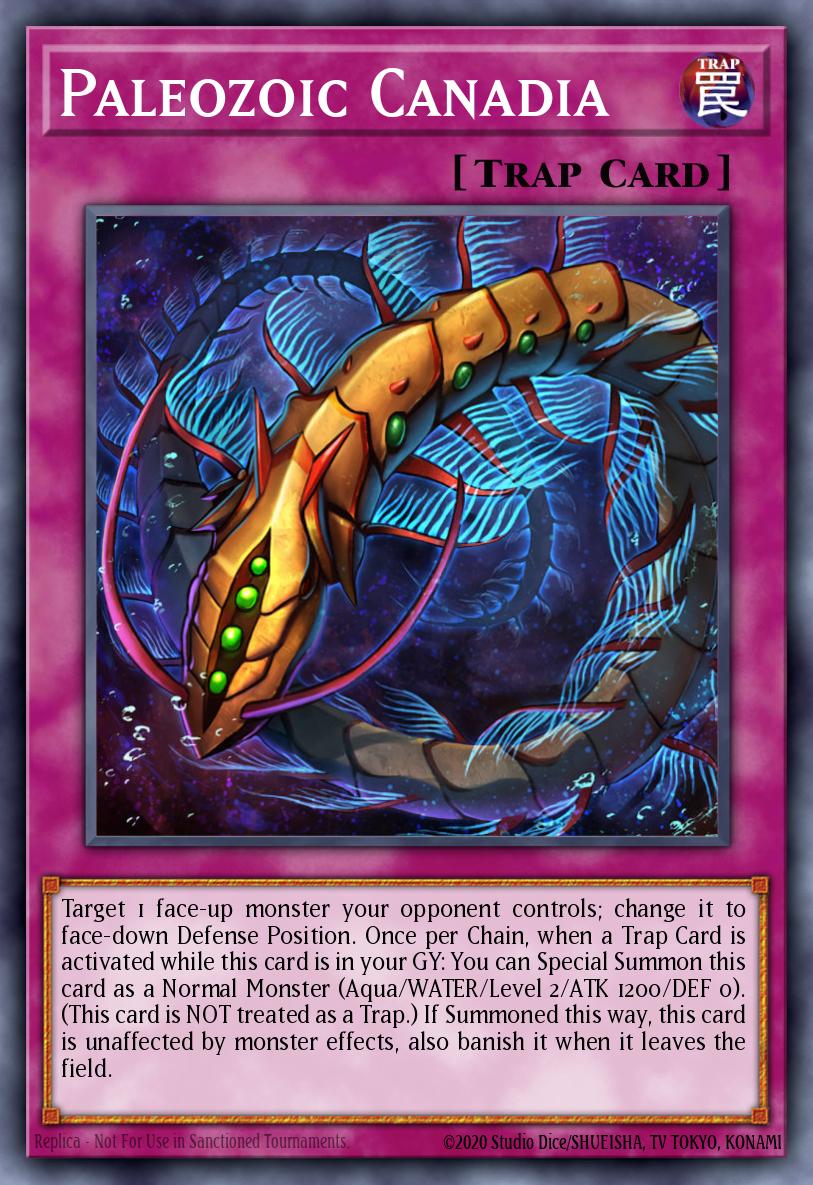 Trap
Normal
Trap
NormalPaleozoic Canadia
Target 1 face-up monster your opponent controls; change it to face-down Defense Position. Once per Chain, when a Trap Card is activated while this card is in your GY: You can Special Summon this card as a Normal Monster (Aqua/WATER/Level 2/ATK 1200/DEF 0). (This card is NOT treated as a Trap.) If Summoned this way, this card is unaffected by monster effects, also banish it when it leaves the field.
Both a Tech Card and a counter card, this card has very good synergy with Triamid Master . Since Triamid Master can destroy face-down cards, you can easily play something like Elemental HERO Brave Neos face-down and destroy it without your opponent being able to defend with Neos Fusion . This also provides important protection and allows you to get to the next turn without losing resources, putting you in a great position to start snowballing with Triamid Dancer .
Fiendish Chain (Depends on the situation)
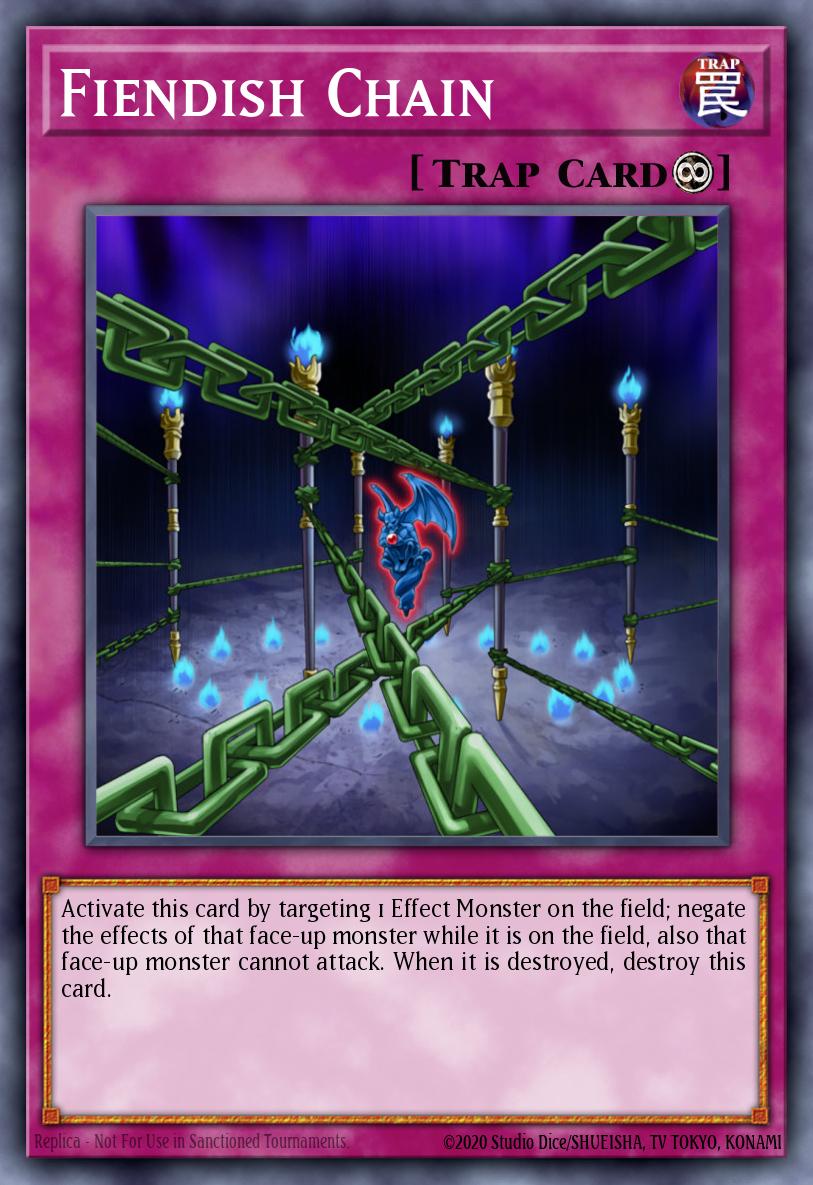 Trap
Continuous
Trap
ContinuousFiendish Chain
Activate this card by targeting 1 Effect Monster on the field; negate the effects of that face-up monster while it is on the field, also that face-up monster cannot attack. When it is destroyed, destroy this card.
Fiendish Chain is a great addition to any control deck. Both blocking a monster's effects and attacks give it the versatility needed with a Trap card to suit a variety of situations. With this card, we can negate Synchro monsters Blackwing , Darklord monsters , Synchro Shiranui , Molehu and Aleister , Magician's Rod and Cyber Dragon Core or any Cyber Dragon combination. This card is expensive but would certainly make sense in many decks other than Triamids .
Wall of Disruption (Depends on the situation)
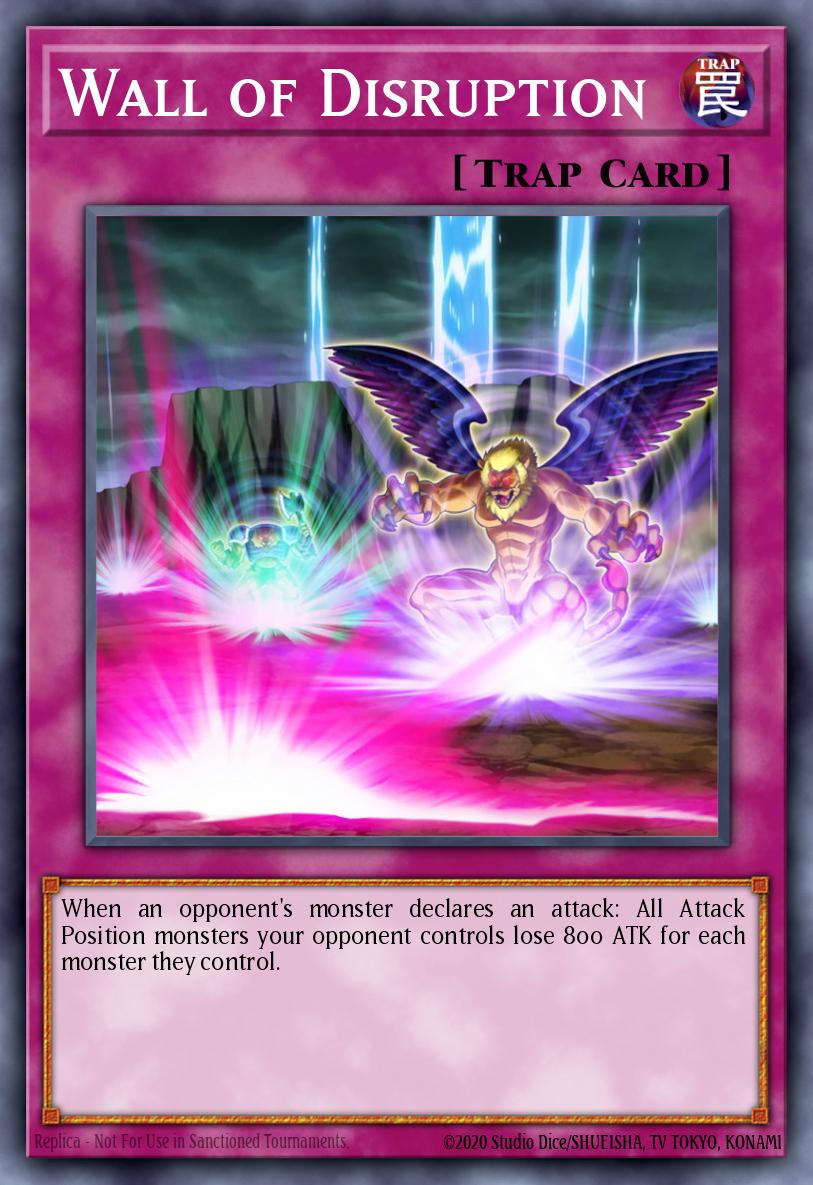 Trap
Normal
Trap
NormalWall of Disruption
When an opponent's monster declares an attack: All Attack Position monsters your opponent controls lose 800 ATK for each monster they control.
This Battle Trap card reduces your opponent's monster attack power by up to 2400 if they are attacking with 3 monsters. This creates a large attack differential and you outright win some games or prevent your opponent from destroying any of your monsters, allowing you to easily destroy the monster the following turn. However, this card cannot be used and is easily destroyed by your opponent outside of the Battle Phase, leaving you unable to respond. This is a good trap card and only really works in field-flooded summoning decks.
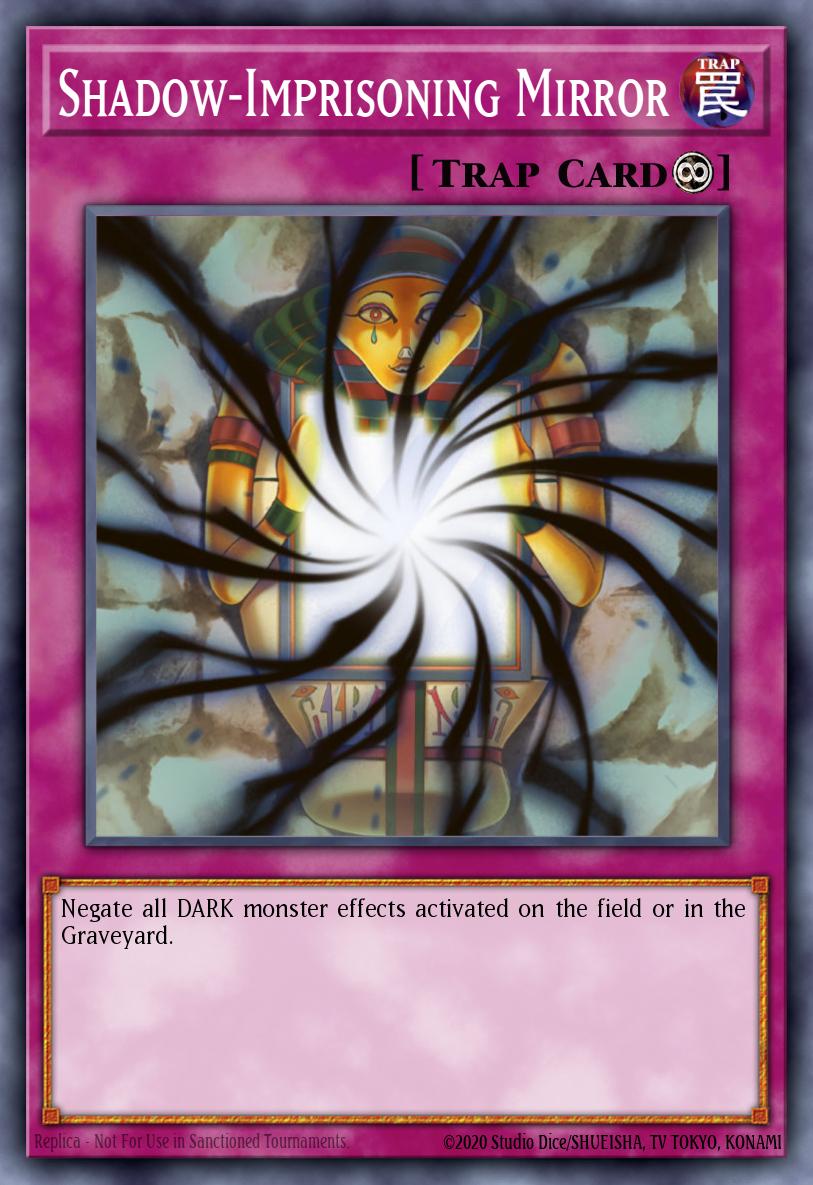
Shadow-Imprisoning Mirror (Depends on the situation)
 Trap
Continuous
Trap
ContinuousShadow-Imprisoning Mirror
Negate all DARK monster effects activated on the field or in the Graveyard.
This card negates all Dark monsters' effects on the field and in the graveyard. This hits Darklord effects (except Darklord Ixchel and Darklord Tezcatlipoca in hand), Blackwing effects (except Blackwing - Simoon the Poison Wind in hand,) Aleister the Invoker 's search effect, also Elementsaber Molehu 's effect , Magician's Rod and Magician of Dark Illusion , and even Chimeratech Rampage Dragon . It is certainly always worth placing in the side deck, however some might even argue that it warrants a place in the main deck.
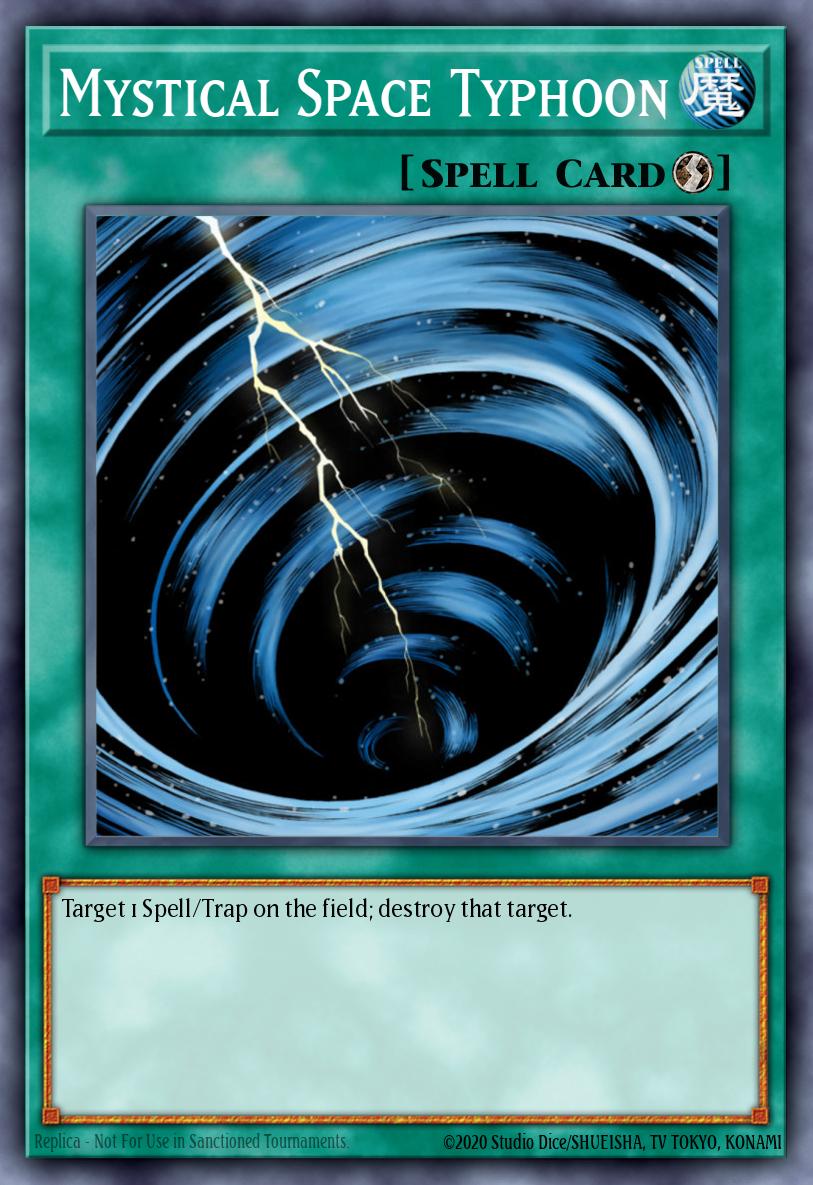
Mystical Space Typhoon (Depends on the situation)

Sometimes used when your opponent uses too many Spell/Trap cards to harass you during combos. Mystical Space Typhoon is used a lot in tournaments because it has no cost and can end the activity of another powerful Tech Card, Treacherous Trap Hole.
Play scenarios and examples
Now that we've gone over the deck and its complementary cards, let's go over some examples. We will discuss how to maximize your advantage in any hand.
Example 1: Cards in the ideal hand
- Activate Triamid Cruiser .
- Normal summon Triamid Hunter and gain 500 LP. If your hand needs tweaking, this is where you'll use Triamid Cruiser 's effect to draw cards and destroy cards on the field. you won't need that in this case.
- Additional normal summon (provided by Triamid Hunter ) to normal summon Triamid Master . Get an additional 500 LP. If your hand still feels like shit, go ahead and draw/destroy again.
- Set your Tech Card, in this case we'll say it's Treacherous Trap Hole . End your turn.
- During your opponent's turn, you will be able to activate both Triamid effects. Try not to activate them right away, as you will want to use their effects to respond and harass your opponent's plays, i.e. switch to Triamid Fortress to prevent destruction or Triamid Kingolem in Battle Phase to increase the ATK of your Triamid .
- Now, during their End Phase, use one of your monster's effects to send Triamid Cruiser to the Graveyard and activate Triamid Kingolem from the deck.
- Search for Triamid Dancer with Triamid Cruiser , then use your other Triamid to send Triamid Kingolem to the grave and play Triamid Fortress from the deck.
- Activate Triamid Kingolem in the grave for special Triamid Dancer from hand in DEF position. Then, use the Triamid Dancer you just summoned (your THIRD Triamid effect of the turn) to transfer Triamid Fortress to another Triamid Kingolem . Chain Treacherous Trap Hole with this effect if you want, even if they only have one monster to destroy. Your Triamid will be protected from destructive effects until your Triamid Fortress leaves the field.
- Now, at the start of your turn, you will be able to use Triamid Master 's effect to destroy 1 face-down card, Triamid Dancer 's effect to recycle a field spell card, and increase all monsters by 500 ATK and DEF, and you also have Triamid Kingolem to increase ATK by 500 and you can summon Xyz or Synchro monsters depending on the situation.
Example 2: The cards in your hand are okay
- Activate Triamid Kingolem from your hand.
- Normal Summon Triamid Master .
- Set World Legacy Clash and end your turn.
- During your opponent's turn, you will be able to activate the effect of Triamid Master , send Triamid Kingolem to the grave, and activate Triamid Cruiser from your deck. Do this as soon as possible, this way you can use World Legacy Clash to reset your Triamid Master and block attacks.
- Triamid Kingolem will then activate in the grave, allowing you to control the special Triamid Dancer from your hand in a defensive position.
- Then, use Triamid Dancer to send Triamid Cruiser to the grave and activate Triamid Fortress or Triamid Kingolem from the deck, depending on the situation. If you need to use World Legacy Clash this turn to defend, activate Triamid Fortress so you can then send Triamid Fortress with Triamid Master back in the End Phase and play Triamid Kingolem from the deck. This thins your deck by 1 card and gives you a slightly better chance of drawing Treacherous Trap Hole or Triamid Pulse .
Example 3: The cards in your hand are like shit
- Activate Triamid Fortress from your hand and summon Triamid Master normally.
- Set Triamid Pulse and end your turn.
- During your opponent's turn, you will be able to exchange Triamid Fortress for Triamid Cruiser . Also, your Triamid Master will probably die because you have no protection.
- This will supply your graveyard with 2 Triamid cards, allowing you to activate the Triamid Pulse effect. You can destroy a card if there is an immediate threat, or wait to see what card you draw next turn.
- Ideally, you will draw 1 environmental spell card. Since you played optimally and maximized your resources, you should be able to make some interesting plays this turn. But let's say you withdraw Triamid Kingolem in this case.
- Activate the Triamid Kingolem on top of the Triamid Cruiser , allowing you to search for the Triamid Hunter . Triamid Cruiser will then give you a third Triamid card in your graveyard if you did not use Triamid Pulse last turn. You can use Triamid Pulse 's second effect to remove 2 field spell cards and Special Summon your Triamid Master from the Graveyard. Triamid Master can destroy 1 face-down card with its main effect if needed.
- If you successfully bait your opponent's trap, or even if you don't need to, proceed to summon Triamid Hunter . This will then allow you to summon Triamid Dancer normally. Unfortunately, you won't be able to use the power of Triamid Dancer , but you now have 3 monsters on the field, allowing you to cycle through all 3 environment spell cards on the field during your opponent's turn.
- This will charge your grave to create material to activate Triamid Pulse on your opponent's turn, and then trigger another Triamid Pulse effect on your next turn, assuming one of your Triamid monsters you are dead, giving you the fourth card in the grave. This is how the deck snowballs very quickly, even from drawing bad opening cards.
Conclude
If you've made it to this point, congratulations! Thank you for reading and supporting the work I do. Like I said, this deck is very complicated. We hope this has helped you a lot in your matches and allowed you to get a big brain like us! Keep practicing and you will be a pro in no time!
Companion unit:
Spell
QuickWorld Legacy Clash
Banish 1 face-up monster you control (until the End Phase), then target 1 face-up monster your opponent controls; that target loses ATK/DEF equal to the original ATK/DEF of that banished monster.
Sealed Tombs (Skill Card)
ATK:
0
DEF:
0
Can be used if your Life Points are lower than your opponent's by 1000 or more. Until the end of your opponent's next turn, neither player can banish cards from the Graveyard or Special Summon monsters from the Graveyard. This Skill can only be used once per Duel.
LIGHTNumber 20: Giga-Brilliant
ATK:
1800
DEF:
1800
2 Level 3 monsters Once per turn: You can detach 1 Xyz Material from this card; all face-up monsters you currently control gain 300 ATK.
EARTH
3Triamid Hunter
ATK:
1400
DEF:
1100
If a Field Spell Card is face-up on the field, you can Normal Summon 1 Rock-Type monster in addition to your Normal Summon/Set. (You can only gain this effect once per turn.) Once per turn, during your opponent's turn: You can target 1 "Triamid" Field Spell Card in your Field Zone; send it to the Graveyard, and if you do, activate 1 "Triamid" Field Spell Card from your Deck with a different name (this is a Quick Effect).
EARTH
3Triamid Dancer
ATK:
600
DEF:
1900
Once per turn: You can target 1 "Triamid" card in your Graveyard; shuffle it into the Deck, and if you do, all Rock-Type monsters you control gain 500 ATK and DEF. Once per turn, during your opponent's turn: You can target 1 "Triamid" Field Spell Card in your Field Zone; send it to the Graveyard, and if you do, activate 1 "Triamid" Field Spell Card from your Deck with a different name (this is a Quick Effect).
Harpies' Hunting Ground (Skill Card)
ATK:
0
DEF:
0
Can only be used at the beginning of the Main Phase of your first turn. Return 1 card fronm your hand to your Deck and place 1 "Harpies' Hunting Ground" to your Field Zone from your Deck. If you control a Field Spell, place it in the Graveyard.
DARKNumber 70: Malevolent Sin
ATK:
2400
DEF:
1200
2 Level 4 monsters Once per turn: You can detach 1 Xyz Material from this card, then target 1 monster your opponent controls; banish it until your opponent's next Standby Phase. At the end of the Damage Step, if this card attacked: You can make this card gain 300 ATK, and if you do, increase its Rank by 3.
LIGHTDigital Bug Corebage
ATK:
2200
DEF:
1800
2 or more Level 5 LIGHT Insect-Type monsters You can also Xyz Summon this card by detaching 2 Xyz Materials from a Rank 3 or 4 Insect-Type Xyz Monster you control, then using that Xyz Monster as the Xyz Material. (Xyz Materials attached to that monster also become Xyz Materials on this card.) Once per turn: You can detach 1 Xyz Material from this card, then target 1 Defense Position monster your opponent controls; shuffle it into the Deck. Once per turn, if the battle position of a monster(s) on the field is changed (except during the Damage Step): You can attach 1 Insect-Type monster from your Graveyard to this card as Xyz Material.
DARKGorgonic Guardian
ATK:
1600
DEF:
1200
2 Level 3 Rock-Type monsters Once per turn, during either player's turn: You can detach 1 Xyz Material from this card, then target 1 face-up monster your opponent controls; its ATK becomes 0, and if it does, its effects are negated. These effects last until the end of this turn. Once per turn: You can target 1 monster on the field with 0 ATK; destroy it.
Trap
ContinuousShadow-Imprisoning Mirror
Negate all DARK monster effects activated on the field or in the Graveyard.
Trap
NormalWall of Disruption
When an opponent's monster declares an attack: All Attack Position monsters your opponent controls lose 800 ATK for each monster they control.
WINDLeviair the Sea Dragon
ATK:
1800
DEF:
1600
2 Level 3 monsters Once per turn: You can detach 1 material from this card, then target 1 banished Level 4 or lower monster; Special Summon that target to your field.
WINDGaia Dragon, the Thunder Charger
ATK:
2600
DEF:
2100
2 Level 7 monsters You can also Xyz Summon this card by using a Rank 5 or 6 Xyz Monster you control as material. (Transfer its materials to this card.) If this card attacks a Defense Position monster, inflict piercing battle damage.
Destiny Draw (Skill Card)
ATK:
0
DEF:
0
[If you lose 2000 or more LP, you can activate this Skill during your next Draw Phase.] During your Draw Phase, you may search your Deck for any card, reveal it to your opponent, and add it to your hand instead of drawing. If you do that, flip this card over.
Trap
ContinuousTriamid Pulse
Once per turn: You can banish 2 cards from your Graveyard (any combination of Rock-Type monsters or Field Spell Cards), then activate 1 of these effects; ● Target 1 other face-up card on the field; destroy it. ● Target 1 Rock-Type monster in your Graveyard; Special Summon it in Defense Position. ● Target up to 3 Field Spell Cards in your Graveyard; shuffle them into the Deck, then draw 1 card.
Trap
ContinuousPowersink Stone
Each time a monster effect is activated, place 1 Spellstone Counter on this card (max. 2). While this card has 2 Spellstone Counters, face-up monsters on the field cannot activate their effects, and their effects are negated. During each End Phase, remove all Spellstone Counters on this card.
Spell
FieldTriamid Cruiser
Each time a Rock-Type monster is Normal Summoned, gain 500 LP. If a "Triamid" monster is Normal Summoned: You can draw 1 card, then discard 1 card. If this face-up card in the Field Zone is sent to the Graveyard: You can add 1 "Triamid" monster from your Deck to your hand. You can only use this effect of "Triamid Cruiser" once per turn.
Trap
NormalTreacherous Trap Hole
If you have no Trap Cards in your Graveyard: Target 2 monsters on the field; destroy those targets.
EARTH
10Triamid Sphinx
ATK:
2500
DEF:
2500
Cannot be Normal Summoned/Set. Must be Special Summoned with the effect of a "Triamid" card, and cannot be Special Summoned by other ways. If a face-up "Triamid" card(s) you control, except "Triamid Sphinx", is destroyed by battle or card effect: You can Special Summon this card from your hand. While you control another "Triamid" card, this card gains 500 ATK and DEF for each Field Spell Card with a different name in your Graveyard, also monsters your opponent controls cannot attack, except to attack "Triamid Sphinx".
 Spell
Quick
Spell
QuickMystical Space Typhoon
Target 1 Spell/Trap on the field; destroy that target.
Balance
ATK:
0
DEF:
0
Your starting hand will reflect the card balance of your Deck. This Skill will not activate unless you have at least 6 of each type of card (Monster, Spell, and Trap) in your Deck. You cannot Special Summon or activate monster effects until the end of the Main Phase of your first turn.
EARTH
4Triamid Master
ATK:
1800
DEF:
700
Once per turn: You can send 1 face-up "Triamid" card you control to the Graveyard, then target 1 Set Card on the field; destroy it. Once per turn, during your opponent's turn: You can target 1 "Triamid" Field Spell Card in your Field Zone; send it to the Graveyard, and if you do, activate 1 "Triamid" Field Spell Card from your Deck with a different name (this is a Quick Effect).
Trap
ContinuousFiendish Chain
Activate this card by targeting 1 Effect Monster on the field; negate the effects of that face-up monster while it is on the field, also that face-up monster cannot attack. When it is destroyed, destroy this card.
Trap
NormalPaleozoic Canadia
Target 1 face-up monster your opponent controls; change it to face-down Defense Position. Once per Chain, when a Trap Card is activated while this card is in your GY: You can Special Summon this card as a Normal Monster (Aqua/WATER/Level 2/ATK 1200/DEF 0). (This card is NOT treated as a Trap.) If Summoned this way, this card is unaffected by monster effects, also banish it when it leaves the field.
Spell
FieldTriamid Fortress
All Rock-Type monsters on the field gain 500 DEF. "Triamid" monsters on the field cannot be destroyed by card effects. If this face-up card in the Field Zone is sent to the Graveyard: You can target 1 "Triamid" monster in your Graveyard; add it to your hand. You can only use this effect of "Triamid Fortress" once per turn.
Spell
FieldTriamid Kingolem
All Rock-Type monsters on the field gain 500 ATK. If a "Triamid" monster you control battles, your opponent's cards and effects cannot be activated until the end of the Damage Step. If this face-up card in the Field Zone is sent to the Graveyard: You can Special Summon 1 "Triamid" monster from your hand. You can only use this effect of "Triamid Kingolem" once per turn.
WATERNumber 47: Nightmare Shark
ATK:
2000
DEF:
2000
2 Level 3 monsters When this card is Special Summoned: You can attach 1 Level 3 WATER monster from your hand or your side of the field to this card as an Xyz Material. Once per turn: You can detach 1 Xyz Material from this card, then target 1 WATER monster you control; this turn, that monster can attack your opponent directly, also other monsters cannot attack.