





Let's explore the One Card XYZ Deck and see what it has to offer!
Sections covered in this guide:
MAIN DECK OF CARDS
Zoodiac Ratpier (x1)


Role: The most important starting card (Starter/Main Combo Card).
Capabilities & Usage:
When Normal Summoned, activate the effect of sending 1 Zoodiac card from your deck to the Graveyard (similar to Foolish Burial).
It is the main ingredient for Xyz Summoning other Zoodiacs.
Synergy Effect: When Ratpier is an Xyz Material for a Zoodiac monster (such as Chakanine or Broadbull), it grants that monster the effect: Detach 1 Material to Special Summon another Ratpier from your deck/hand. (This is how you "spawn" more monsters on the field).
Tip: Always prioritize finding this card using Fire Formation - Tenki if you don't already have it in your hand.
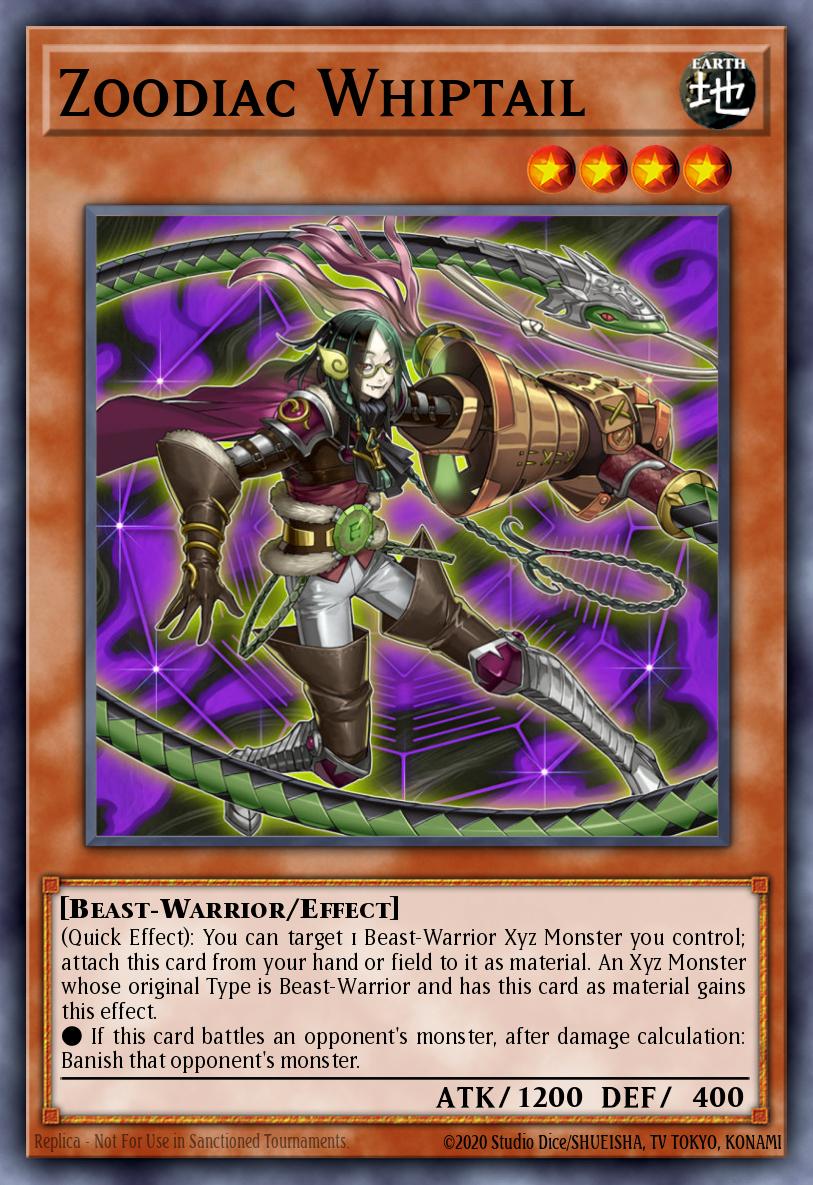
Zoodiac Whiptail (x2)
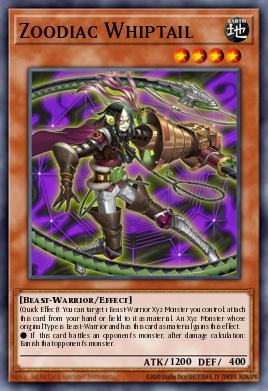
Role: Combat tool and monster removal tool (Battle Removal).
Capabilities & Usage:
Quick Effect: Allows you to attach yourself from your hand/field to an Xyz Monster Zoodiac.
Synergy Effect: Xyz Monsters that have Whiptail as a material will have the ability to: If battling an opponent monster, banish that monster after calculating damage.
Tip: Often searched for by Zoodiac Broadbull to hold in hand, used as a hand trap attached to Drident to increase attack power or remove annoying opponent monsters during battle.
Zoodiac Thoroughblade (x1-2)
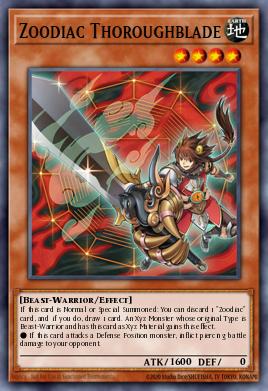
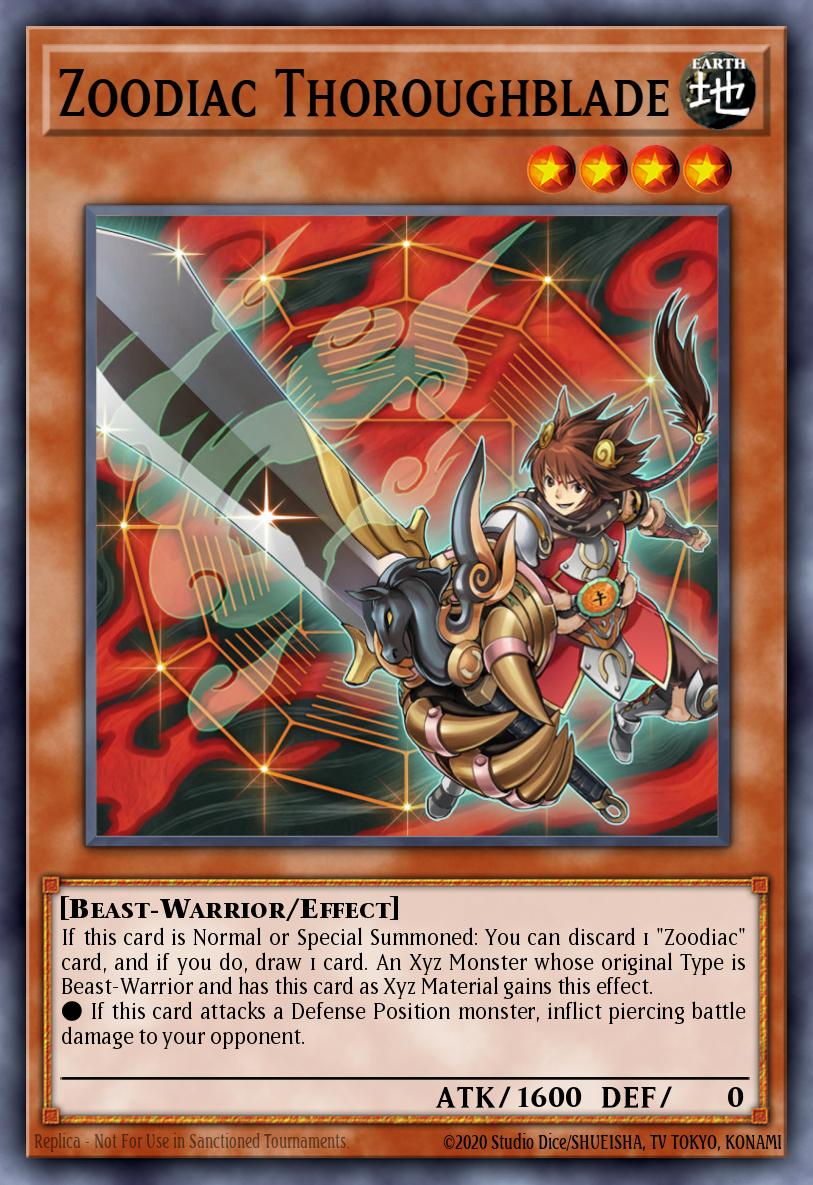
Role: This monster has the highest base attack stat (1600 ATK) and helps filter cards.
Ability: When summoned, you can discard 1 Zoodiac card from your hand to draw 1 card.
Synergy Effect: Xyz Monsters that use this card as material will gain Piercing damage.
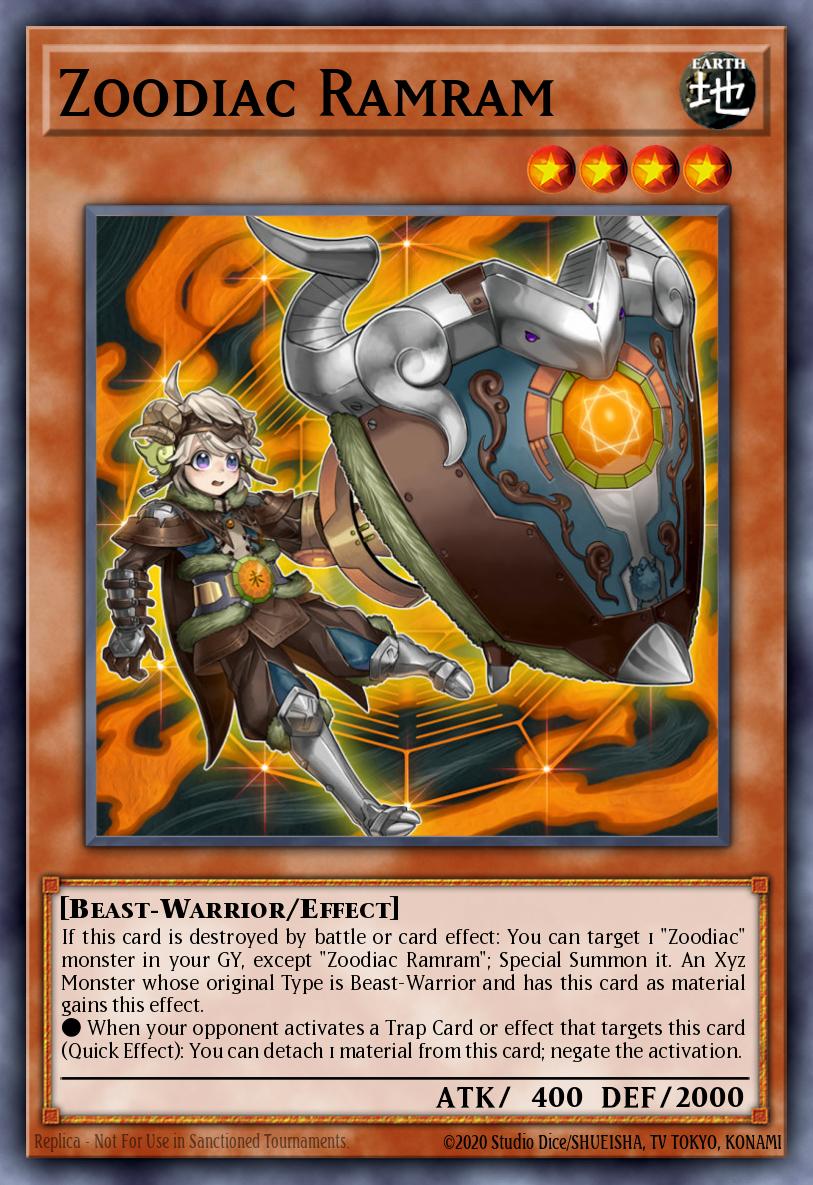
Zoodiac Ramram (x1)
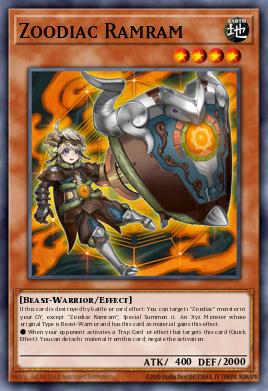
Role: "Revive" and protect from Trap.
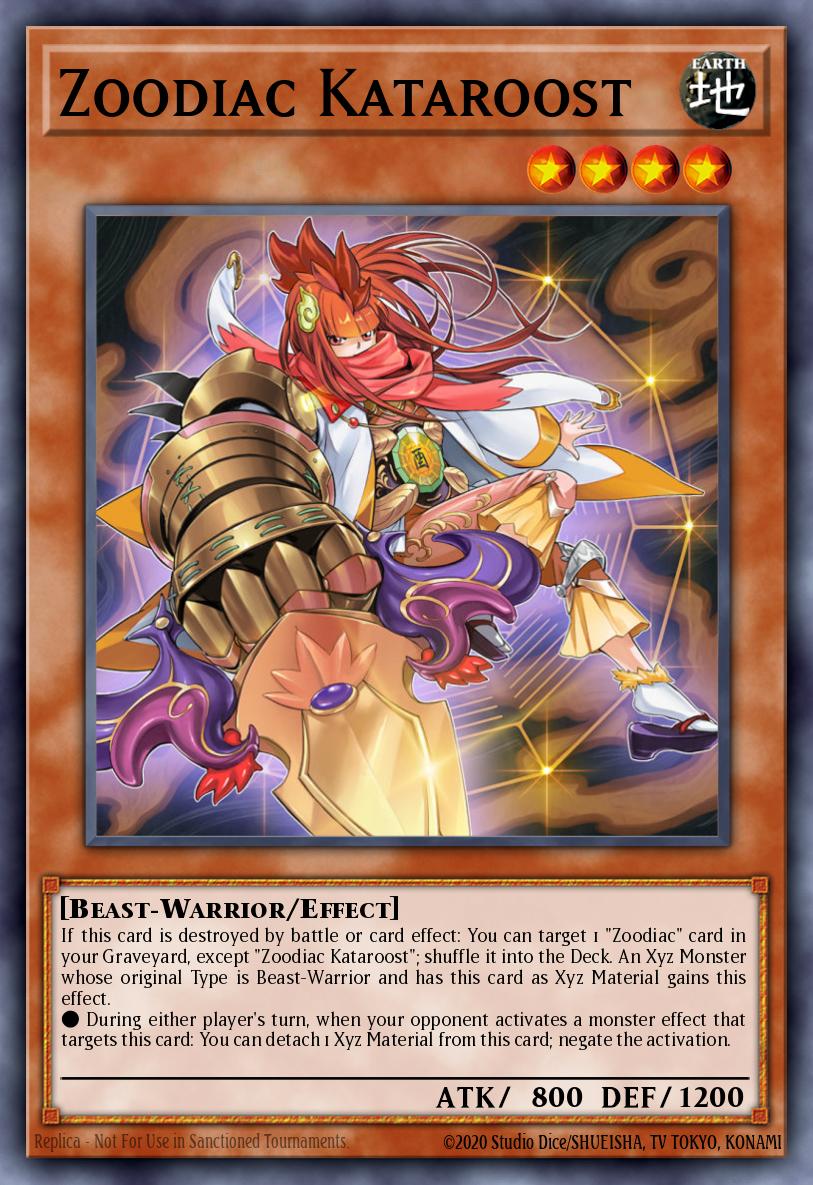
Zoodiac Kataroost (x0-2)
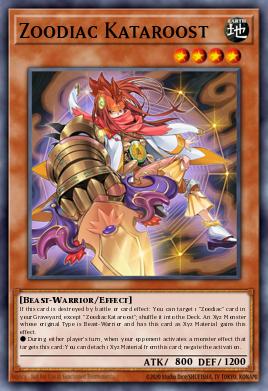
Only play this card twice in the pure Zoodiac version; in Zoo-Tribridge, play it for zero.
Role: Protects against the Beast effect.
Synergy Effect: Xyz Monsters that have this card as material will not be targeted by the opponent's Monster effects.
Common mistake : accidentally sending this card to the graveyard with Ratpier, only to regret it later because you should have kept it or summoned it to protect Drident from your opponent's monsters.
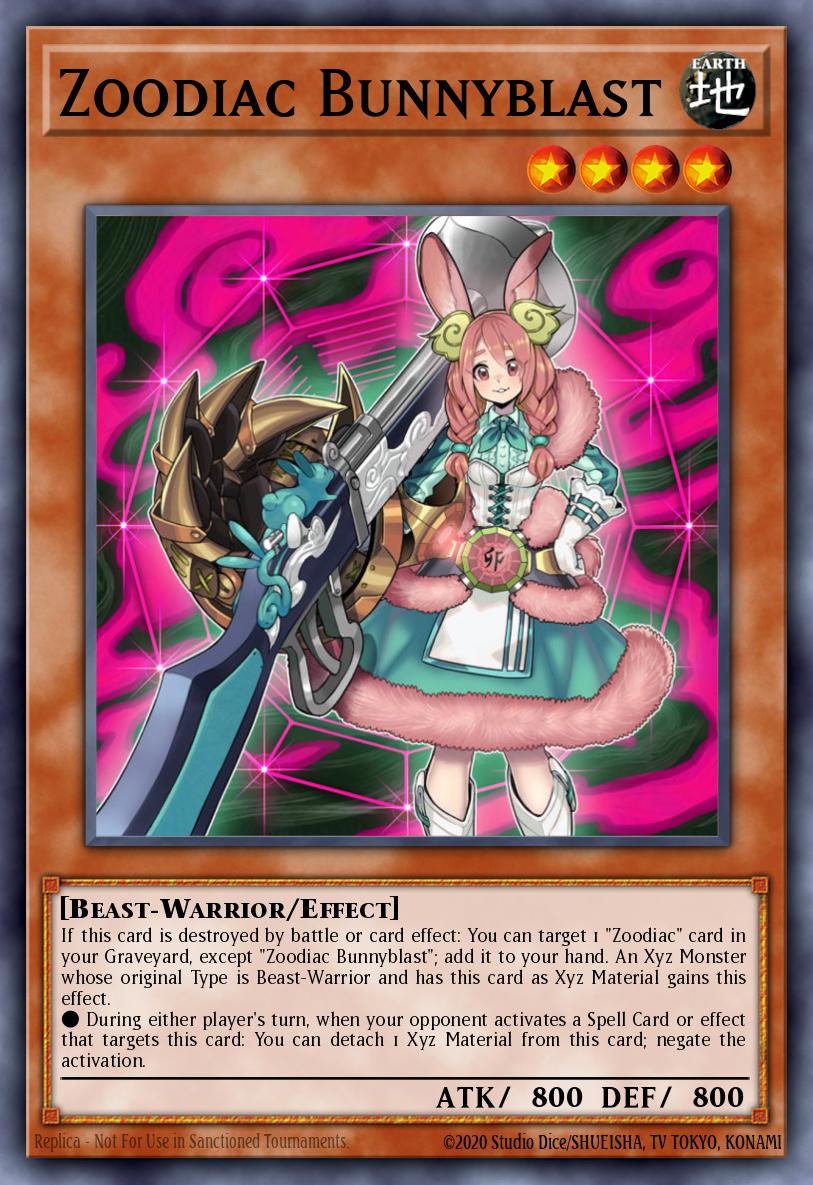
Zoodiac Bunnyblast (x0-2 )
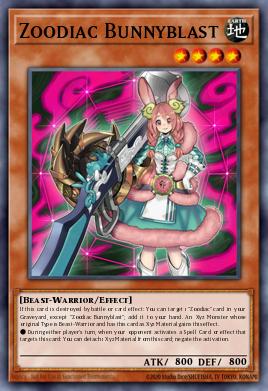
This card is usually only played in the pure Zoodiac version.
Role: Protects against spell effects and reduces card roll.
Synergy Effect: Xyz Monsters that have this card as material will not be targeted by your opponent's Spell effects.
Tip: If you send Bunnyblast to the graveyard, you can use Chakanine to revive it to retrieve Spell resources (like Barrage) if needed, or use it to protect Drident.
Spell/Trap & Staple/Tech
Zoodiac Barrage (x2-3)
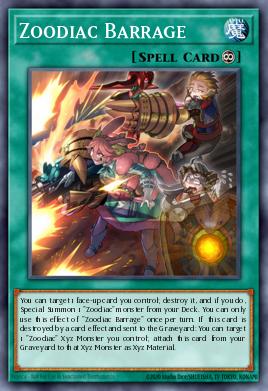
Role: Combo extender and second "starter" if Ratpier is unavailable.
Capabilities & Usage:
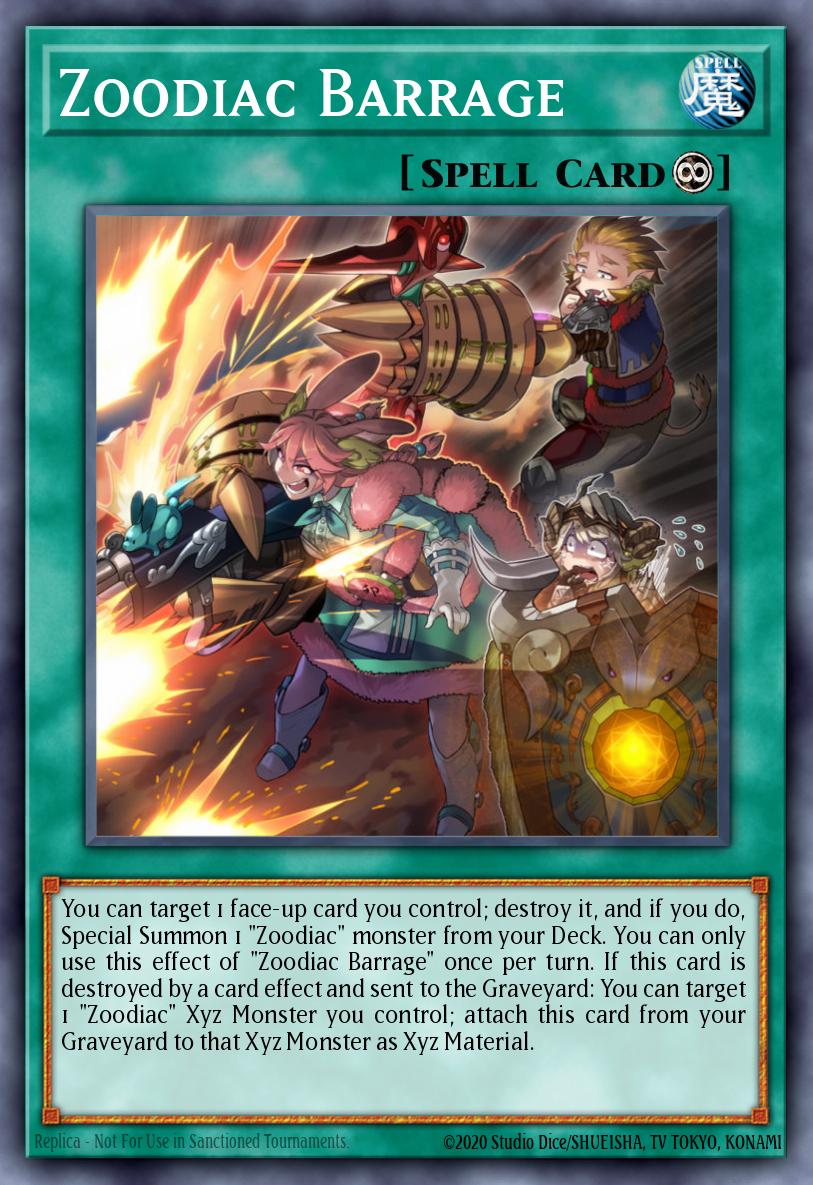
Target one face-up card you control, destroy it to Special Summon a Zoodiac from your deck. (It can destroy itself).
Graveyard Effect: If this card is destroyed by a card effect and goes to the graveyard, you can choose 1 Zoodiac Xyz Monster on the field and attach this card as material.
Tip: Use the Graveyard effect to "recharge" Drident's ammunition (add materials so Drident can explode one more time).
Fire Formation - Tenki (x3)

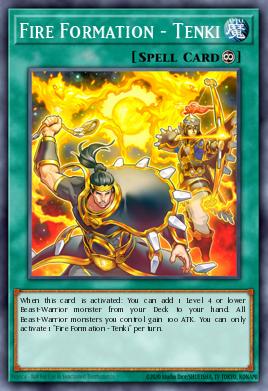
Role: Searcher (Search engine).
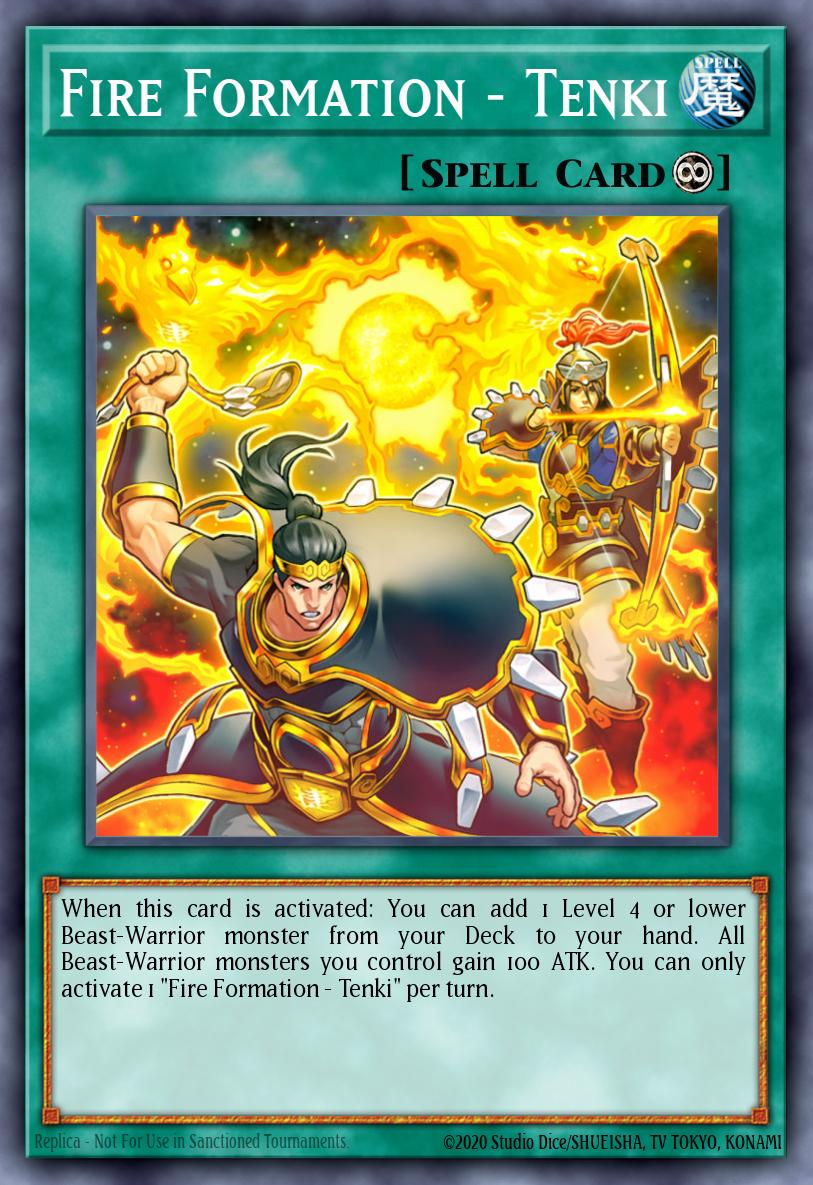
How to use: Activate to instantly draw Zoodiac Ratpier (or Whiptail if needed) from your deck to your hand. This is a mandatory card to have the maximum number of (9 copies of the starter cards including Tenki, Barrage, and Ratpier).
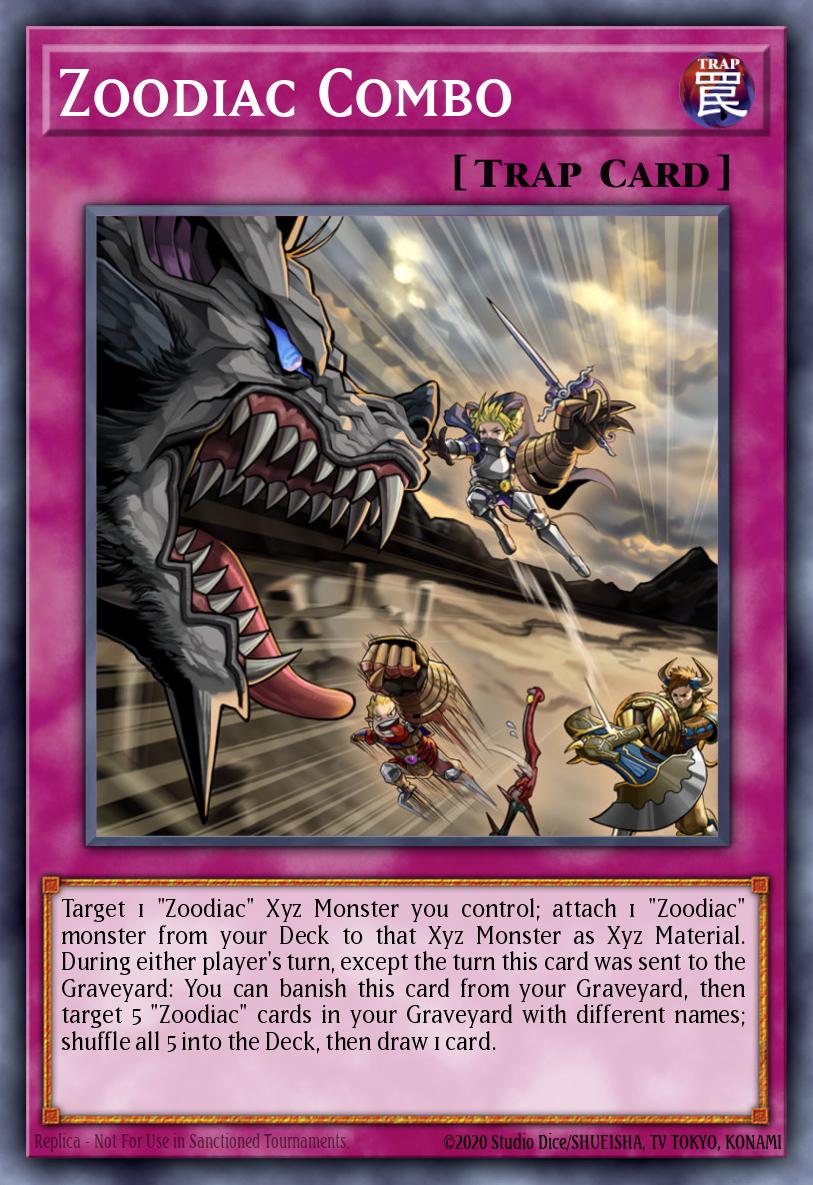
Zoodiac Combo (x0-1)
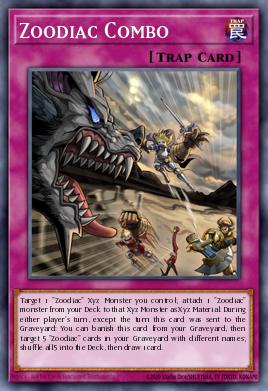
This card has two distinct effects (one on the field and one in the graveyard):
Effect 1 (On the Field): Target 1 "Zoodiac" Xyz Monster you control; draw 1 "Zoodiac" Monster from your Deck and attach it to that Xyz Monster as material.
Effect 2 (Graveyard): On any turn (except the turn this card is sent to the Graveyard): You can banish this card from the Graveyard, then choose 5 other "Zoodiac" cards from the Graveyard; shuffle all 5 of those cards into the Deck, then draw 1 card .
Now let's analyze why you SHOULD and SHOULDN'T use this leaf:
I. Why use it?
A. "Reloading" for Drident (Effect 1):
Zoodiac Drident requires materials to destroy cards. If you've used up all your materials, activating this card will instantly give Drident more "ammunition" from your deck.
Tip: You can choose to attach Zoodiac Whiptail from your deck to Drident. This gives Drident both explosive projectiles and the ability to banish enemy monsters if attacked (thanks to Whiptail's effect).
B. Infinite "Returns" (Effect 2 - Most Important):
Zoodiac's biggest weakness is that it depletes your Extra Deck very quickly (you keep stacking Xyz cards on top of each other). After just 1-2 combo turns, you can run out of Drident or Chakanine in your Extra Deck.
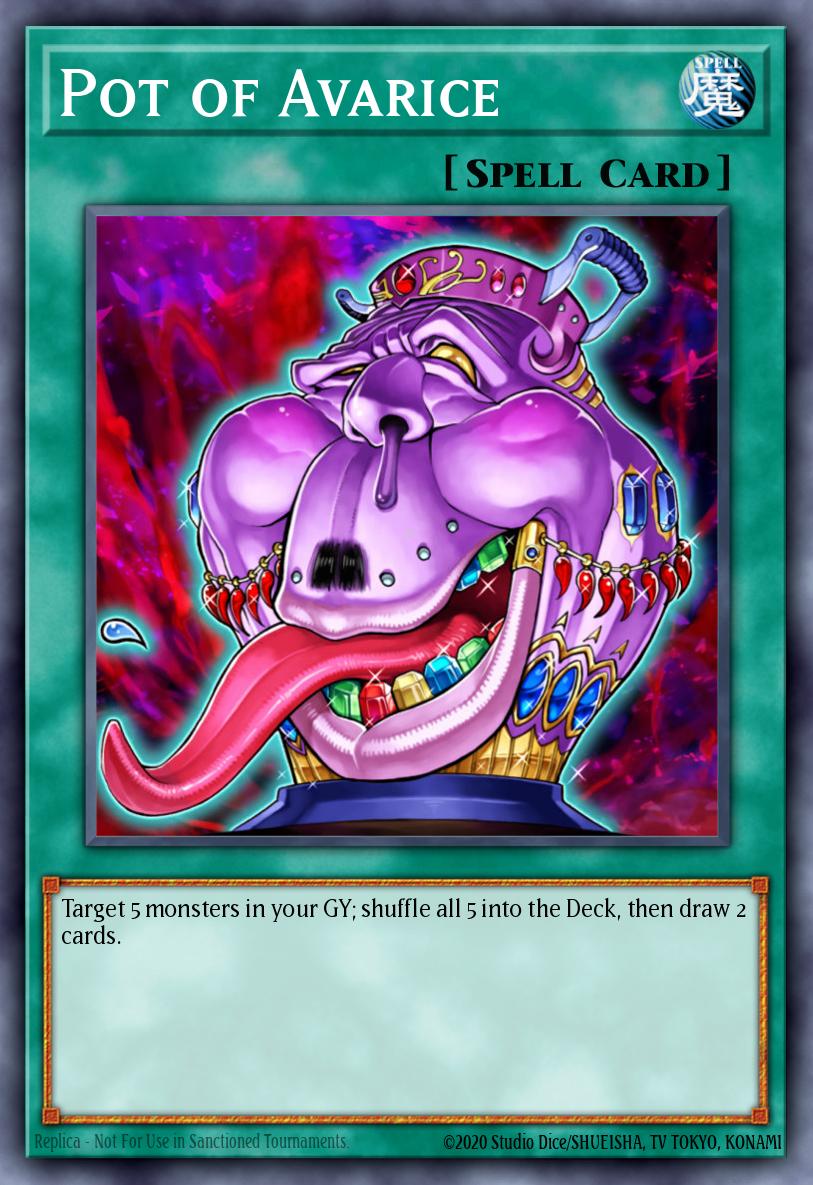
Zoodiac Combo 's graveyard effect functions like a Pot of Availability card: It brings your main Xyz monsters and primary monsters back into your deck for reuse, and allows you to draw an additional card to explore new opportunities.
This is an extremely important card if you want to play Zoodiac in a control and grit game style.
II. Why not use it?
This guide is leaning towards a "Pure Zoodiac" build, focusing on quick finishes or creating significant early-game pressure (Turbo Drident + I:P Masquerena).
We prioritize Infinite Impermanence (or other Handtraps) to immediately stop the opponent rather than considering a long recovery period.
However, if you find yourself frequently running out of cards in your Extra Deck when playing Ranked games, you can definitely add a Zoodiac Combo card to your deck.
Staple/Tech
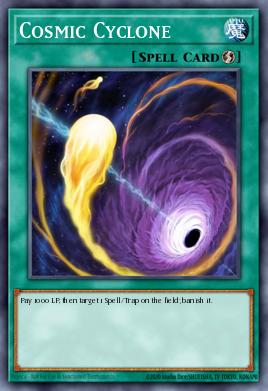
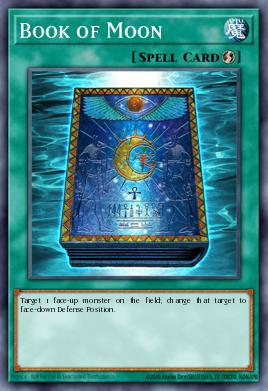
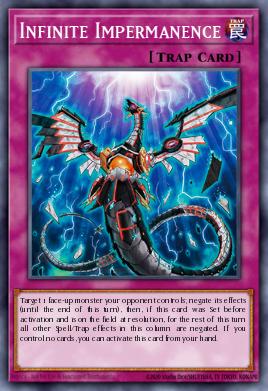
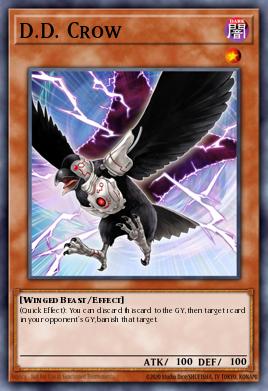
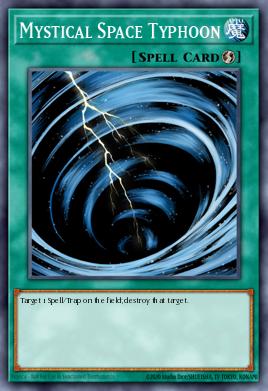
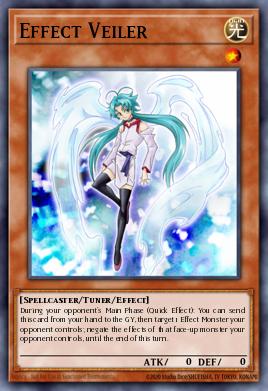
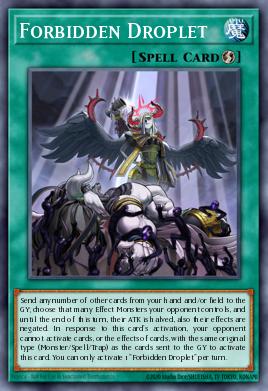

All the hot meta tech/staples can be used in this deck. Because we have quite a few empty slots in the deck (especially when playing pure Zoodiac), we can freely choose based on what we have in our account.
Pot of Avarice (x0-3)
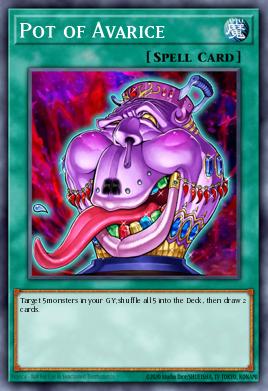
As mentioned in the Zoodiac combo trap card section, this deck is very prone to running out of Extra Deck resources because you'll be constantly summoning XYZ cards. So instead of playing the Zoodiac combo (because regular traps are quite slow), you can play three Pot of Avarice cards straight away, as it also gives you +2 cards.
Extra Deck
Note that all Zoodiac cards in the Extra Deck gain +1 skill, so you'll mostly only play x1 Driver, leaving the rest at x0. You can play each x1 card if you want, but I think it's better to leave slots for other cards.
Zoodiac Drident (1 card - Skill level increases to 2)
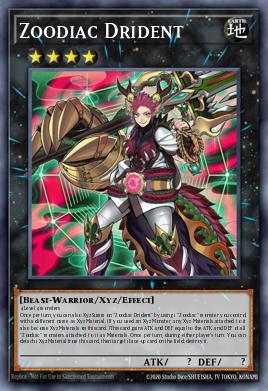
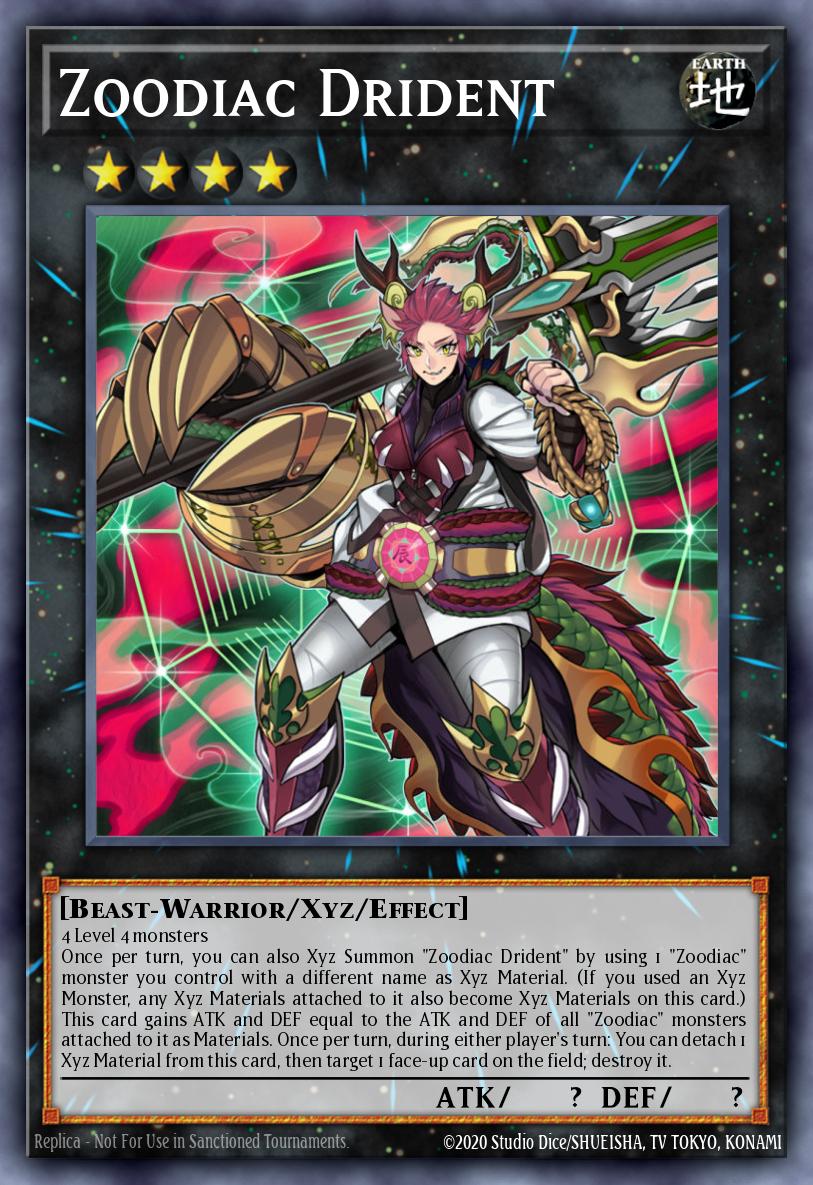
Boss Monster, the main tool for causing disruption.
Quick Effect: Separate 1 material to choose from and destroy 1 face-up card on the field. Can be used during your opponent's turn.
Restriction: Drident can only be summoned/used once per turn (Hard once per turn summon).
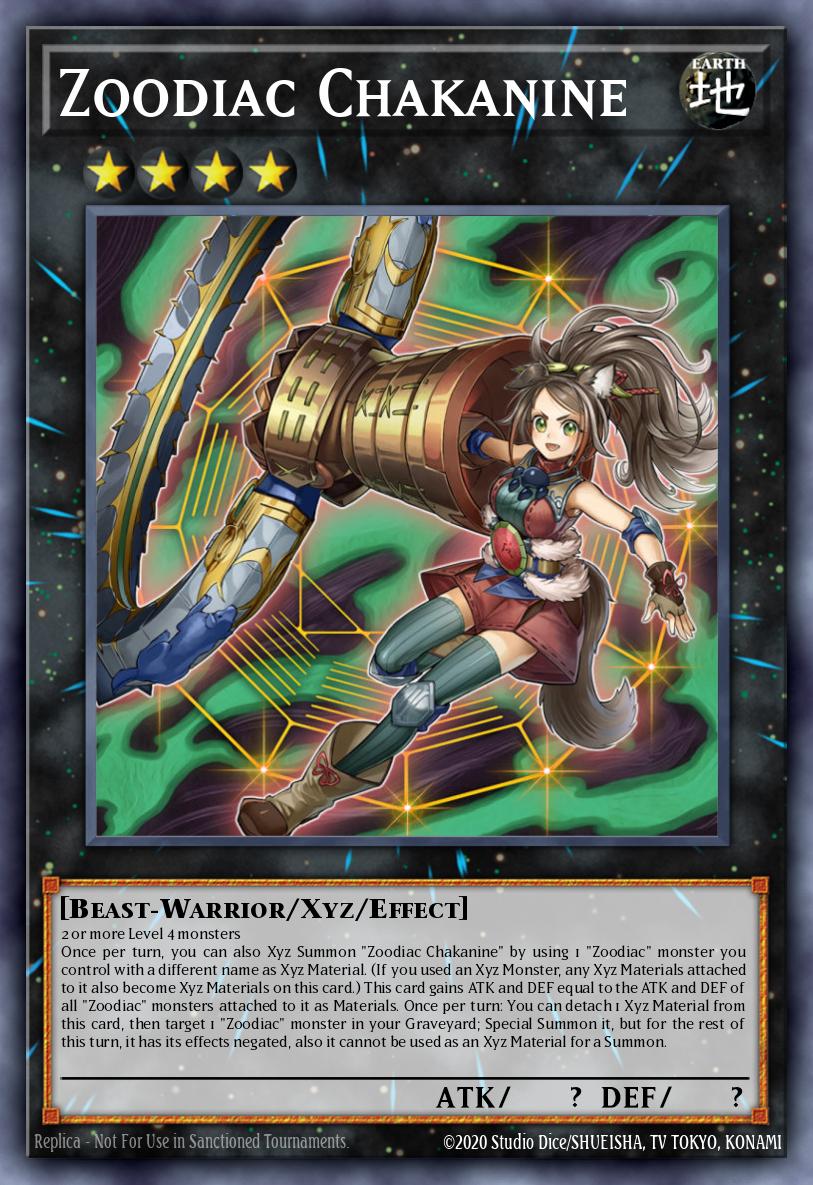
Zoodiac Chakanine (x0-1)
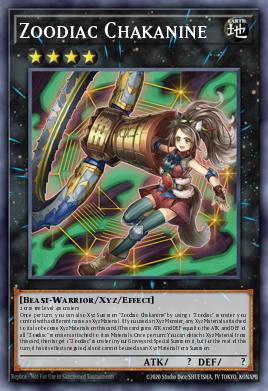
Revive and extend the combo (Extender).
Ability: Separate 1 material to Special Summon 1 Zoodiac from the Graveyard.
Important note: Monsters revived by Chakanine cannot be used as Xyz materials (but can be used as Link Summon materials).
Zoodiac Broadbull (x0)

Searcher
Zoodiac Boarbow (x0-1)
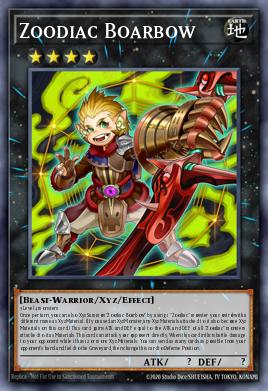
Attack directly or use as a stepping stone to defeat the boss.
Zoodiac Hammerkong (x0)
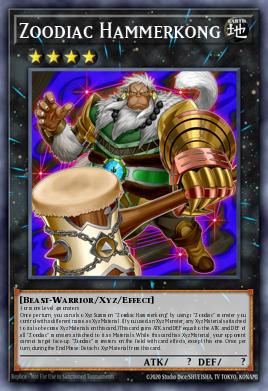
A stepping stone to climbing XYZ and protecting other Zoodiacs from being targeted by opponent effects.
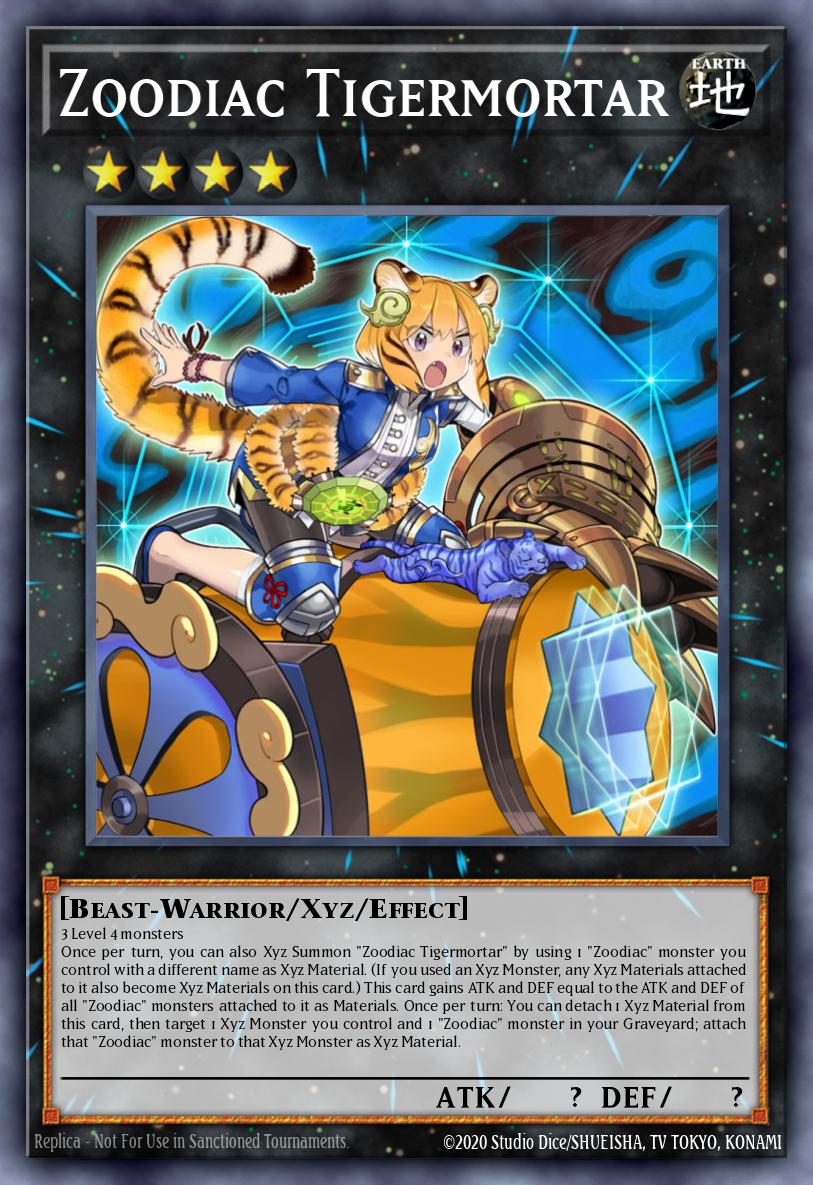
Zoodiac Tigermortar (x0-1)
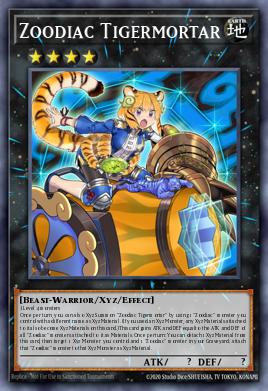
It also serves as a stepping stone to climb XYZ.
Additional Link Monsters

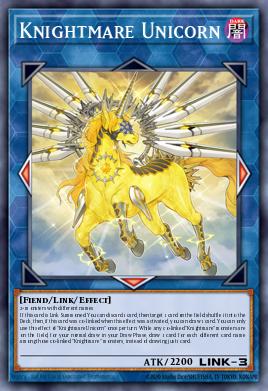
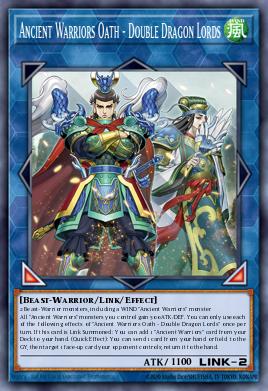
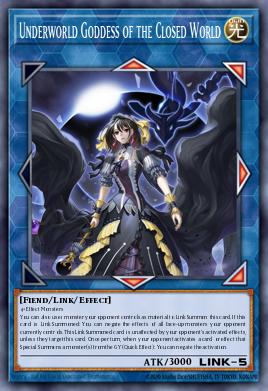
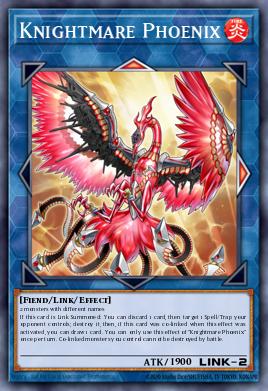
The Tri-brigade Extra

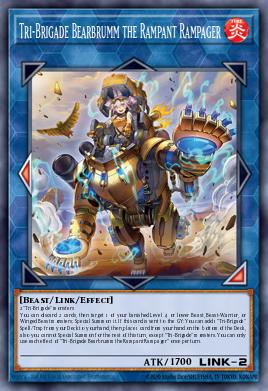
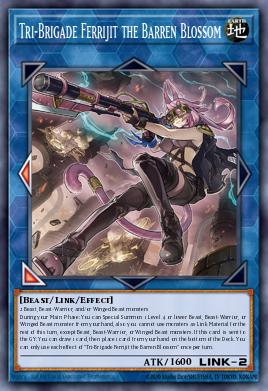
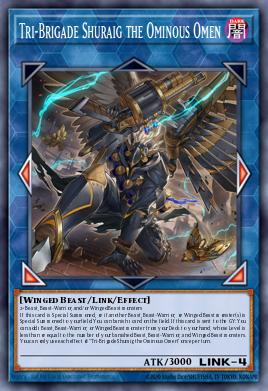

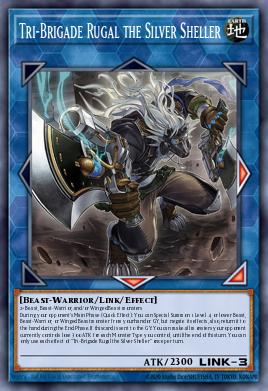
I'll talk about these cards later.
Engine Tri-Bridge
If the Pure Zoodiac is a fast-firing pistol with limited ammunition, then the Tri-Brigade Zoodiac is a six-barreled pistol :v
Zoodiac helps reload (fill the graveyard), while Tri-Brigade is the trigger puller (using the graveyard to summon the Boss). This is the perfect combination of control and offensive power.
This section is quite long, so I've put it aside.
This section is quite long, so I've put it aside.
The Tri-Bridge
1. WHY MIX IT WITH ZOODIAC?
The core of this combination lies in the Type and Grave Mechanism of the two archetypes :
Similarities: Both Zoodiac and Tri-Brigade revolve around three animal types: Beast , Beast-Warrior , and Winged Beast .
Zoodiac (Setup): Zoodiac excels at "Xyz Climbing" (stacking multiple Xyz cards on top of each other). With just one Ratpier, you can send 3-4 Zoodiac cards (Beast-Warrior type) to the Graveyard in the first turn.
Tri-Brigade "Shoot": Tri-Brigade monsters share the effect of banishing Beast/Beast-Warrior/Winged Beast cards from the Graveyard to Link Summon .
Result: Zoodiac provides free materials from the graveyard -> Tri-Brigade uses those materials to summon Boss Link Monster without spending any resources in their hand.
2. The Key Cards of the Engine Tri-Bridge
You don't need to play all of them, but these are the required cards for this engine:
Main Deck:
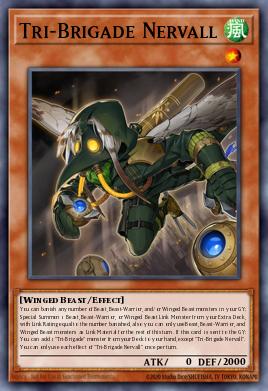
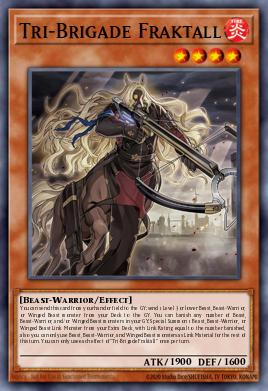
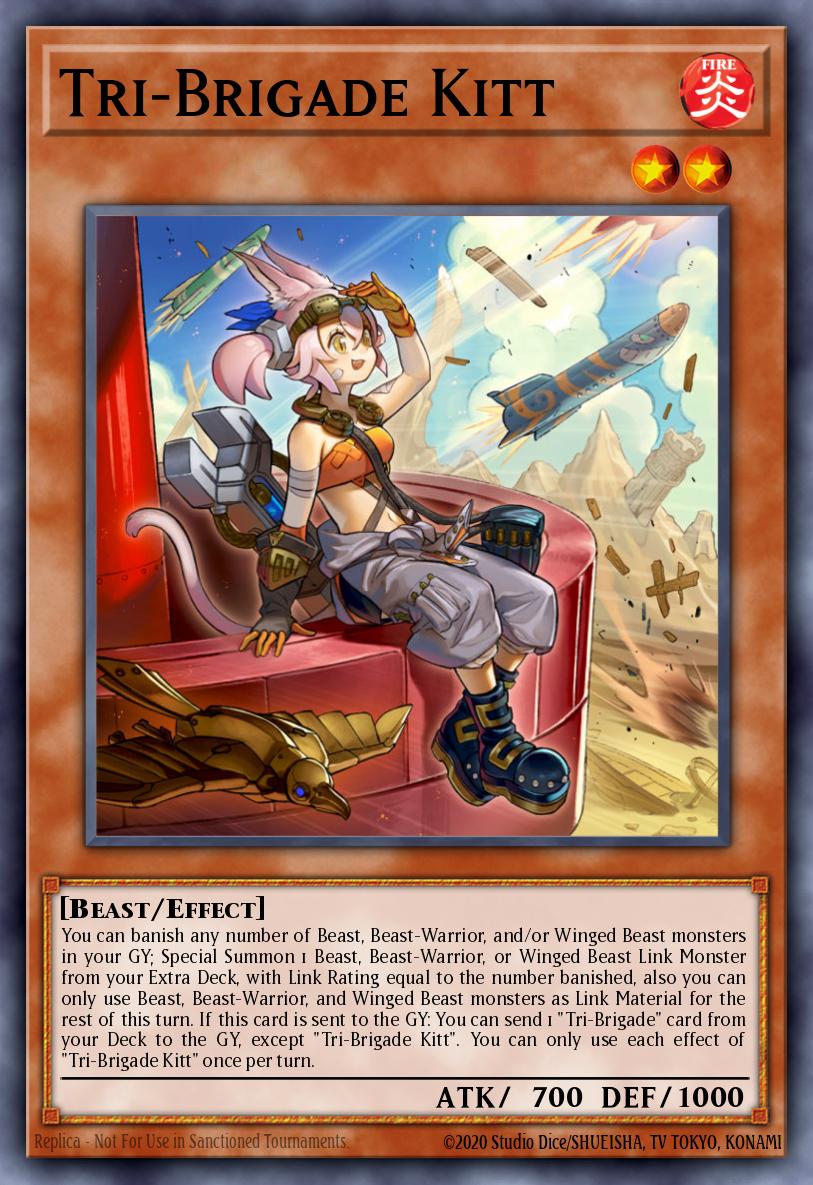
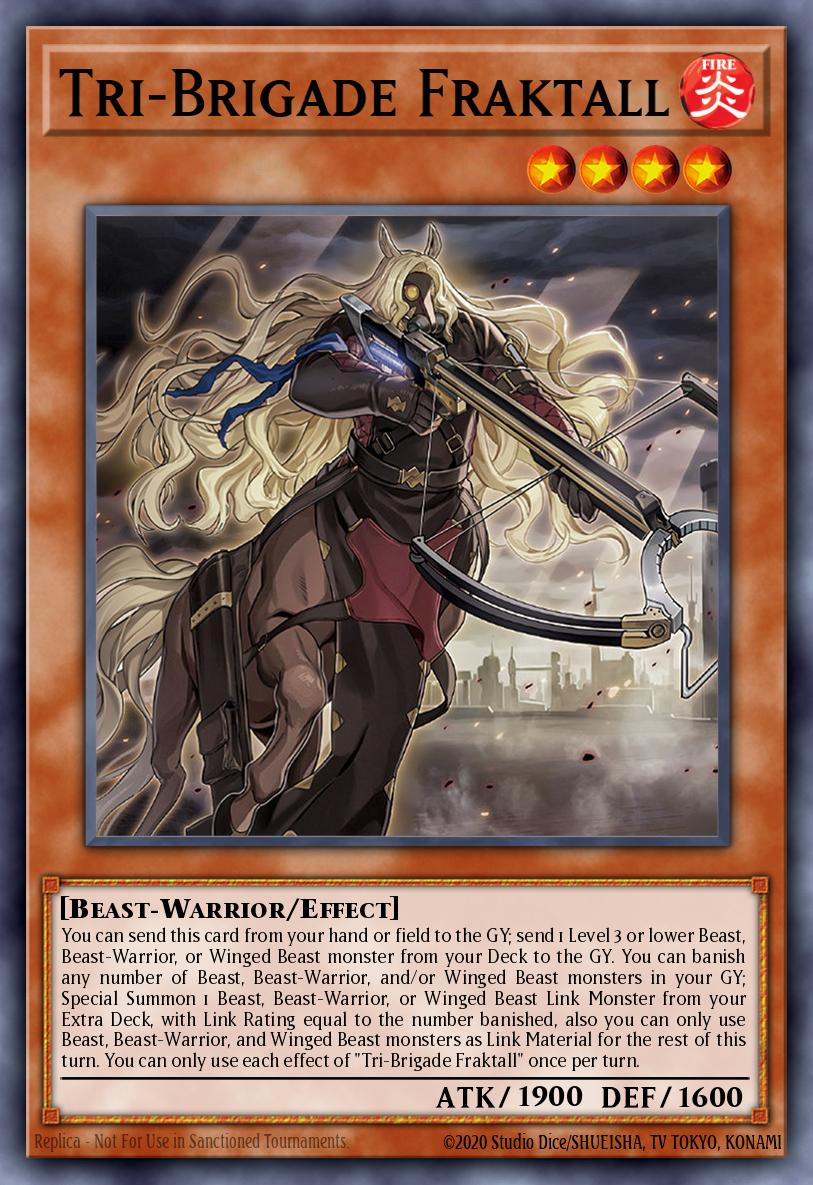
Tri-Brigade Fraktall (Most important leaf):
Effect: Sends itself from hand to graveyard to send 1 Level 3 or lower monster (Kitt or Nervall) from your deck to graveyard. This is a "Starter" that instantly fills your graveyard.
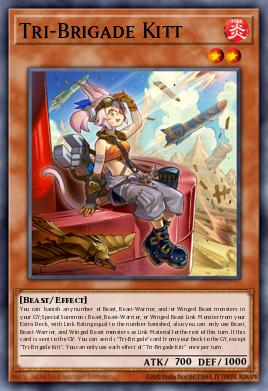
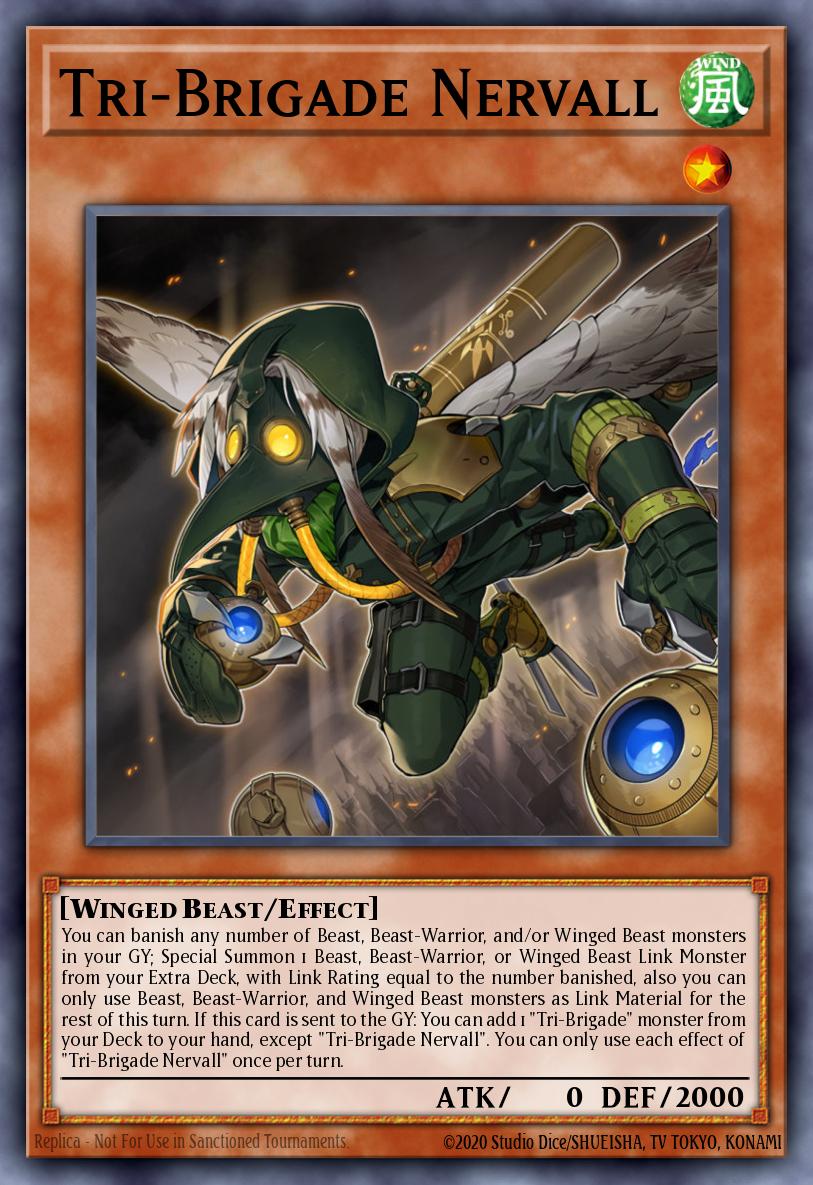
Tri-Brigade Kitt & Nervall:
Effect: Used to search for Tri-Brigade or Zoodiac monsters to add to your hand, and also serves as bait for Fraktall to send to the graveyard.
Tri-Brigade Kerass:
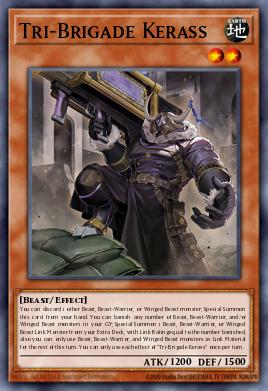
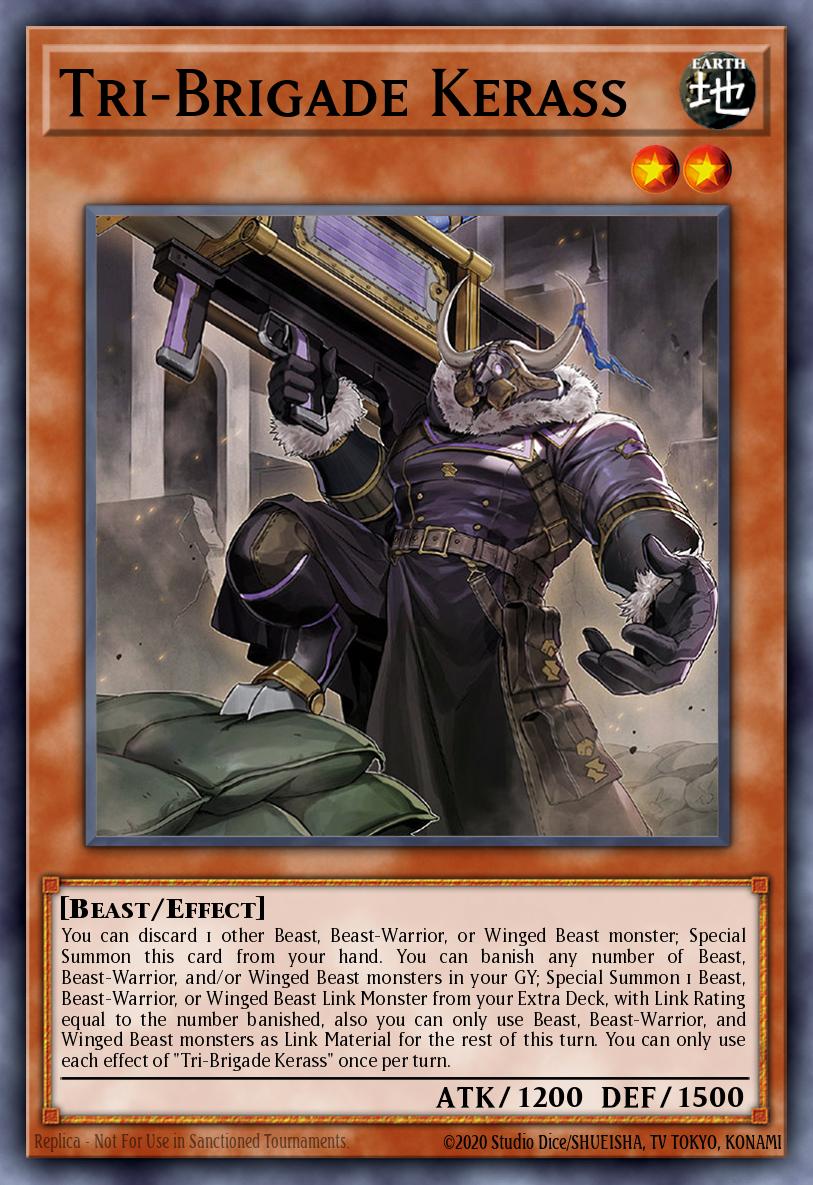
Effect: Allows you to Special Summon by discarding another monster from your hand (helps resolve issues if Zoodiac is blocked from Normal Summoning).
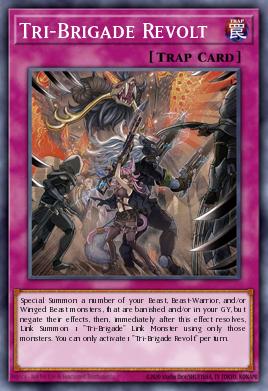
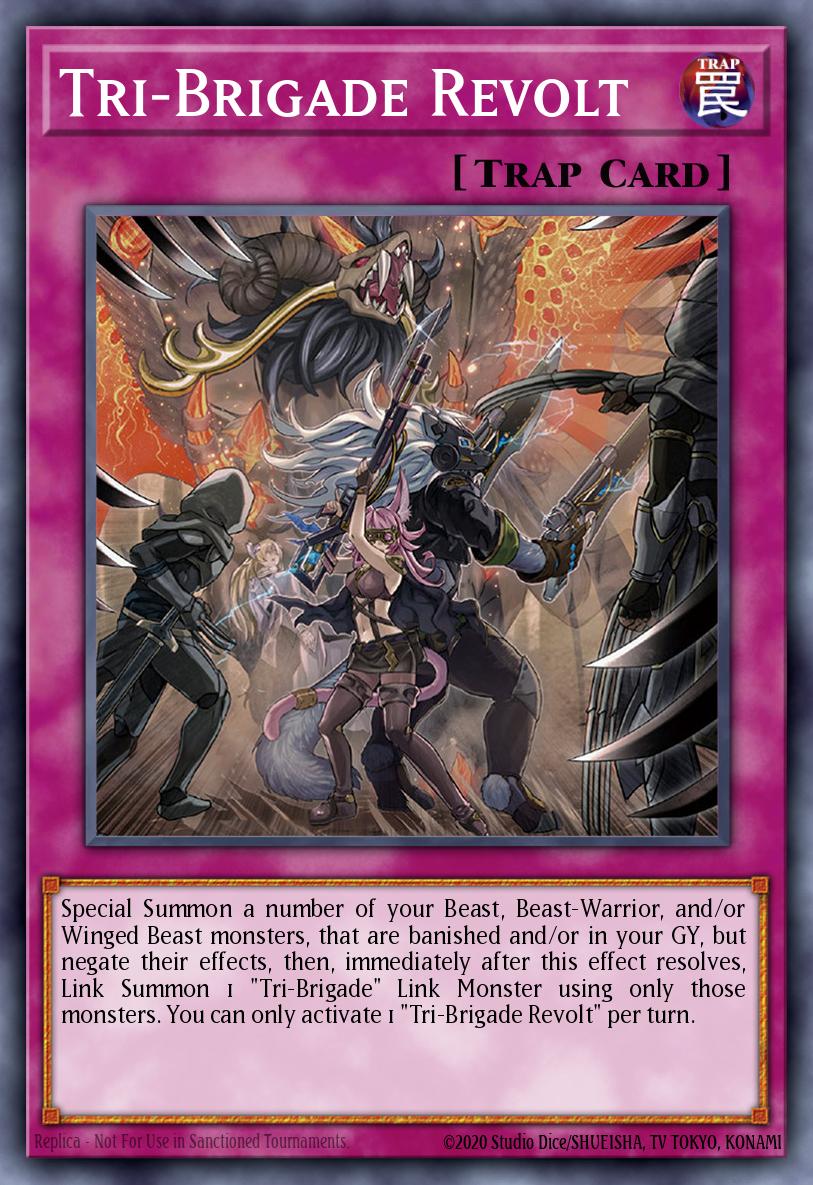
Tri-Brigade Revolt:
Effect: Summons banished or graveyard monsters, then immediately Link Summons them during your opponent's turn (usually Shuraig).
Extra Deck:
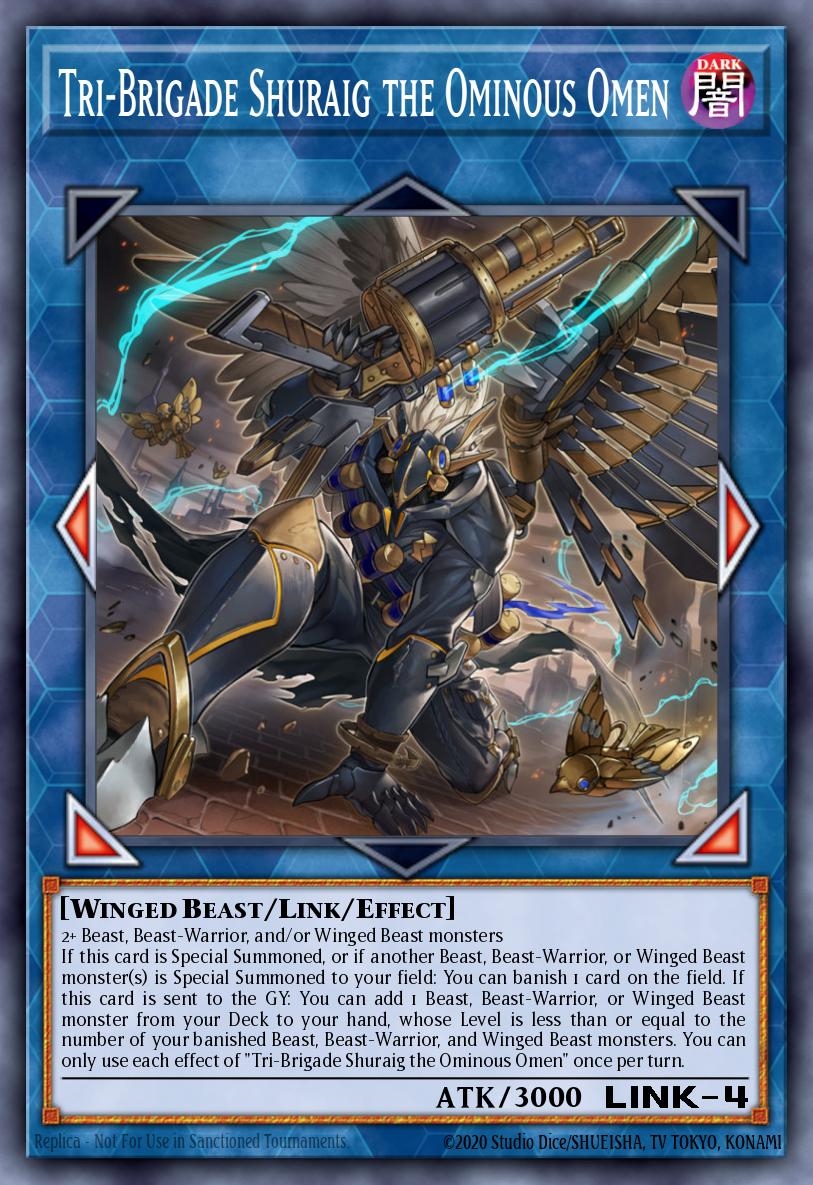
Tri-Brigade Shuraig the Ominous Omen: Main Boss. When summoned, it banishes 1 card on the opponent's field (Non-targeting).
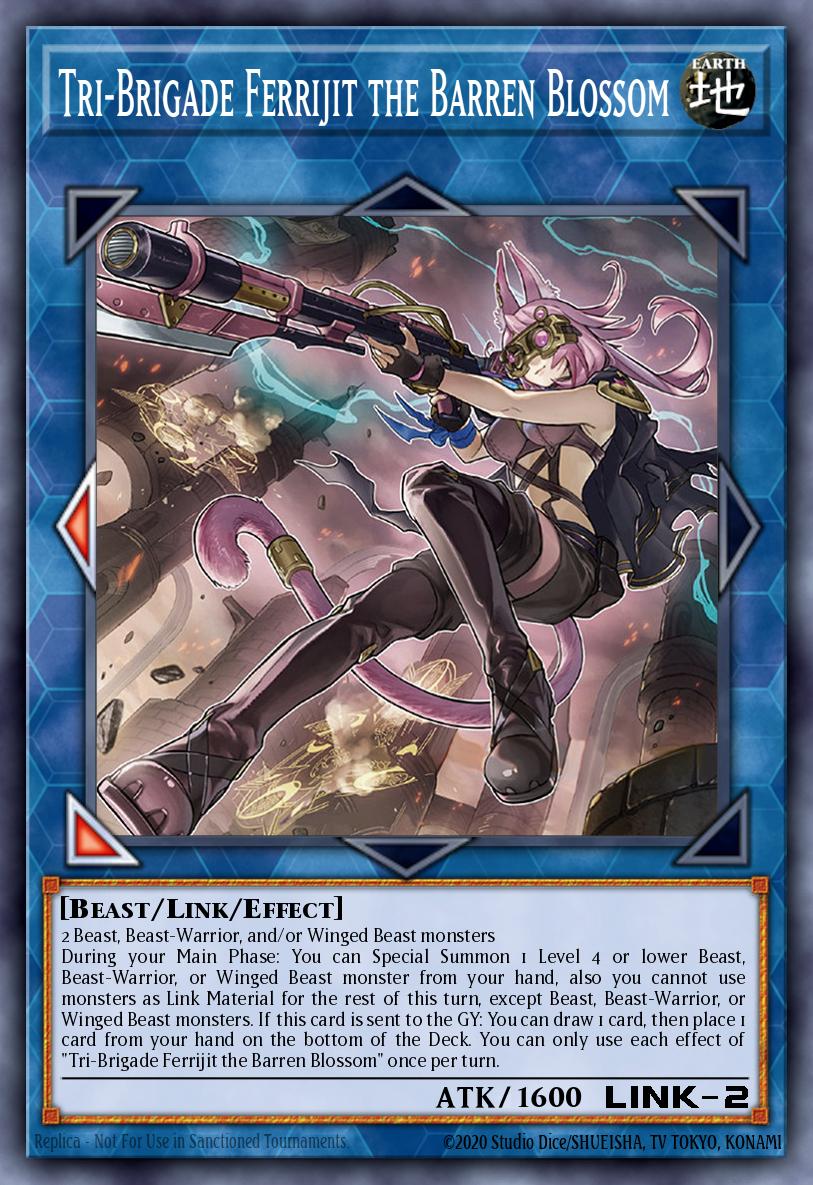
Tri-Brigade Ferrijit the Barren Blossom: Helps filter cards and summon additional monsters from your hand.
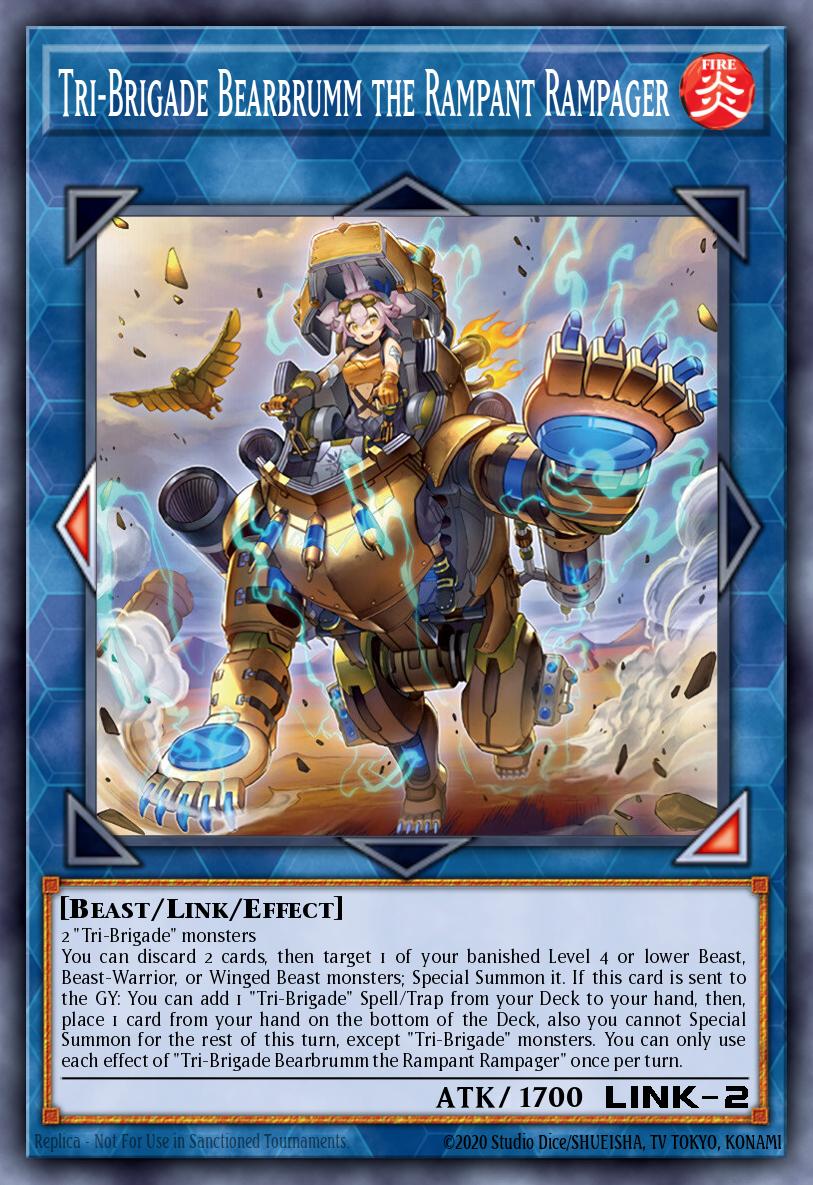
Tri-Brigade Bearbrumm the Rampant Rampager: Required to search for the Revolt trap card.
3. HOW TO OPERATE (SAMPLE COMBO)
In Duel Links (with a limited number of monster slots), combos require more skill than in TCG/Master Duel.
For example: You have Zoodiac Ratpier + Tri-Brigade Fraktall (or any Tri-Brigade) in your hand.
Zoodiac Phase (Grave Reload):
Normal Summon Ratpier .
Climb Rank Xyz: Ratpier -> Hammerkong -> Chakanine -> Drident.
(At this point, you have 3 Zoodiac cards in your graveyard: Ratpier, Hammerkong, Chakanine).
The Zoodiac section concludes with Drident on the field.
Tri-Brigade phase:
If you have Kerass : Special Summon Kerass (discard one other pet).
Activate Kerass effect: Banish the 2 Zoodiac cards that have just been sent to the graveyard -> Link Summon Ferrijit or Bearbrumm .
Link these monsters to summon Shuraig or set Revolt traps.
Ideal End Board:
1 Zoodiac Drident: Ready to destroy 1 card.
1 Set Card (Tri-Brigade Revolt): On your opponent's turn, flip this card over -> Recall your banished monsters -> Link Summon Shuraig -> Shuraig banishes 1 of your opponent's cards.
Total: 2 instances of disruption (1 destroy, 1 banish) + Resource recovery for the next turn.
4. ADVANTAGES COMPARED TO PURE ZOODIAC
| Criteria | Pure Zoodiac | Tri-Brigade Zoodiac |
| Attack Power (ATK) | Low. Dependent on Drident (low ATK). | Very high. Shuraig has 3000 ATK, easily OTK. |
| Resources | Drident runs out easily in the Extra Deck. | Recycle resources continuously with Revolt trap leaves. |
| Diversity | Only destruction (Drident). | There are both Direct and Shuraig (non-targeted) attacks. |
| Resilience | Poor if the Ratpier combo is interrupted. | It's better because it has two independent engines (if Zoo is blocked, use Tri-Brigade, and vice versa). |
5. NOTES WHEN PLAYING DUEL LINKS
Limited space: Duel Links only has 3 main monster slots + 1 Extra slot. The Zoo-Tri combo requires a lot of space. You have to plan carefully to avoid clogging your field.
Tip: Don't leave too many useless Zoodiac corpses on the field; Link them away as soon as possible.
Managing the Extra Deck: The Extra Deck in Duel Links only has 9 cards. You'll have to think hard to choose the right ratio between Xyz Zoodiac and Link Tri-Brigade cards.
Suggestion: 1 Drident, 1 Chakanine, 1 Boarbow, 1 Tigermortar (4 Zoo cards) + 1 Shuraig, 1 Ferrijit, 1 Bearbrumm, 1 other Knightmare/Link (4 Link cards).
Skill
Since the previous section was quite long, I will now summarize the skills.
Zoodiac Conclave (Skill Card) (100%)

This is a common skill in Duel Links, not too overpowered : Resource Support (Consistency/Resource Skill).
Automatically add Zoodiac Xyz Monsters (Drident, Chakanine, Boarbow, Hammerkong) to the Extra Deck at the start of the match.
This skill will This helps overcome the 9-slot Extra Deck limit of Duel Links, allowing players to execute long Rank XYZ combo chains without running out of cards. It's mandatory if playing pure Zoodiac.
Combo & How to Play
1. BASIC COMBO (1-CARD COMBO)
Requirement : 1 Zoodiac Ratpier card (or Fire Formation - Tenki to find it).
Step 1: Normal Summon Zoodiac Ratpier .
Step 2: Activate the Ratpier effect: Send 1 Zoodiac from your deck to the Graveyard.
Choice: Send Ramram (Trap-resistant), Bunnyblast (Magic-resistant), or Kataroost (Beast-resistant) depending on which one you want to revive later.
Step 3: Xyz Summon Zoodiac Hammerkong onto Ratpier.
Step 4: Xyz Summon Zoodiac Chakanine onto Hammerkong.
Step 5: Activate the Chakanine effect (an effect amplified by Ratpier):
Separate 1 material -> Special Summon 1 Ratpier (number 2) from your deck.
Step 6: Activate Chakanine's original effect:
Separate 1 ingredient -> Revive the Zoodiac that was sent to the graveyard in Step 2.
Note: This revived monster cannot be used for Xyz Summoning (it's only for Link materials).
Step 7: Xyz Summon Zoodiac Tigermortar on top of Ratpier (number 2).
Step 8: Xyz Summon Zoodiac Broadbull on top of Tigermortar.
Step 9: Activate the Broadbull effect (an effect amplified by Ratpier):
Separate 1 material -> Special Summon 1 Ratpier (number 3) from your deck.
Step 10: Activate Broadbull's original effect:
Separate 1 ingredient -> Search for Zoodiac Whiptail and add it to your hand.
Step 11: Link Summon I:P Masquerena using Chakanine + Broadbull .
Step 12: Xyz Summon Zoodiac Drident onto Ratpier (number 3).
END BOARD:
Zoodiac Drident: Ready to destroy one of your opponent's face-up cards (Quick Effect).
I:P Masquerena: Ready to Link Summon during your opponent's turn.
Zoodiac Beast (resurrected from the graveyard): Lying on the field (useless, only for bait or wall blocking).
Zoodiac Whiptail (in hand): Can be equipped to Drident (increases ATK + Banish effect during combat).
2. EXPANSION COMBO (WITH ZOODIAC BARRAGE)
Requirements : The above combo + Zoodiac Barrage in hand.
Step 1: Activate Zoodiac Barrage .
Step 2: Barrage activates its effect: Select and destroy itself (or another face-up card you don't need, for example, the useless Zoodiac revived from the graveyard in the combo above) -> Special Summon 1 Zoodiac from your deck (e.g., Thoroughblade ).
Step 3: Use the newly spawned monster to Xyz Summon another Zoodiac (e.g., Boarbow ) or use it as additional Link material.
Step 4: Once Barrage is in the Graveyard (destroyed by the effect):
Activate Graveyard Effect: Attach itself to Drident that is on the field.
Result: Drident gains 1 more material -> Can use the Explode effect one more time (if Drident survives the next turn or for its own turn).
3. How to handle the opponent's turn.
Based on the End Board of Combo 1, you would process it as follows:
Use Drident:
Wait for your opponent to activate their key card or summon their main monster.
Separate the materials -> Destroy (Pop) that card.
Use I:P Masquerena:
After Drident has used his effect (or when the opponent has a large field).
Activate I:P Masquerena: Use itself + Drident + Remaining Junk Monster (or your opponent's monster if you rolled Underworld Goddess).
Choose Link Monster:
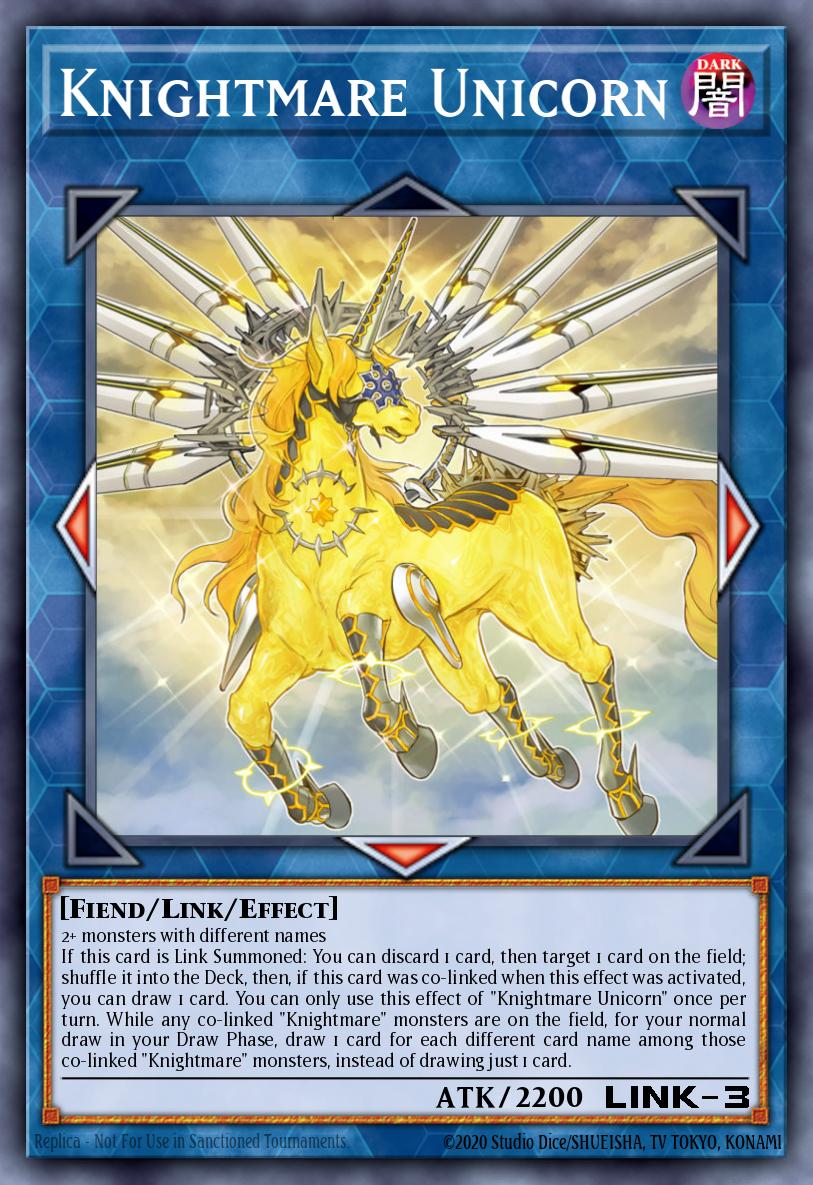
Knightmare Unicorn: To shuffle an opponent's deck.
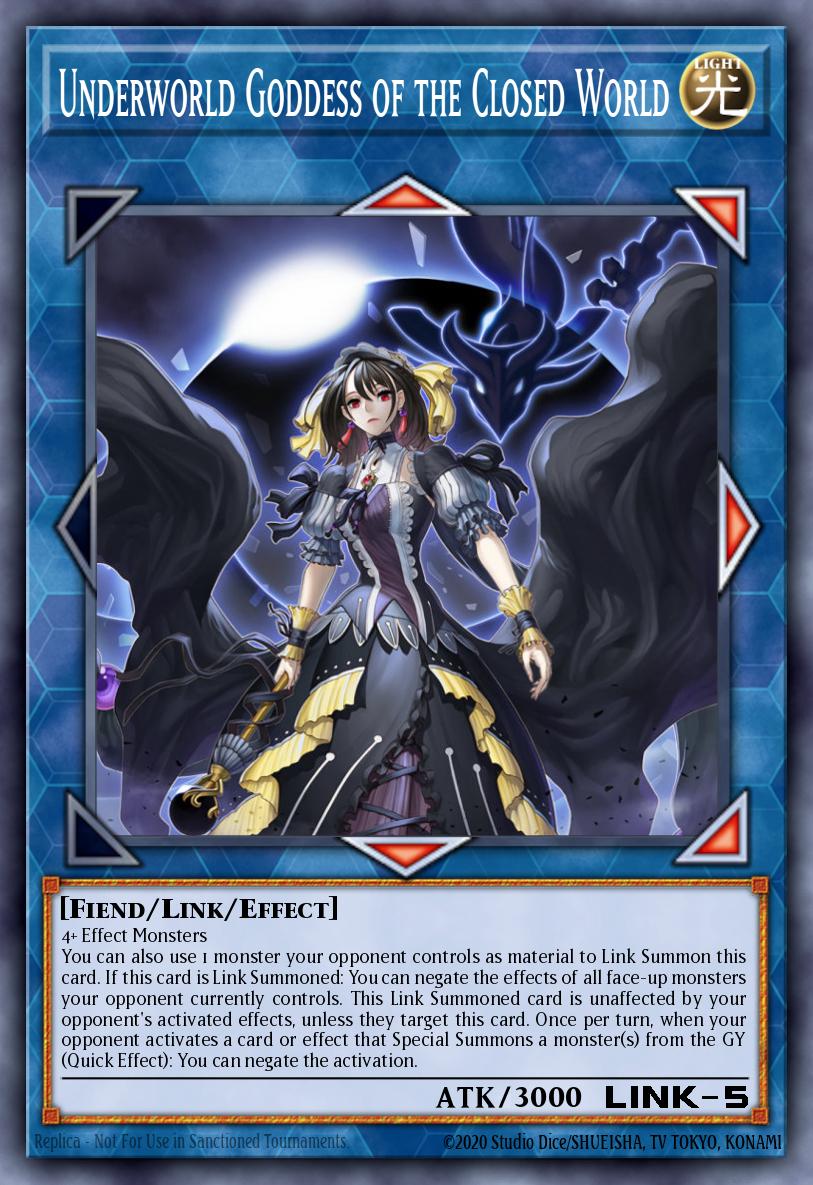
Underworld Goddess of the Closed World: (Strongest) Use I:P + your monster + 1 opponent's monster .
-> Disable all monster effects on the opponent's field.
-> Lock the opponent's grave (preventing them from summoning from the grave).
SUMMARY OF THE IMPORTANT "RANK CLIMBING" (XYZ CLIMBING) MECHANISM
In Zoodiac, stacking Xyz Monsters is key. In the combo above, the order is important:
Ratpier (Original)
Hammerkong (Pinching Ratpier)
Chakanine (Straightening over Hammerkong) -> Uses its effect to summon Ratpier.
Tigermortar (Overlapping with the new Ratpier)
Broadbull (Overlapping Tigermortar) -> Use the effect to summon Ratpier + Search.
Drident (Launches on top of Ratpier) -> Final Boss.
duel-links
1292
5
 FIRE
FIRETri-Brigade Bearbrumm the Rampant Rampager
ATK:
1700
LINK-2
Link Arrow:
 Left
Left
 Bottom-Right
2 "Tri-Brigade" monsters You can discard 2 cards, then target 1 of your banished Level 4 or lower Beast, Beast-Warrior, or Winged Beast monsters; Special Summon it. If this card is sent to the GY: You can add 1 "Tri-Brigade" Spell/Trap from your Deck to your hand, then, place 1 card from your hand on the bottom of the Deck, also you cannot Special Summon for the rest of this turn, except "Tri-Brigade" monsters. You can only use each effect of "Tri-Brigade Bearbrumm the Rampant Rampager" once per turn.
 EARTH
EARTHTri-Brigade Ferrijit the Barren Blossom
ATK:
1600
LINK-2
Link Arrow:
Left
 Bottom-Left
2 Beast, Beast-Warrior, and/or Winged Beast monsters During your Main Phase: You can Special Summon 1 Level 4 or lower Beast, Beast-Warrior, or Winged Beast monster from your hand, also you cannot use monsters as Link Material for the rest of this turn, except Beast, Beast-Warrior, or Winged Beast monsters. If this card is sent to the GY: You can draw 1 card, then place 1 card from your hand on the bottom of the Deck. You can only use each effect of "Tri-Brigade Ferrijit the Barren Blossom" once per turn.
 EARTH
EARTH 4
4Zoodiac Ratpier
ATK:
0
DEF:
0
If this card is Normal Summoned: You can send 1 "Zoodiac" card from your Deck to the Graveyard. An Xyz Monster whose original Type is Beast-Warrior and has this card as Xyz Material gains this effect. ● Once per turn: You can detach 1 Xyz Material from this card; Special Summon 1 "Zoodiac Ratpier" from your hand or Deck.


 DARK
DARKTri-Brigade Shuraig the Ominous Omen
ATK:
3000
LINK-4
Link Arrow:
Left
 Right
Right
Bottom-Left
Bottom-Right
2+ Beast, Beast-Warrior, and/or Winged Beast monsters If this card is Special Summoned, or if another Beast, Beast-Warrior, or Winged Beast monster(s) is Special Summoned to your field: You can banish 1 card on the field. If this card is sent to the GY: You can add 1 Beast, Beast-Warrior, or Winged Beast monster from your Deck to your hand, whose Level is less than or equal to the number of your banished Beast, Beast-Warrior, and Winged Beast monsters. You can only use each effect of "Tri-Brigade Shuraig the Ominous Omen" once per turn.
 EARTH
2
EARTH
2Tri-Brigade Kerass
ATK:
1200
DEF:
1500
You can discard 1 other Beast, Beast-Warrior, or Winged Beast monster; Special Summon this card from your hand. You can banish any number of Beast, Beast-Warrior, and/or Winged Beast monsters in your GY; Special Summon 1 Beast, Beast-Warrior, or Winged Beast Link Monster from your Extra Deck, with Link Rating equal to the number banished, also you can only use Beast, Beast-Warrior, and Winged Beast monsters as Link Material for the rest of this turn. You can only use each effect of "Tri-Brigade Kerass" once per turn.
 WIND
1
WIND
1Tri-Brigade Nervall
ATK:
0
DEF:
2000
You can banish any number of Beast, Beast-Warrior, and/or Winged Beast monsters in your GY; Special Summon 1 Beast, Beast-Warrior, or Winged Beast Link Monster from your Extra Deck, with Link Rating equal to the number banished, also you can only use Beast, Beast-Warrior, and Winged Beast monsters as Link Material for the rest of this turn. If this card is sent to the GY: You can add 1 "Tri-Brigade" monster from your Deck to your hand, except "Tri-Brigade Nervall". You can only use each effect of "Tri-Brigade Nervall" once per turn.
 Spell
Spell Quick
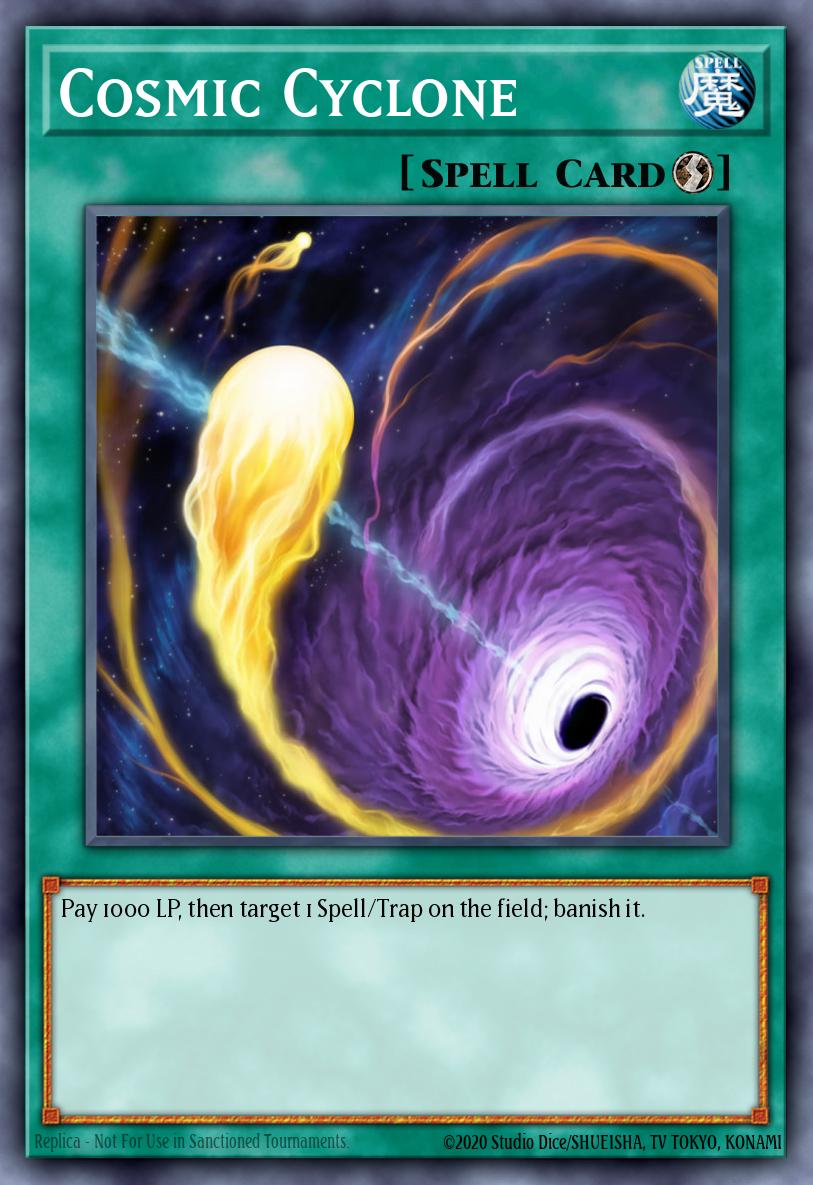
QuickCosmic Cyclone
Pay 1000 LP, then target 1 Spell/Trap on the field; banish it.
 EARTH
EARTH
Zoodiac Hammerkong
ATK:
-1
DEF:
-1
3 or more Level 4 monsters Once per turn, you can also Xyz Summon "Zoodiac Hammerkong" by using 1 "Zoodiac" monster you control with a different name as Xyz Material. (If you used an Xyz Monster, any Xyz Materials attached to it also become Xyz Materials on this card.) This card gains ATK and DEF equal to the ATK and DEF of all "Zoodiac" monsters attached to it as Materials. While this card has Xyz Material, your opponent cannot target face-up "Zoodiac" monsters on the field with card effects, except this one. Once per turn, during the End Phase: Detach 1 Xyz Material from this card.
 EARTH
EARTHZoodiac Drident
ATK:
-1
DEF:
-1
4 Level 4 monsters Once per turn, you can also Xyz Summon "Zoodiac Drident" by using 1 "Zoodiac" monster you control with a different name as Xyz Material. (If you used an Xyz Monster, any Xyz Materials attached to it also become Xyz Materials on this card.) This card gains ATK and DEF equal to the ATK and DEF of all "Zoodiac" monsters attached to it as Materials. Once per turn, during either player's turn: You can detach 1 Xyz Material from this card, then target 1 face-up card on the field; destroy it.
 Spell
Quick
Spell
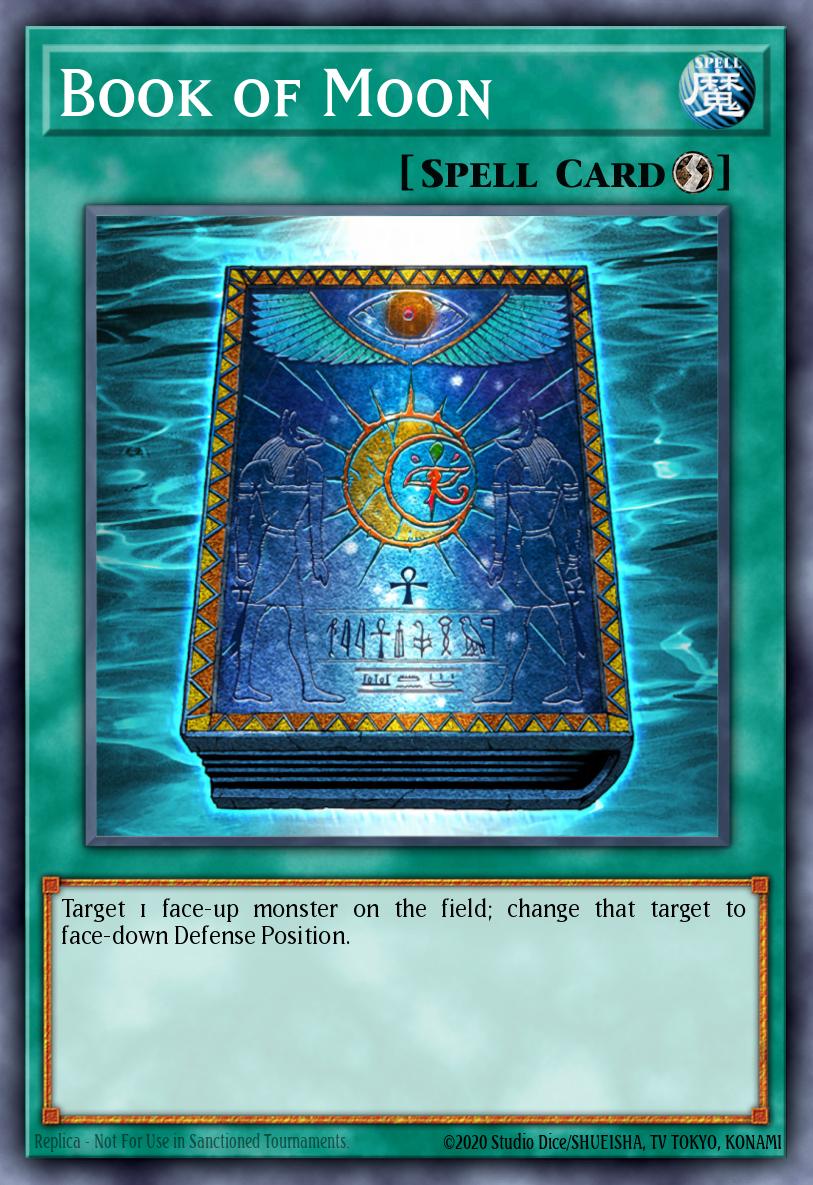
QuickBook of Moon
Target 1 face-up monster on the field; change that target to face-down Defense Position.
 DARK
DARKI:P Masquerena
ATK:
800
LINK-2
Link Arrow:
Bottom-Left
Bottom-Right
2 non-Link Monsters During your opponent's Main Phase, you can (Quick Effect): Immediately after this effect resolves, Link Summon 1 Link Monster using materials you control, including this card. You can only use this effect of "I:P Masquerena" once per turn. A Link Monster that used this card as material cannot be destroyed by your opponent's card effects.
 DARK
DARKKnightmare Unicorn
ATK:
2200
LINK-3
Link Arrow:
Left
Right
 Bottom
2+ monsters with different names If this card is Link Summoned: You can discard 1 card, then target 1 card on the field; shuffle it into the Deck, then, if this card was co-linked when this effect was activated, you can draw 1 card. You can only use this effect of "Knightmare Unicorn" once per turn. While any co-linked "Knightmare" monsters are on the field, for your normal draw in your Draw Phase, draw 1 card for each different card name among those co-linked "Knightmare" monsters, instead of drawing just 1 card.
 EARTH
EARTHZoodiac Chakanine
ATK:
-1
DEF:
-1
2 or more Level 4 monsters Once per turn, you can also Xyz Summon "Zoodiac Chakanine" by using 1 "Zoodiac" monster you control with a different name as Xyz Material. (If you used an Xyz Monster, any Xyz Materials attached to it also become Xyz Materials on this card.) This card gains ATK and DEF equal to the ATK and DEF of all "Zoodiac" monsters attached to it as Materials. Once per turn: You can detach 1 Xyz Material from this card, then target 1 "Zoodiac" monster in your Graveyard; Special Summon it, but for the rest of this turn, it has its effects negated, also it cannot be used as an Xyz Material for a Summon.
 WIND
WINDAncient Warriors Oath - Double Dragon Lords
ATK:
1100
LINK-2
Link Arrow:
Bottom-Left
Bottom-Right
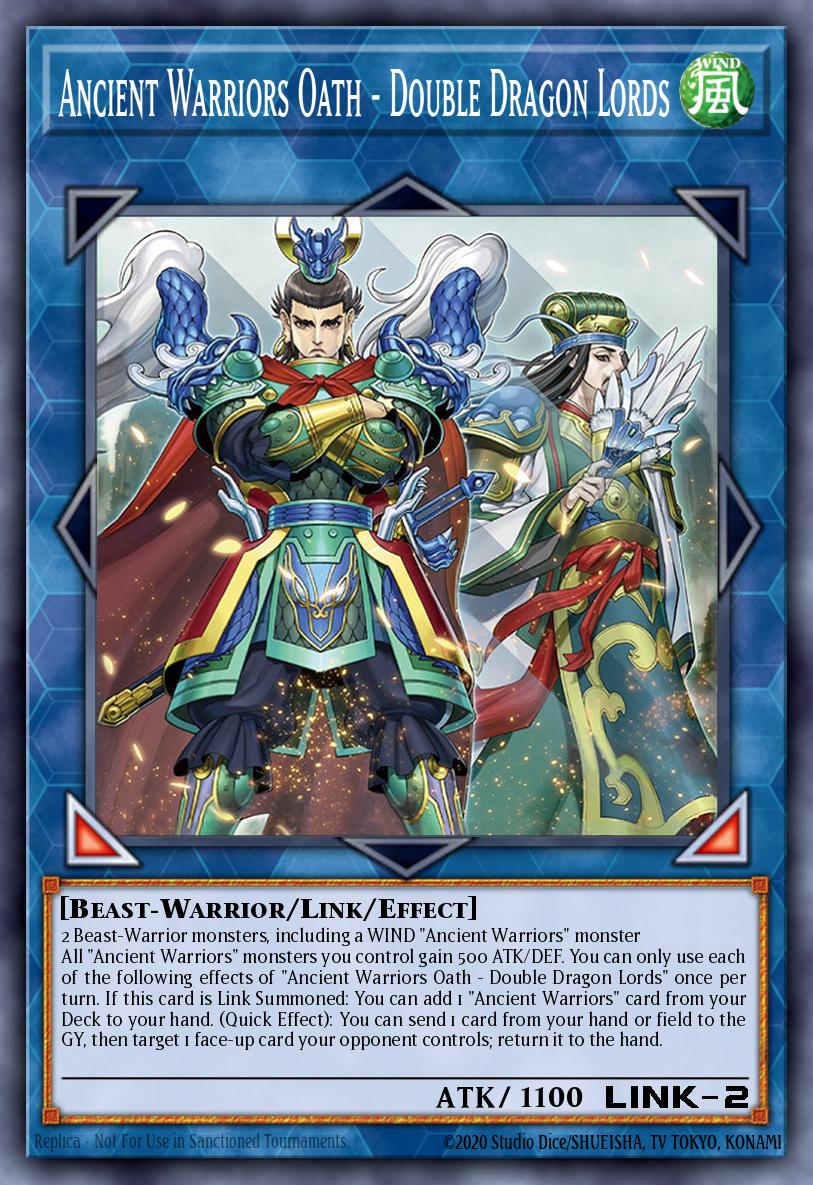
2 Beast-Warrior monsters, including a WIND "Ancient Warriors" monster All "Ancient Warriors" monsters you control gain 500 ATK/DEF. You can only use each of the following effects of "Ancient Warriors Oath - Double Dragon Lords" once per turn. If this card is Link Summoned: You can add 1 "Ancient Warriors" card from your Deck to your hand. (Quick Effect): You can send 1 card from your hand or field to the GY, then target 1 face-up card your opponent controls; return it to the hand.
 Spell
Spell Normal
Pot of Avarice
Target 5 monsters in your GY; shuffle all 5 into the Deck, then draw 2 cards.
 EARTH
EARTHZoodiac Broadbull
ATK:
-1
DEF:
-1
2 Level 4 monsters Once per turn, you can also Xyz Summon "Zoodiac Broadbull" by using 1 "Zoodiac" monster you control with a different name as Xyz Material. (If you used an Xyz Monster, any Xyz Materials attached to it also become Xyz Materials on this card.) This card gains ATK and DEF equal to the ATK and DEF of all "Zoodiac" monsters attached to it as Materials. Once per turn: You can detach 1 Xyz Material from this card; add 1 Beast-Warrior-Type monster, that can be Normal Summoned/Set, from your Deck to your hand.


 Spell
Spell Continuous
Zoodiac Barrage
You can target 1 face-up card you control; destroy it, and if you do, Special Summon 1 "Zoodiac" monster from your Deck. You can only use this effect of "Zoodiac Barrage" once per turn. If this card is destroyed by a card effect and sent to the Graveyard: You can target 1 "Zoodiac" Xyz Monster you control; attach this card from your Graveyard to that Xyz Monster as Xyz Material.
 EARTH
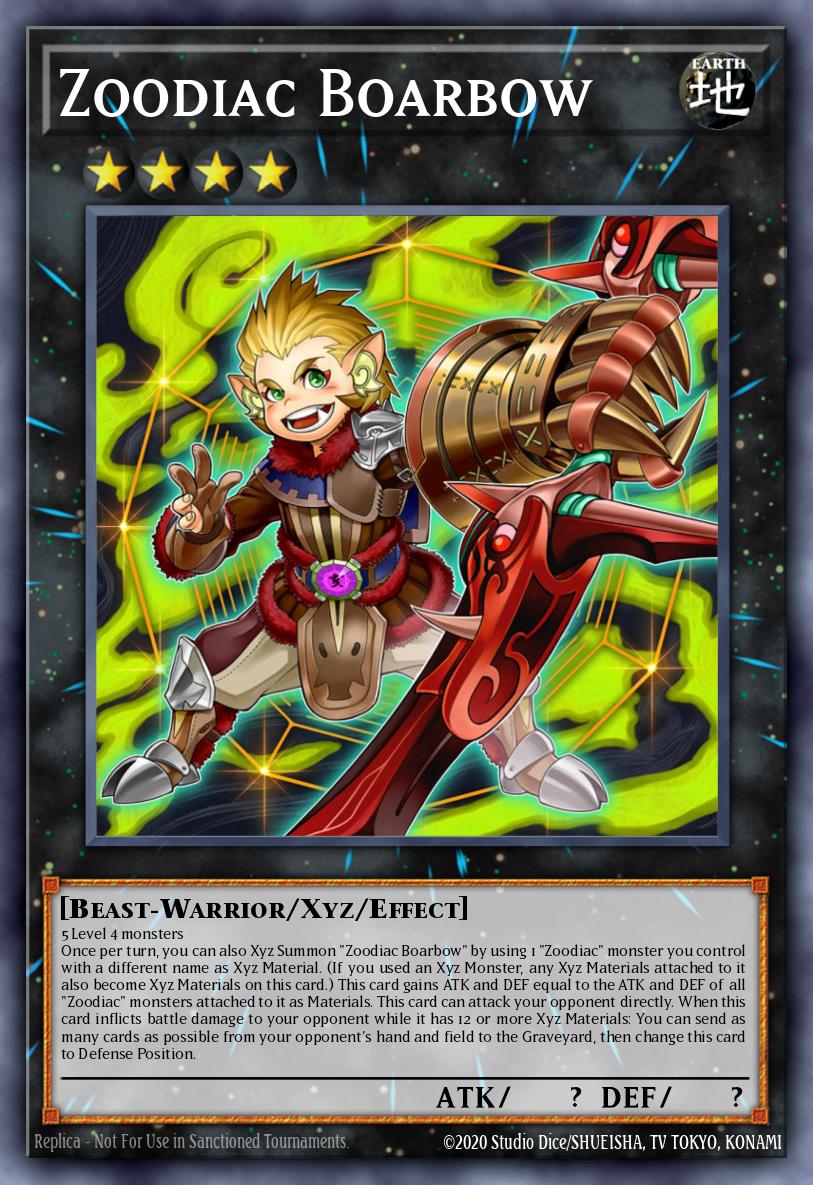
EARTHZoodiac Boarbow
ATK:
-1
DEF:
-1
5 Level 4 monsters Once per turn, you can also Xyz Summon "Zoodiac Boarbow" by using 1 "Zoodiac" monster you control with a different name as Xyz Material. (If you used an Xyz Monster, any Xyz Materials attached to it also become Xyz Materials on this card.) This card gains ATK and DEF equal to the ATK and DEF of all "Zoodiac" monsters attached to it as Materials. This card can attack your opponent directly. When this card inflicts battle damage to your opponent while it has 12 or more Xyz Materials: You can send as many cards as possible from your opponent's hand and field to the Graveyard, then change this card to Defense Position.
 EARTH
4
EARTH
4Zoodiac Thoroughblade
ATK:
1600
DEF:
0
If this card is Normal or Special Summoned: You can discard 1 "Zoodiac" card, and if you do, draw 1 card. An Xyz Monster whose original Type is Beast-Warrior and has this card as Xyz Material gains this effect. ● If this card attacks a Defense Position monster, inflict piercing battle damage to your opponent.
 Spell
Continuous
Spell
ContinuousFire Formation - Tenki
When this card is activated: You can add 1 Level 4 or lower Beast-Warrior monster from your Deck to your hand. All Beast-Warrior monsters you control gain 100 ATK. You can only activate 1 "Fire Formation - Tenki" per turn.
 FIRE
2
FIRE
2Tri-Brigade Kitt
ATK:
700
DEF:
1000
You can banish any number of Beast, Beast-Warrior, and/or Winged Beast monsters in your GY; Special Summon 1 Beast, Beast-Warrior, or Winged Beast Link Monster from your Extra Deck, with Link Rating equal to the number banished, also you can only use Beast, Beast-Warrior, and Winged Beast monsters as Link Material for the rest of this turn. If this card is sent to the GY: You can send 1 "Tri-Brigade" card from your Deck to the GY, except "Tri-Brigade Kitt". You can only use each effect of "Tri-Brigade Kitt" once per turn.
 Trap
Normal
Trap
NormalTri-Brigade Revolt
Special Summon a number of your Beast, Beast-Warrior, and/or Winged Beast monsters, that are banished and/or in your GY, but negate their effects, then, immediately after this effect resolves, Link Summon 1 "Tri-Brigade" Link Monster using only those monsters. You can only activate 1 "Tri-Brigade Revolt" per turn.
 LIGHT
LIGHTUnderworld Goddess of the Closed World
ATK:
3000
LINK-5
Link Arrow:
 Top
Top
 Top-Right
Right
Bottom
Bottom-Right
4+ Effect Monsters You can also use 1 monster your opponent controls as material to Link Summon this card. If this card is Link Summoned: You can negate the effects of all face-up monsters your opponent currently controls. This Link Summoned card is unaffected by your opponent's activated effects, unless they target this card. Once per turn, when your opponent activates a card or effect that Special Summons a monster(s) from the GY (Quick Effect): You can negate the activation.
 Trap
Normal
Trap
NormalZoodiac Combo
Target 1 "Zoodiac" Xyz Monster you control; attach 1 "Zoodiac" monster from your Deck to that Xyz Monster as Xyz Material. During either player's turn, except the turn this card was sent to the Graveyard: You can banish this card from your Graveyard, then target 5 "Zoodiac" cards in your Graveyard with different names; shuffle all 5 into the Deck, then draw 1 card.
 FIRE
FIREKnightmare Phoenix
ATK:
1900
LINK-2
Link Arrow:
Top
Right
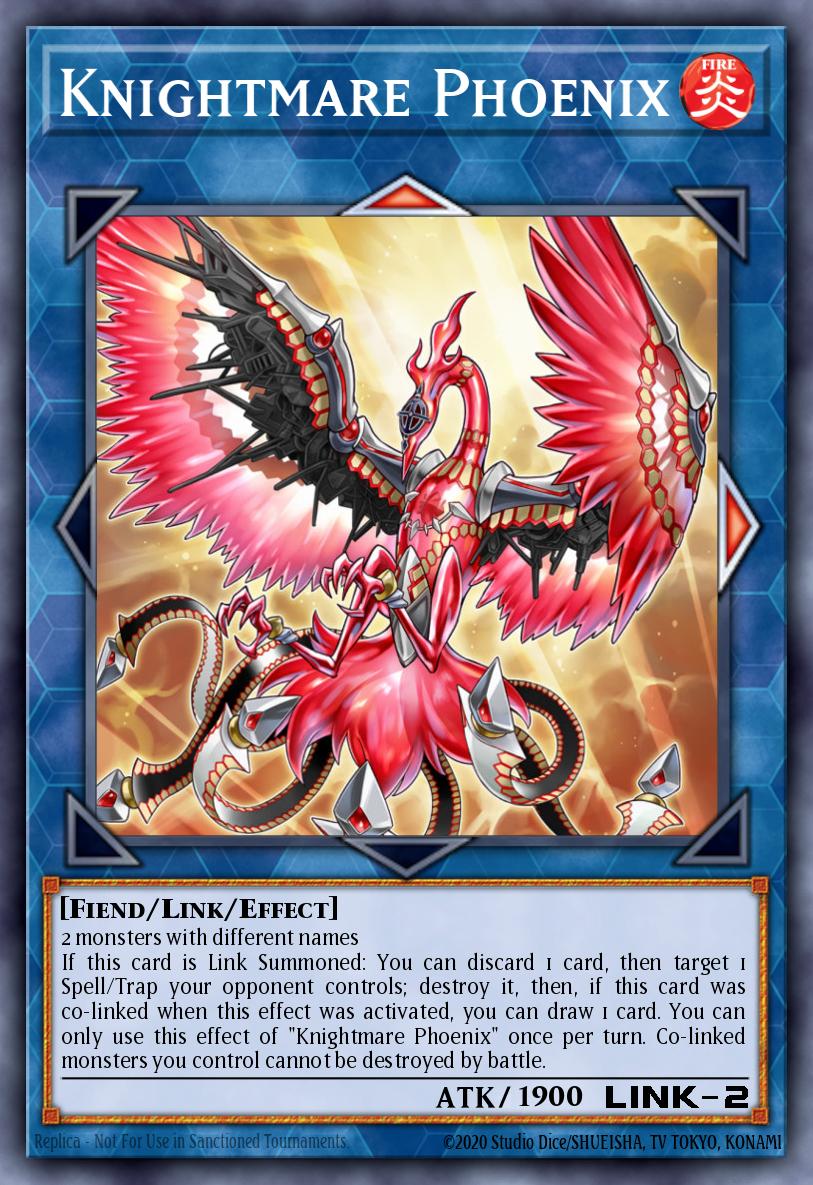
2 monsters with different names If this card is Link Summoned: You can discard 1 card, then target 1 Spell/Trap your opponent controls; destroy it, then, if this card was co-linked when this effect was activated, you can draw 1 card. You can only use this effect of "Knightmare Phoenix" once per turn. Co-linked monsters you control cannot be destroyed by battle.
 Trap
Normal
Trap
NormalInfinite Impermanence
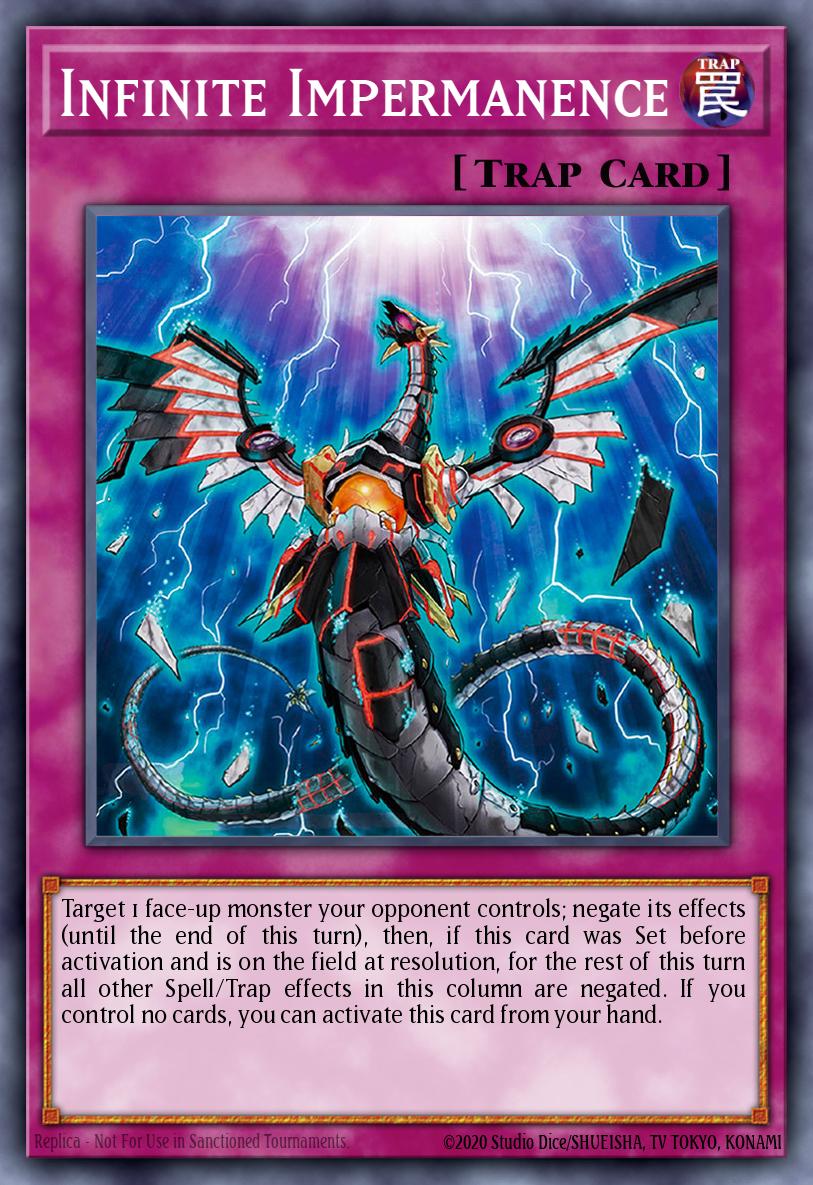
Target 1 face-up monster your opponent controls; negate its effects (until the end of this turn), then, if this card was Set before activation and is on the field at resolution, for the rest of this turn all other Spell/Trap effects in this column are negated. If you control no cards, you can activate this card from your hand.
 DARK
1
DARK
1D.D. Crow
ATK:
100
DEF:
100
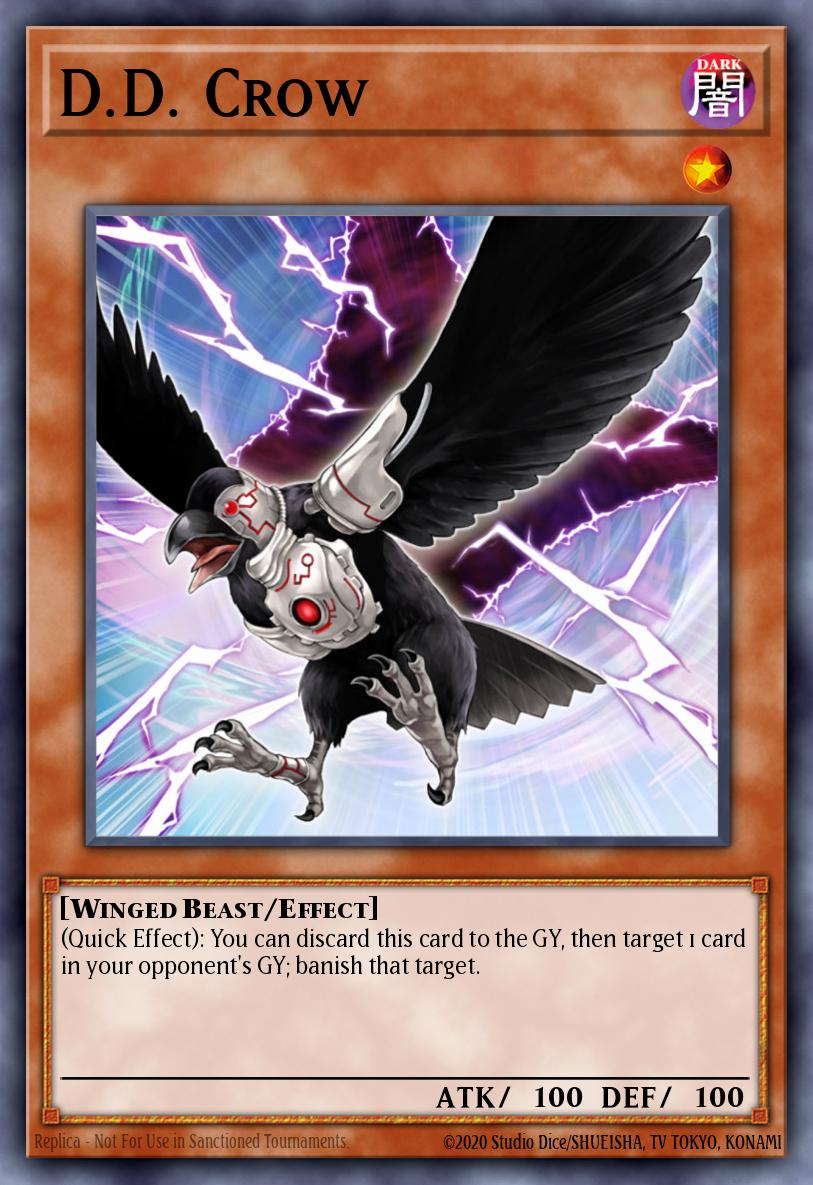
(Quick Effect): You can discard this card to the GY, then target 1 card in your opponent's GY; banish that target.
 Spell
Quick
Spell
QuickMystical Space Typhoon
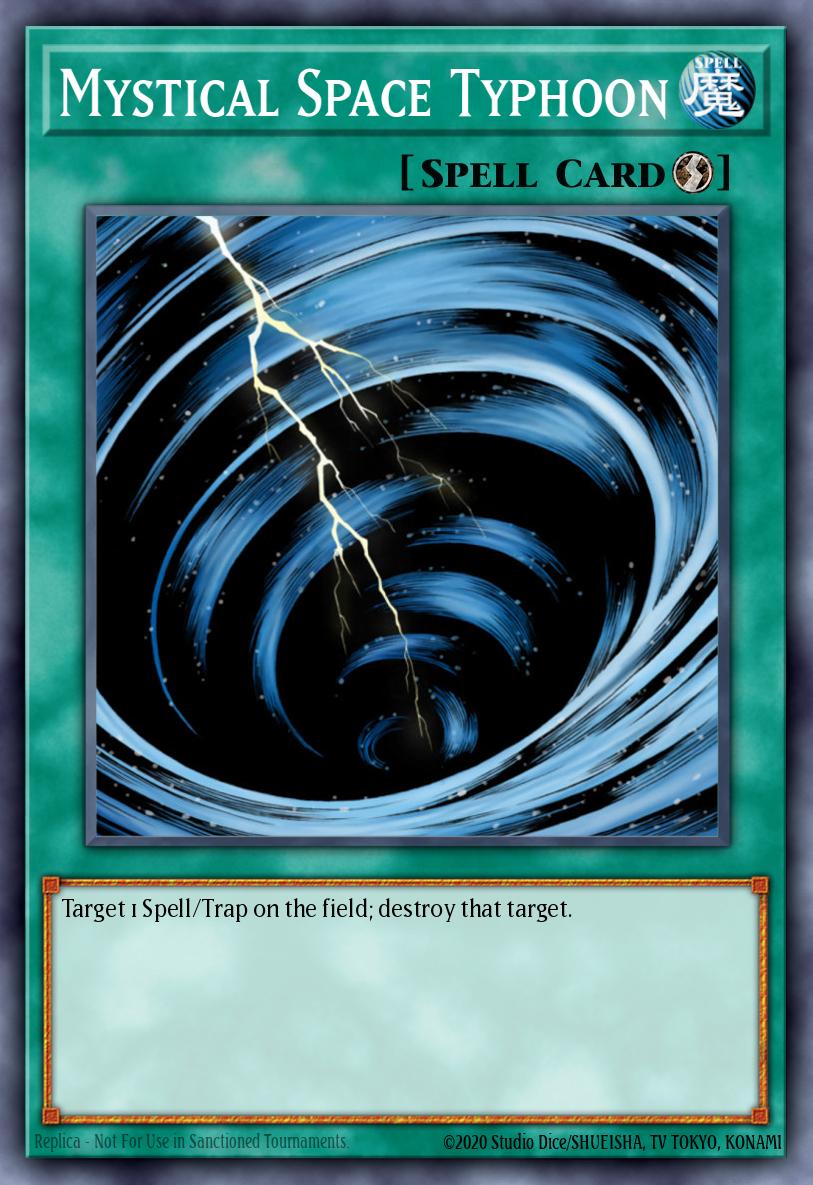
Target 1 Spell/Trap on the field; destroy that target.
 LIGHT
1
LIGHT
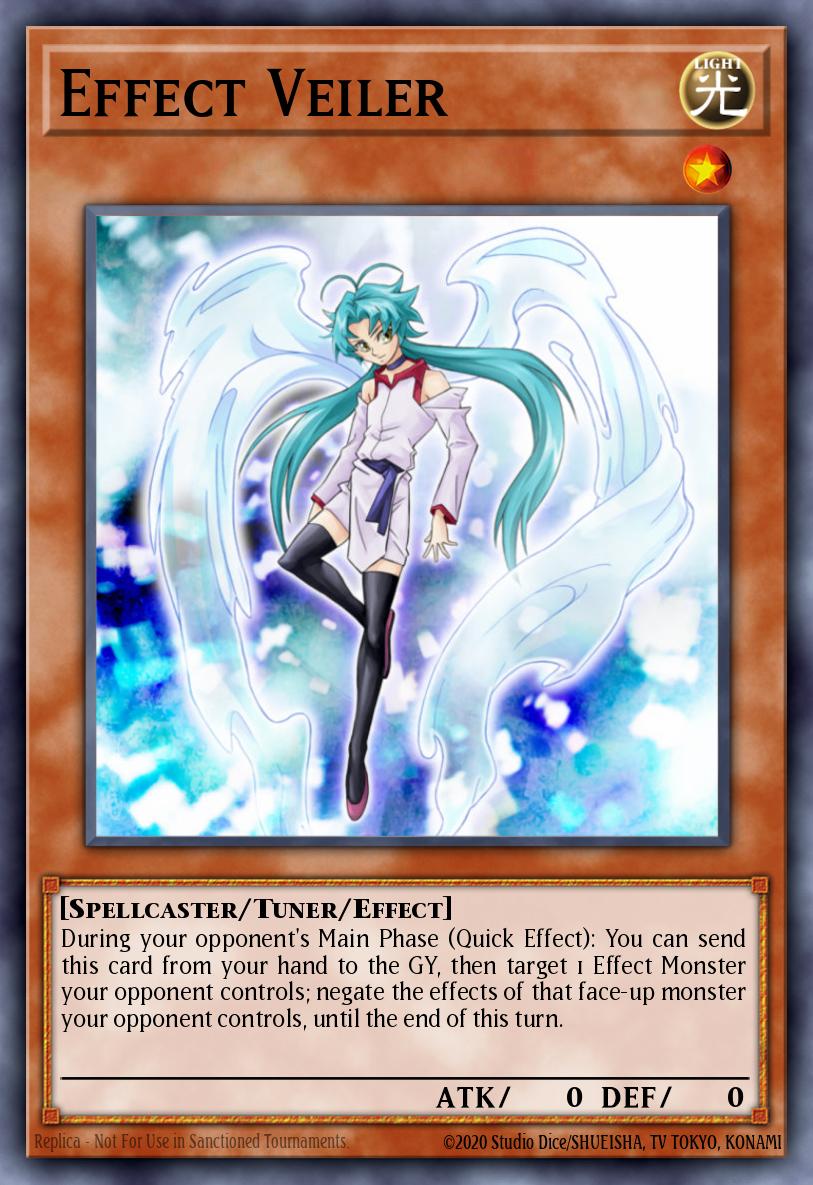
1Effect Veiler
ATK:
0
DEF:
0
During your opponent's Main Phase (Quick Effect): You can send this card from your hand to the GY, then target 1 Effect Monster your opponent controls; negate the effects of that face-up monster your opponent controls, until the end of this turn.
 EARTH
EARTHZoodiac Tigermortar
ATK:
-1
DEF:
-1
3 Level 4 monsters Once per turn, you can also Xyz Summon "Zoodiac Tigermortar" by using 1 "Zoodiac" monster you control with a different name as Xyz Material. (If you used an Xyz Monster, any Xyz Materials attached to it also become Xyz Materials on this card.) This card gains ATK and DEF equal to the ATK and DEF of all "Zoodiac" monsters attached to it as Materials. Once per turn: You can detach 1 Xyz Material from this card, then target 1 Xyz Monster you control and 1 "Zoodiac" monster in your Graveyard; attach that "Zoodiac" monster to that Xyz Monster as Xyz Material.
 EARTH
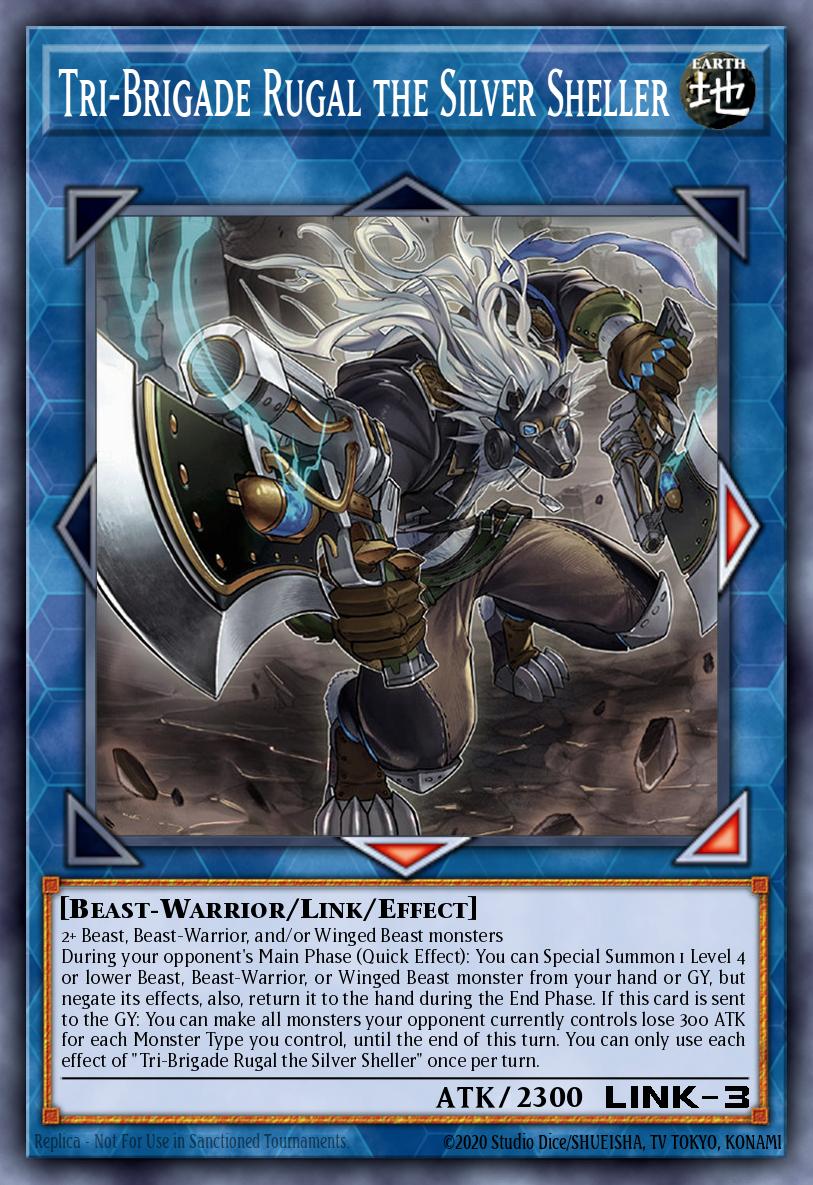
EARTHTri-Brigade Rugal the Silver Sheller
ATK:
2300
LINK-3
Link Arrow:
Right
Bottom
Bottom-Right
2+ Beast, Beast-Warrior, and/or Winged Beast monsters During your opponent's Main Phase (Quick Effect): You can Special Summon 1 Level 4 or lower Beast, Beast-Warrior, or Winged Beast monster from your hand or GY, but negate its effects, also, return it to the hand during the End Phase. If this card is sent to the GY: You can make all monsters your opponent currently controls lose 300 ATK for each Monster Type you control, until the end of this turn. You can only use each effect of "Tri-Brigade Rugal the Silver Sheller" once per turn.
 EARTH
4
EARTH
4Zoodiac Kataroost
ATK:
800
DEF:
1200
If this card is destroyed by battle or card effect: You can target 1 "Zoodiac" card in your Graveyard, except "Zoodiac Kataroost"; shuffle it into the Deck. An Xyz Monster whose original Type is Beast-Warrior and has this card as Xyz Material gains this effect. ● During either player's turn, when your opponent activates a monster effect that targets this card: You can detach 1 Xyz Material from this card; negate the activation.
 EARTH
4
EARTH
4Zoodiac Bunnyblast
ATK:
800
DEF:
800
If this card is destroyed by battle or card effect: You can target 1 "Zoodiac" card in your Graveyard, except "Zoodiac Bunnyblast"; add it to your hand. An Xyz Monster whose original Type is Beast-Warrior and has this card as Xyz Material gains this effect. ● During either player's turn, when your opponent activates a Spell Card or effect that targets this card: You can detach 1 Xyz Material from this card; negate the activation.
 Spell
Quick
Spell
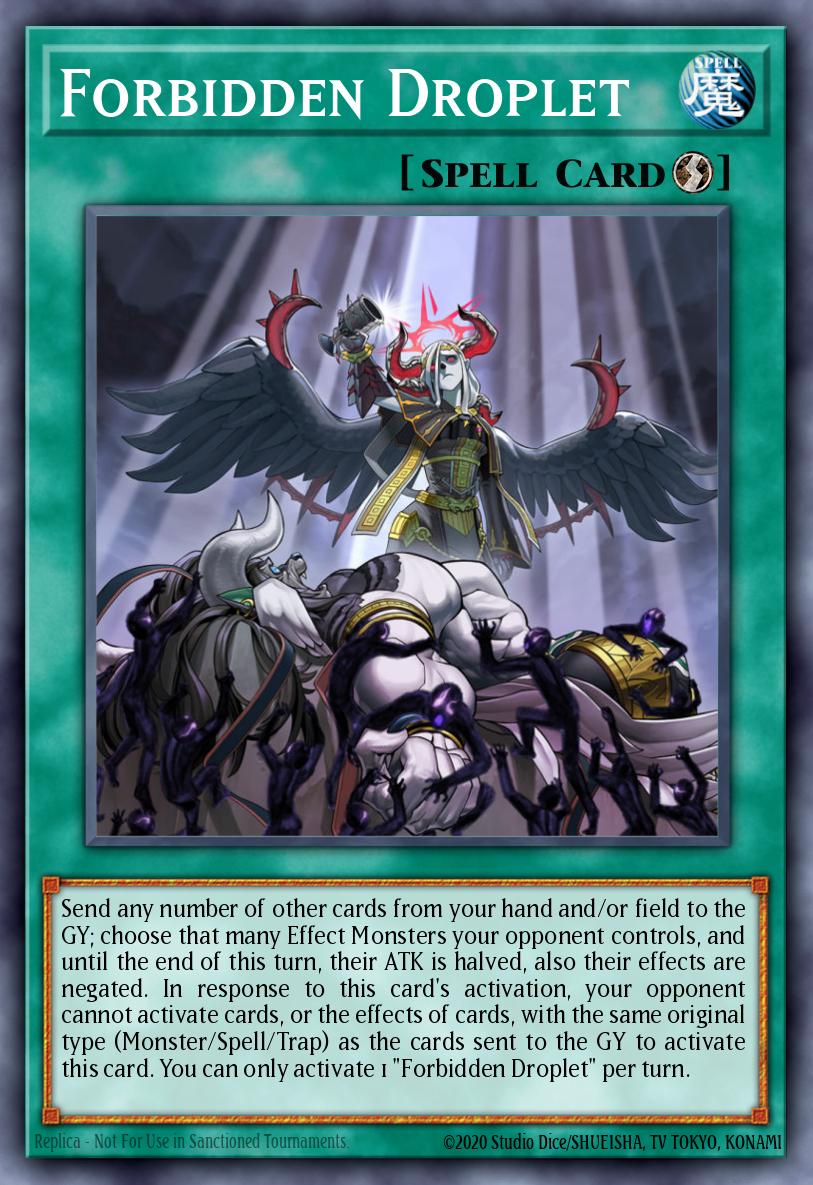
QuickForbidden Droplet
Send any number of other cards from your hand and/or field to the GY; choose that many Effect Monsters your opponent controls, and until the end of this turn, their ATK is halved, also their effects are negated. In response to this card's activation, your opponent cannot activate cards, or the effects of cards, with the same original type (Monster/Spell/Trap) as the cards sent to the GY to activate this card. You can only activate 1 "Forbidden Droplet" per turn.
 WIND
1
WIND
1Droll & Lock Bird
ATK:
0
DEF:
0
If a card(s) is added from the Main Deck to your opponent's hand, except during the Draw Phase (Quick Effect): You can send this card from your hand to the GY; for the rest of this turn, cards cannot be added from either player's Main Deck to the hand.

 FIRE
4
FIRE
4Tri-Brigade Fraktall
ATK:
1900
DEF:
1600
You can send this card from your hand or field to the GY; send 1 Level 3 or lower Beast, Beast-Warrior, or Winged Beast monster from your Deck to the GY. You can banish any number of Beast, Beast-Warrior, and/or Winged Beast monsters in your GY; Special Summon 1 Beast, Beast-Warrior, or Winged Beast Link Monster from your Extra Deck, with Link Rating equal to the number banished, also you can only use Beast, Beast-Warrior, and Winged Beast monsters as Link Material for the rest of this turn. You can only use each effect of "Tri-Brigade Fraktall" once per turn.
 EARTH
4
EARTH
4Zoodiac Ramram
ATK:
400
DEF:
2000
If this card is destroyed by battle or card effect: You can target 1 "Zoodiac" monster in your GY, except "Zoodiac Ramram"; Special Summon it. An Xyz Monster whose original Type is Beast-Warrior and has this card as material gains this effect. ● When your opponent activates a Trap Card or effect that targets this card (Quick Effect): You can detach 1 material from this card; negate the activation.
 EARTH
4
EARTH
4Zoodiac Whiptail
ATK:
1200
DEF:
400
(Quick Effect): You can target 1 Beast-Warrior Xyz Monster you control; attach this card from your hand or field to it as material. An Xyz Monster whose original Type is Beast-Warrior and has this card as material gains this effect. ● If this card battles an opponent's monster, after damage calculation: Banish that opponent's monster.
Zoodiac Conclave (Skill Card)
ATK:
0
DEF:
0
You can use thie Skill's first and second effects once per Duel if your Deck contains 6 or more "Zoodiac" monsters, and no Beast-Warrior monsters other than Level 4 Beast-Warrior monsters. 1: At the beginning of the Duel, add 2 "Zoodiac Ratpier" and 6 "Zoodiac" Xyz Monsters with different names to your Deck and Extra Deck. (You can only have at most 3 copies of each card.) During this Duel, you can only Special Summon "Zoodiac" monsters and monsters with 2000 or less ATK (excluding Special Summons from the Extra Deck). 2: Can be activated from turn 2 onward. PLay 1 Beast-Warrior Type monster that can be Normal Summoned/Set from your Deck in face-down Defense Position (its battle position can be changed).
Menu
https://metaduelist.com/