



Finally, the bees have landed! Today we're unleashing one of the most explosive, aggressive, and utterly insane swarms of insects ever created: Beetroopers. Beetroopers have arrived, and they're top tier. And why are they top tier? Let's find out!

Sections covered in this guide:
Introduce

Sorry about the unedited 1080p Full HD 4K picture...
Beetroopers ' playstyle is relentless. Special Summons? Yes. Link Summons? Yes. Looping effects not limited to one use per turn? Absolutely . This deck doesn't play cards, it overwhelms them. If your opponent isn't ready, they're pretty much dead. And listen, we're not stopping there. We're bringing the blockade threat of Scary Moth and the game-breaking Beetrooper Raid to turn the entire match into your battlefield.
Monsters in the Main Deck
This is the "engine" that powers the deck, generating resources and setting up field-locking strategies.
Resonance Insect (x2)

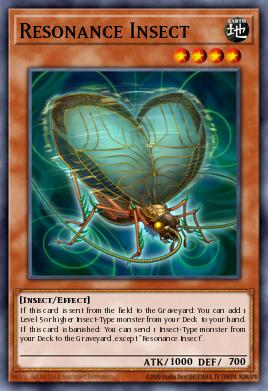
The MVP of the deck, the most important card for creating combos.
Ability:
When sent from the Field to the Graveyard: Add 1 Level 5 or higher Bug card from your Deck to your hand (usually Doom Dozer or Sting Lancer ).When Banished: Move 1 Insect card from your deck to the graveyard (similar to Foolish Burial).
Strengths: This card's effect isn't "One per turn ." You can reuse it repeatedly within a turn (summon, send to graveyard, banish, fill graveyard) to thicken your graveyard and hand.
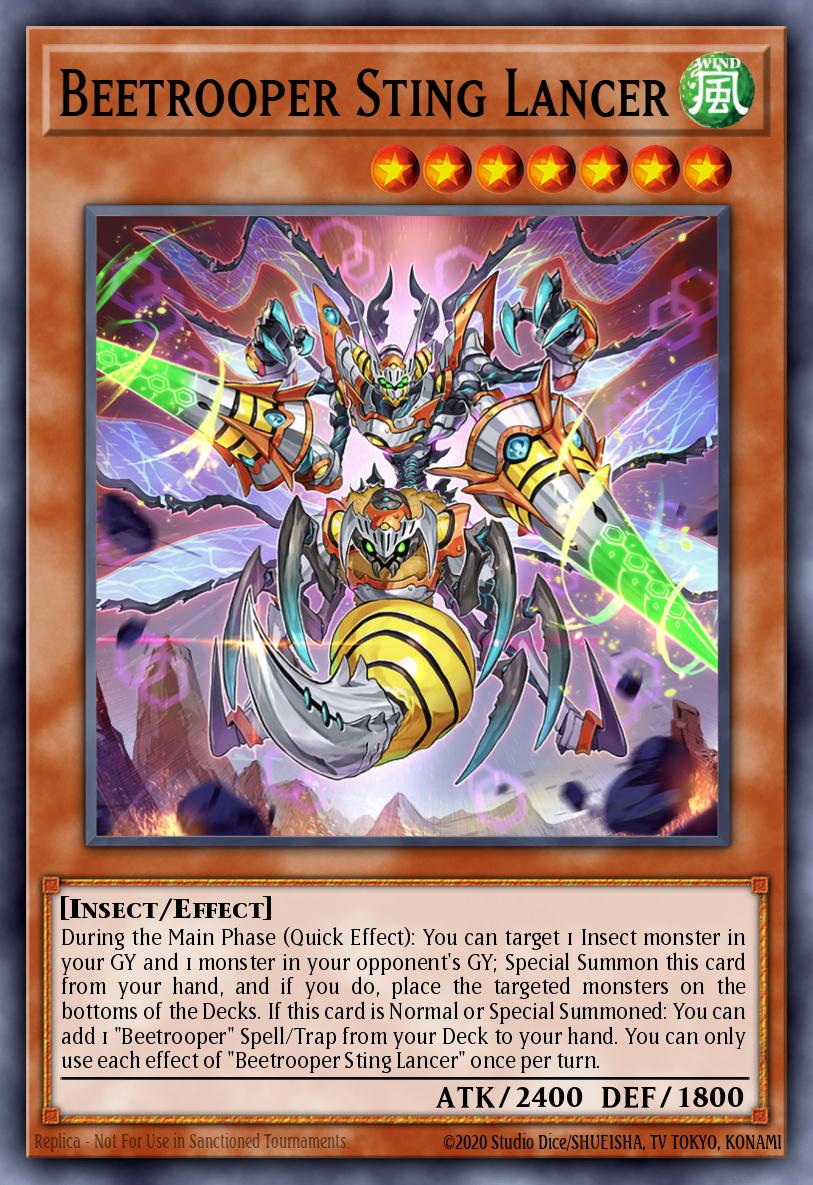
Beetrooper Sting Lancer (x1-2)
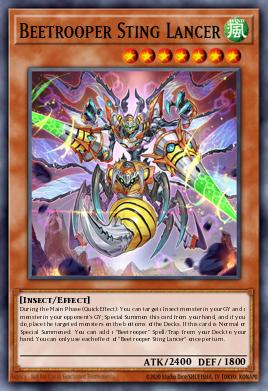
This card is undoubtedly the strongest monster in the deck: it adds a Spell/Trap Beetrooper, such as Beetrooper Landing or Beetrooper Descent . This card is also a great counter to Branded in Red . I recommend playing both of these cards in your deck.
Doom Dozer (x0-1)

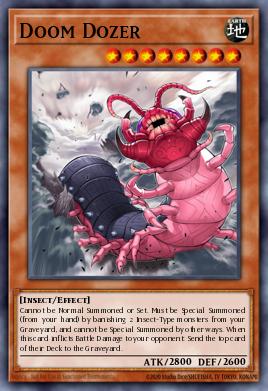
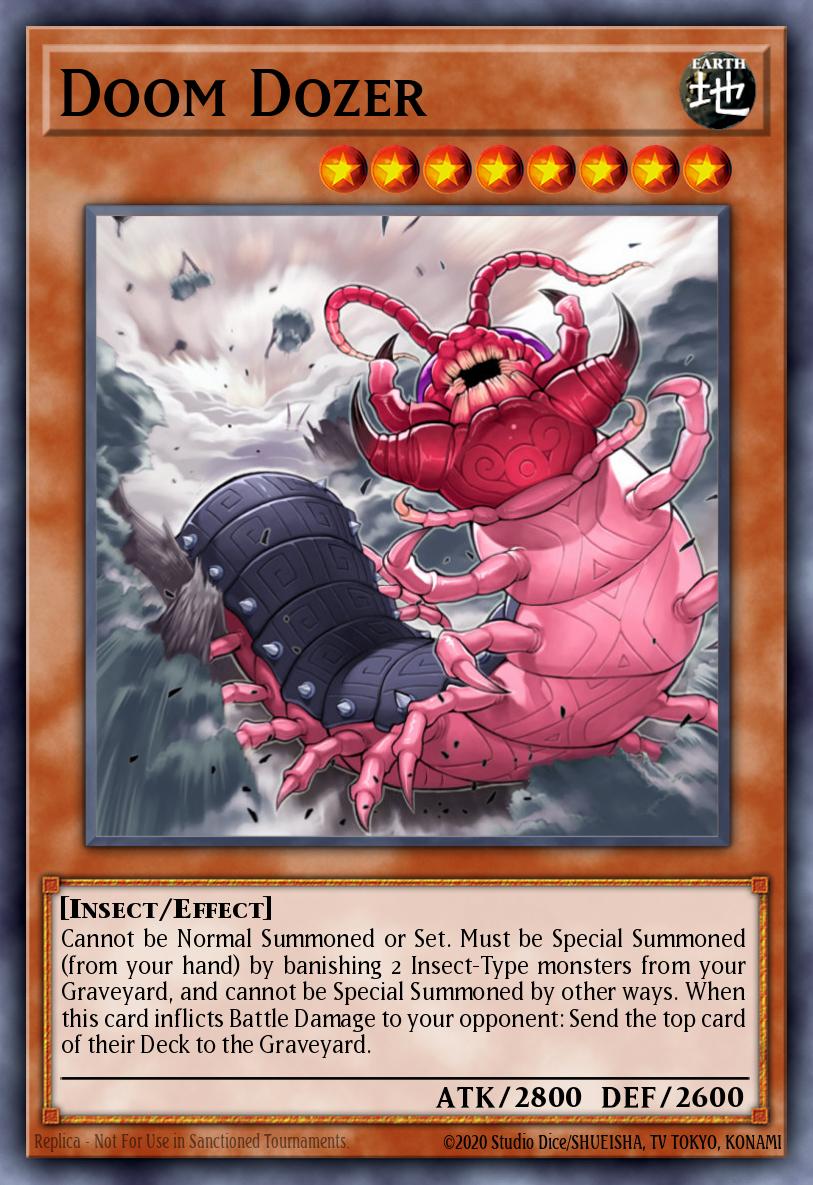
The piece of meat is used for punching and can activate Resonance Insect. This card has a special summoning ability by expelling 2 Insect cards from the graveyard.
Combo: When banishing Resonance Insect to summon Doom Dozer, you activate Resonance Insect's graveyard effect (sending Gokipole to the graveyard).
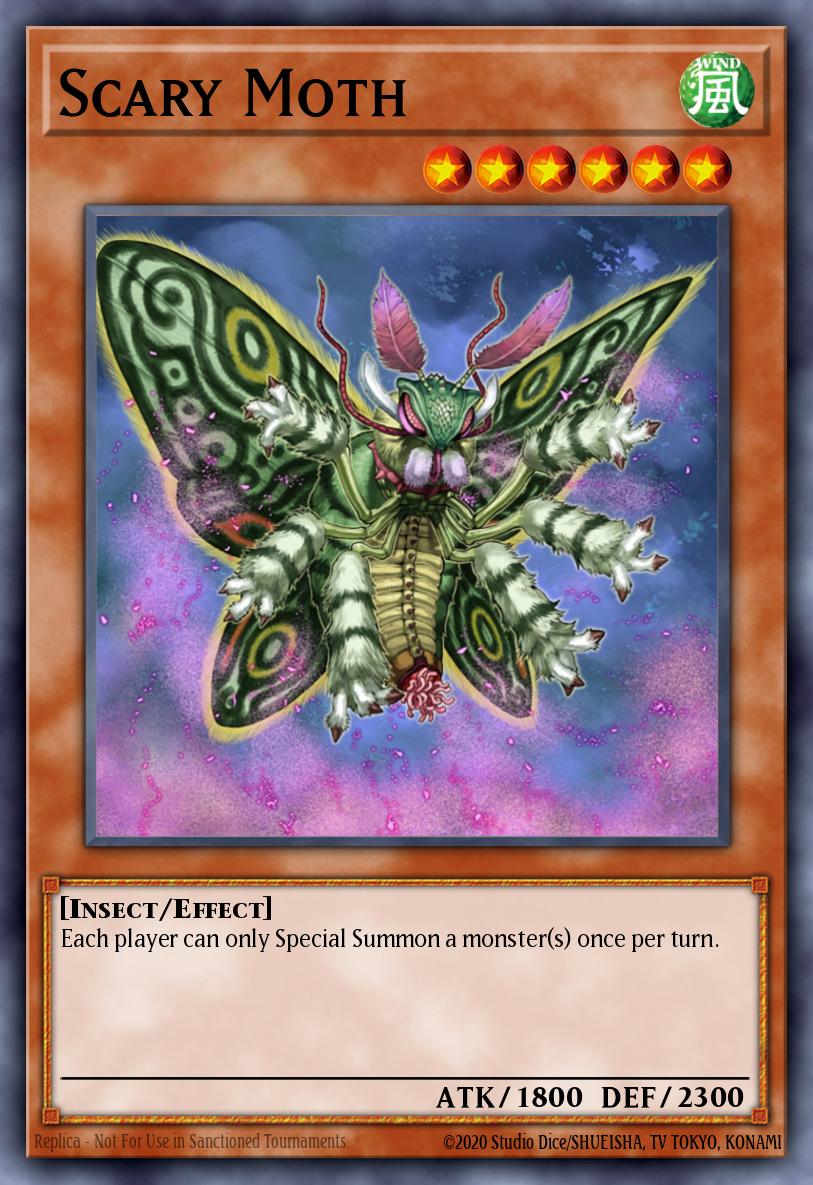
Scary Moth (x1)

The infamous Floodgate of this deck, which is also its incredibly frustrating win condition.
This card limits both players to only one Special Summon per turn .
Beetrooper Scale Bomber (x1)
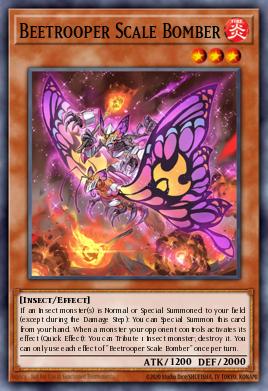
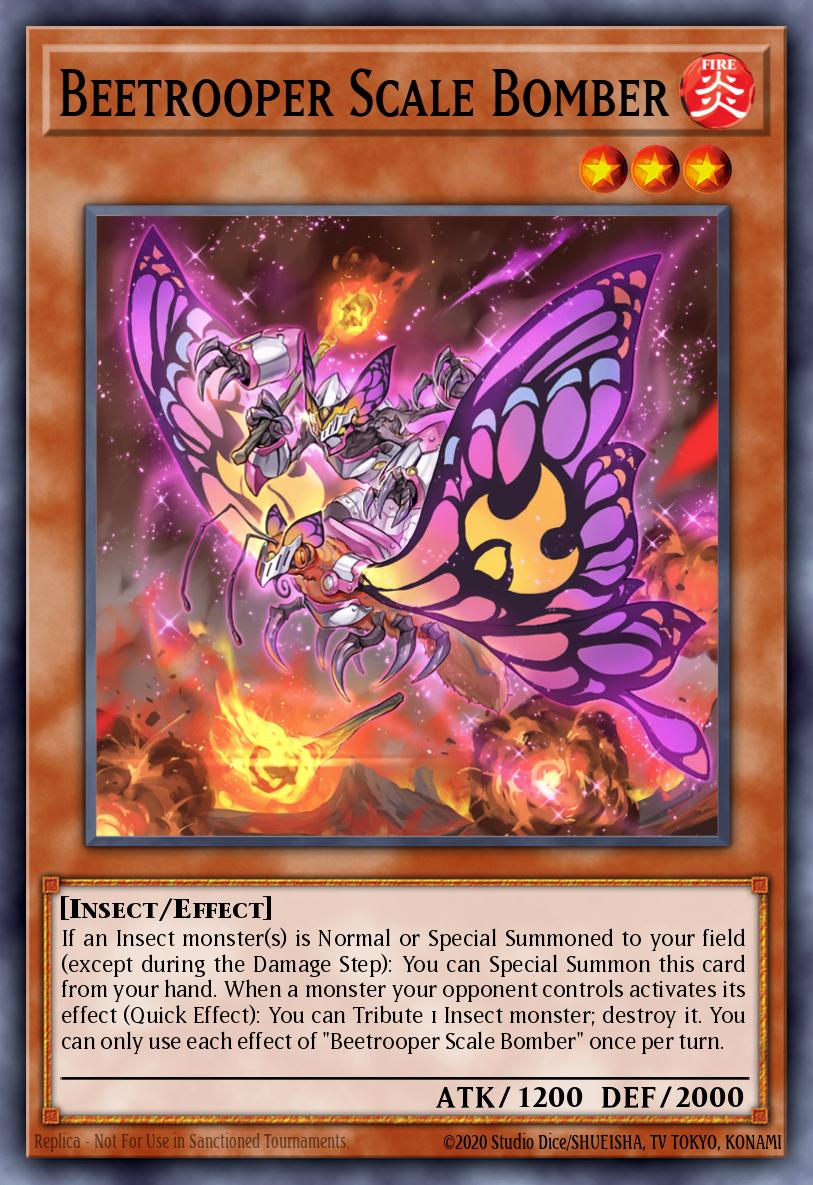
This card is special-summoned to perform combos, and Beetrooper Scale Bomber can sit on your endboard because it sacrifices an insect monster to react to the effect of a monster on the field and destroy it.
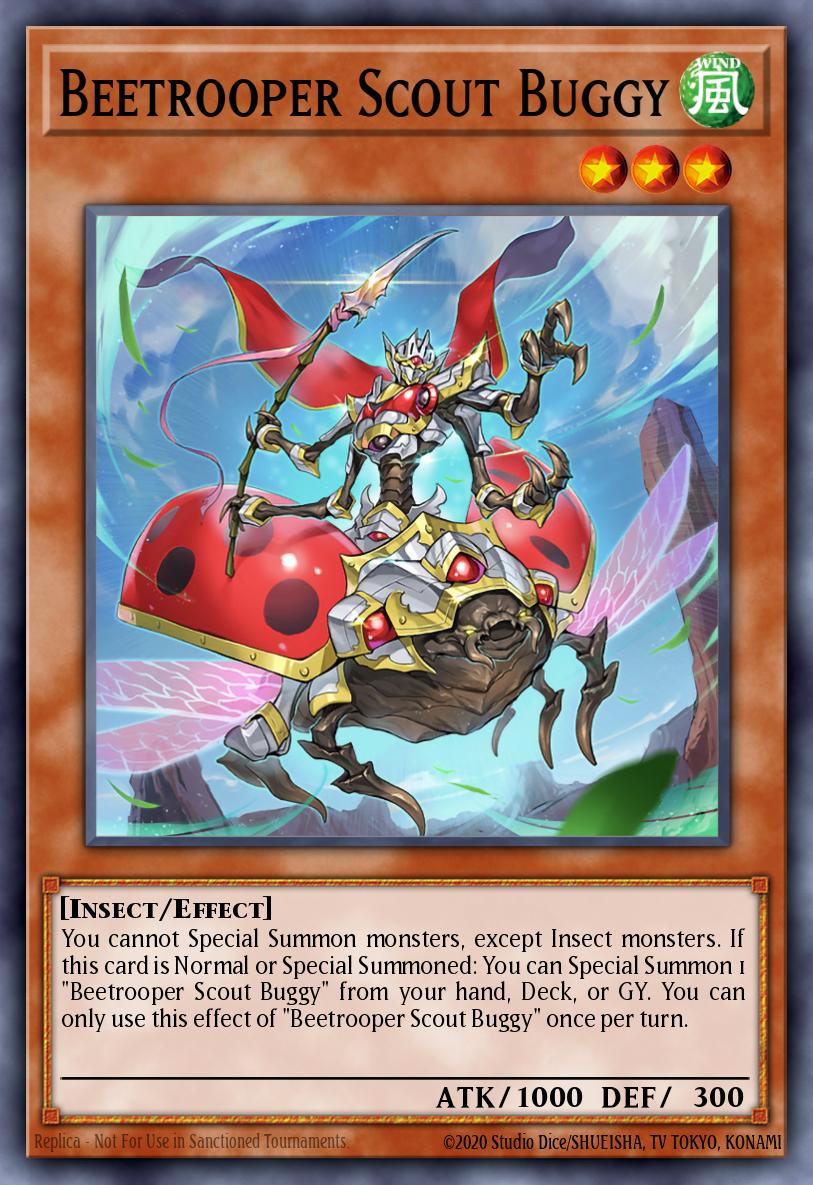
Beetrooper Scout Buggy (x1)
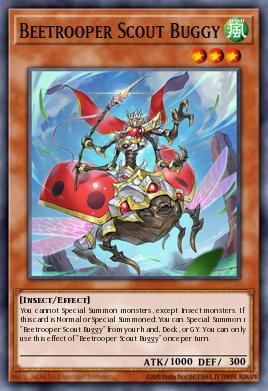
This card allows you to summon another copy of yourself from anywhere except banish. This card is crucial; you must play it at x2 to utilize its effect. Don't play it at x3 as it's easily summoned by Giant Beetrooper Invincible Atlas , or you can send it to the graveyard with a skill.
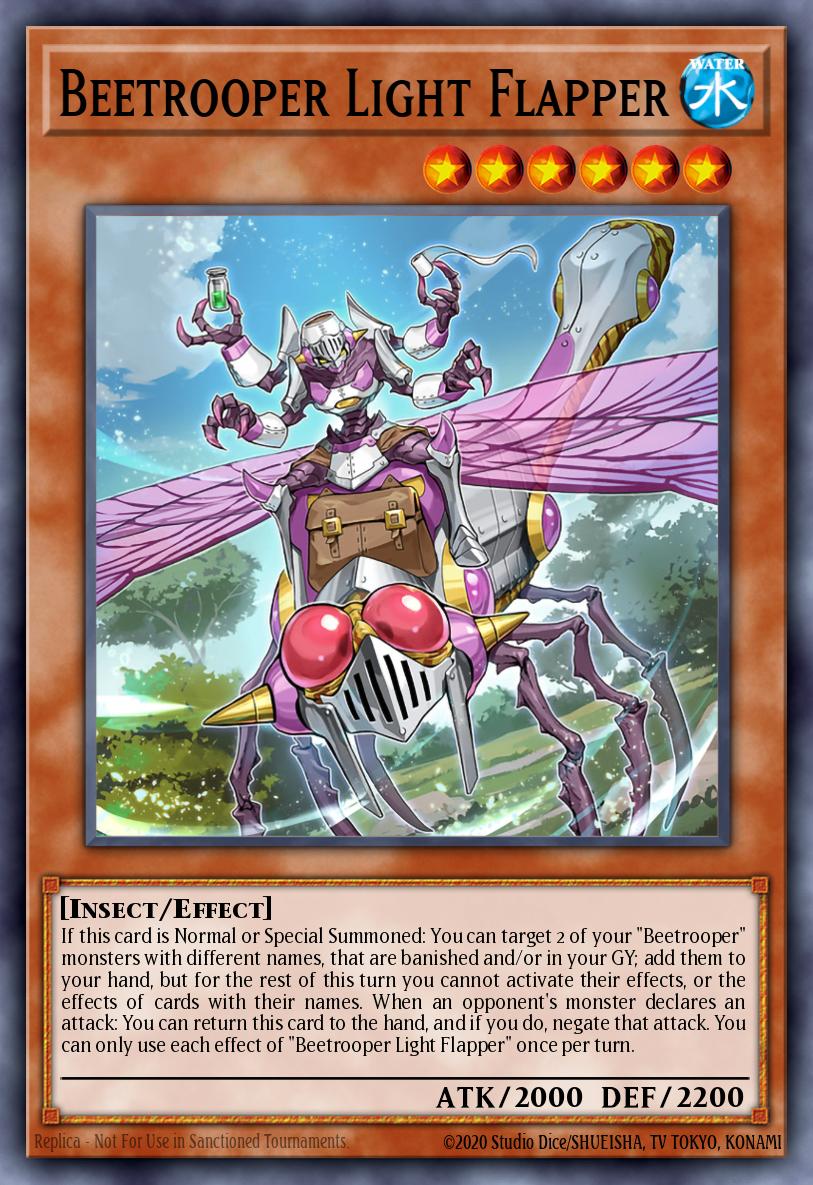
Beetrooper Light Flapper (x1)

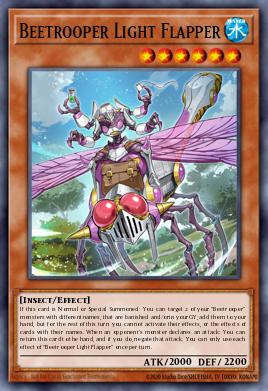
This is a card you really don't want in your Opening hand because you primarily want to summon it using Giant Beetrooper Invincible Atlas or Ultra Beetrooper Absolute Hercules in some cases.
It allows you to add 2 Beetrooper monsters from the graveyard or banish area to your hand, but you won't be able to activate their effects (unless they are Extra Deck monsters). Play this card at x2 if you're afraid to have it in your starting hand or to draw it with Inzektor Picofalena .
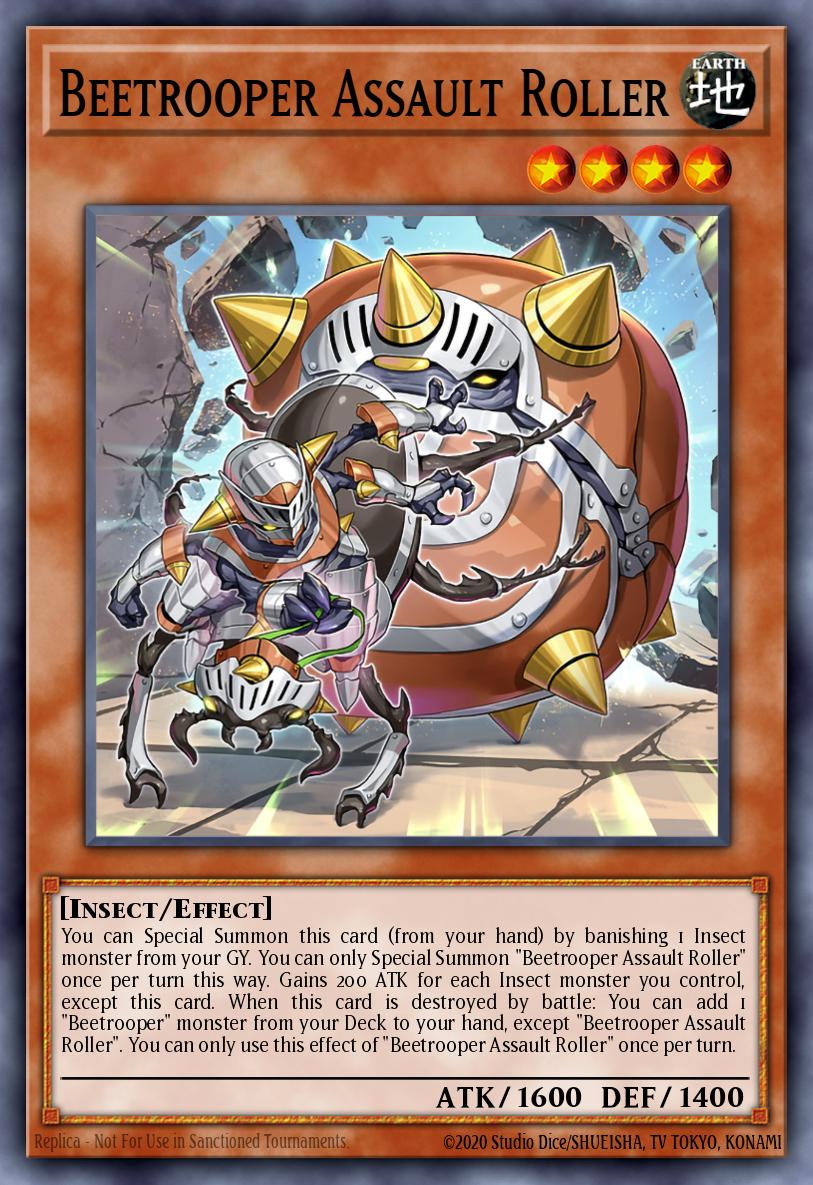
Beetrooper Assault Roller (x1)
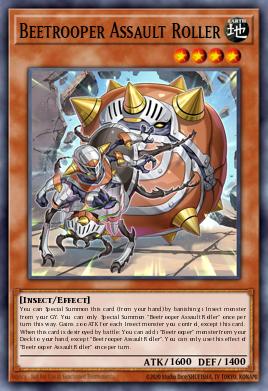
Extend combo & Attack.
Ability:
Easy Summon: You can Special Summon this card from your hand by Banishing 1 Insect card from your Graveyard.
Attack Boost: Increases ATK by 200 for each other Insect leaf you control.
Use:
Used to have an extra "body" on the field for free to Link Summon or Xyz Rank 4.
Removing an Insect card from the Graveyard can trigger the effect of Resonance Insect (if you respawn it) or activate Beetrooper Cruel Saturnas (recalling the respawned Insect).
Heavy Beetrooper Mighty Neptune (x0-1)
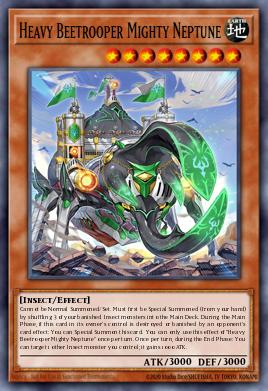
Resource Recycler & Sub-Boss.
Ability:
Special Summon: You can Return 3 Exiled Insect cards to your Main Deck to Special Summon this card from your hand.
Immortal: During its turn of being summoned, it is unaffected by the effects of monsters already active on the field.
Attack Power Boost: Increases ATK by 200 for each insect you control.
Place Trap (End Phase): At the end of your turn, you can choose 1 Beetrooper from the Graveyard to return to your deck -> Set 1 Spell/Trap Beetrooper from your deck to the field.
Use:
Use this when you've banished too many resources (due to using Armor Horn , Doom Dozer , or Landing ). Neptune helps return them to your deck for reuse.
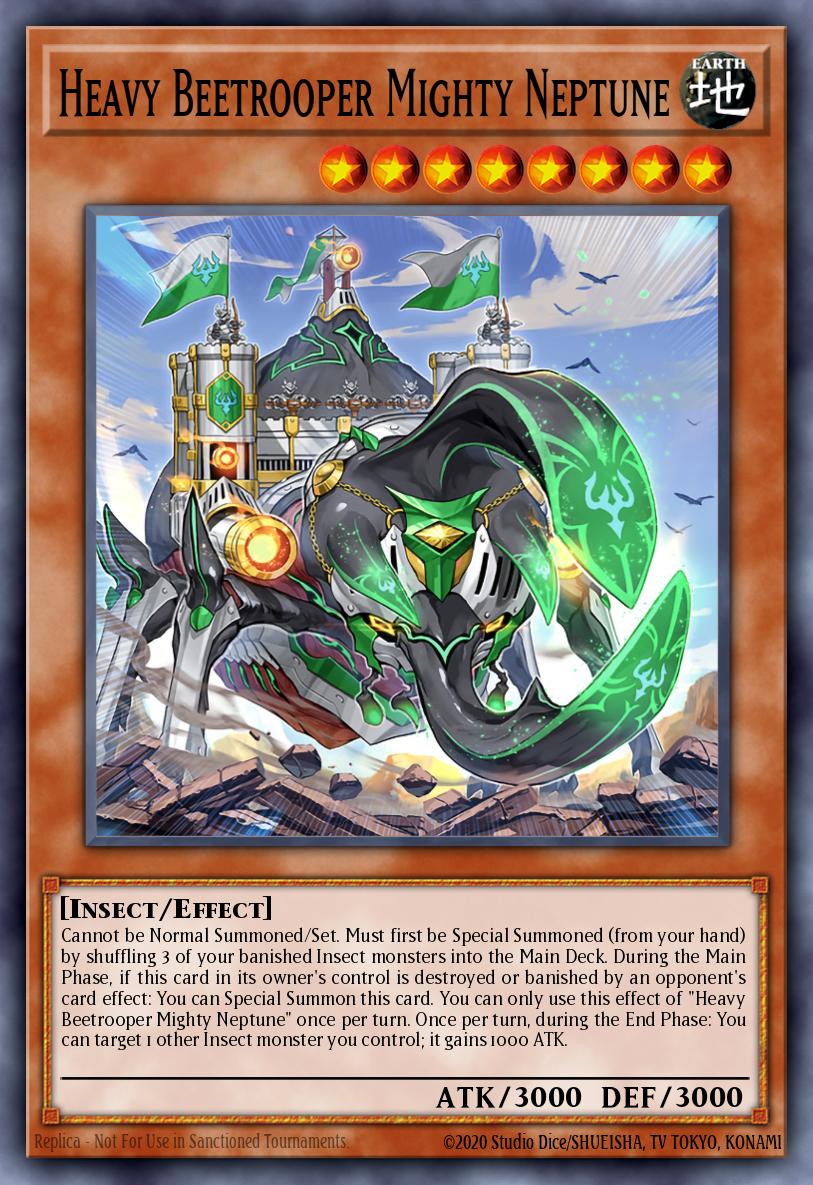
This is a 3000 ATK boss that's easy to summon and helps you find traps ( Beetrooper Fly & Sting ) to prepare for the next turn.
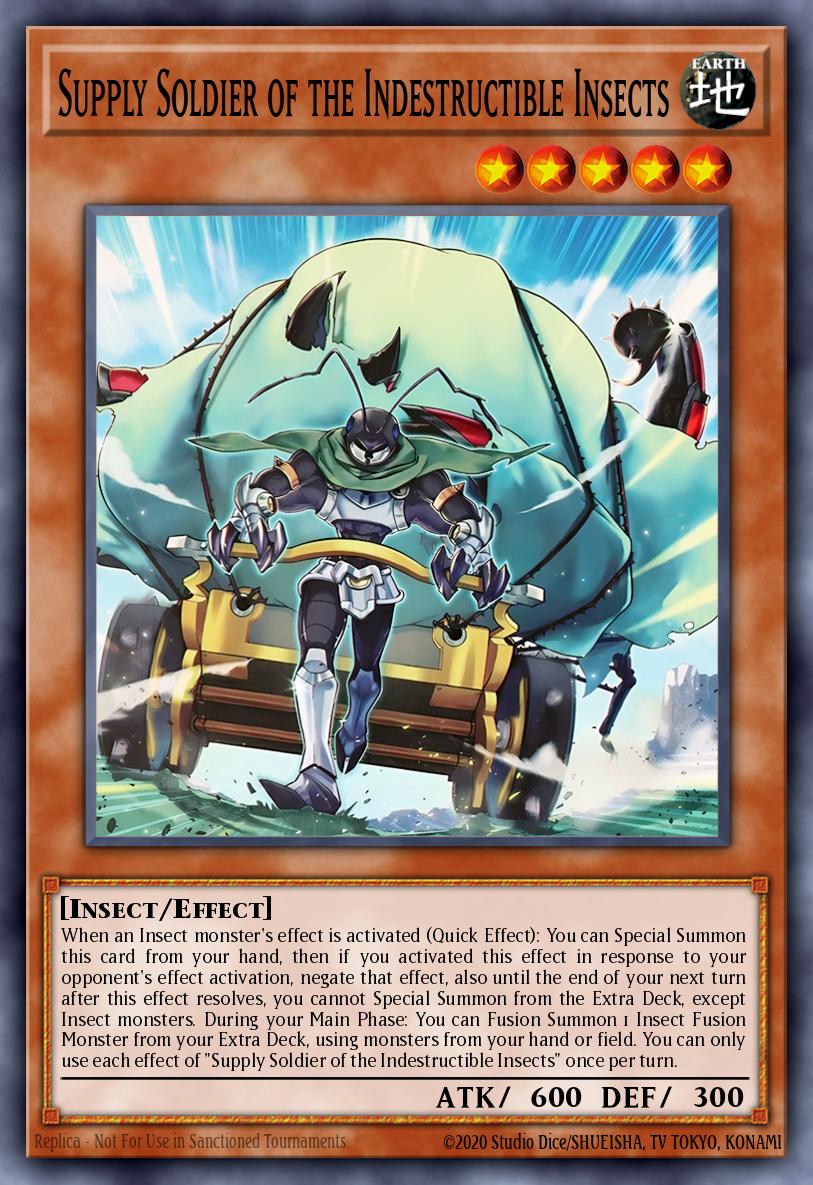
Supply Soldier of the Indestructible Insects (x1)
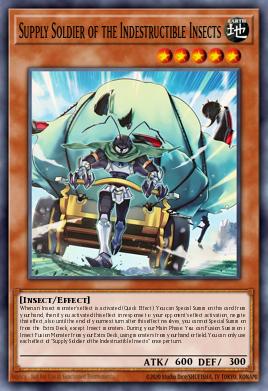
This card is perfect for Insect decks. Besides being an easy-to-summon Extender, while you activate its summoning effect from your hand and Chain it after 1 opponent's effect is activated, negates that effect.
Additionally, it helps in Fusion Fusion, not just relying on Spell cards.
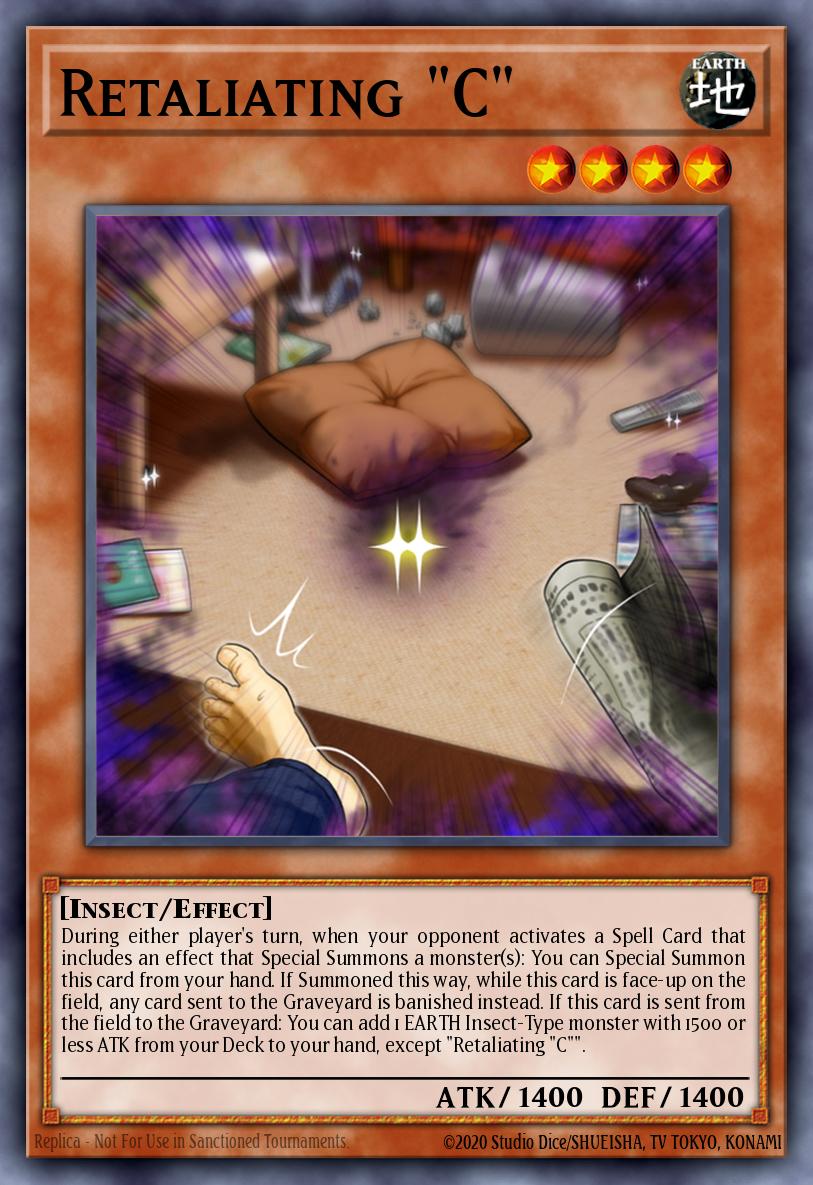
Traptrix Myrmeleo, Gokipole and Retaliating "C" (Other supporting cards)

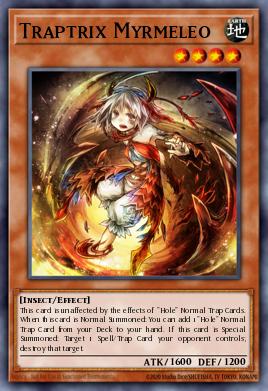
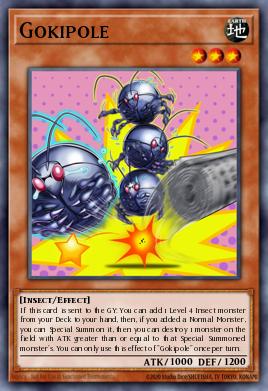
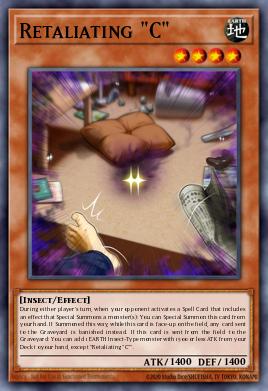
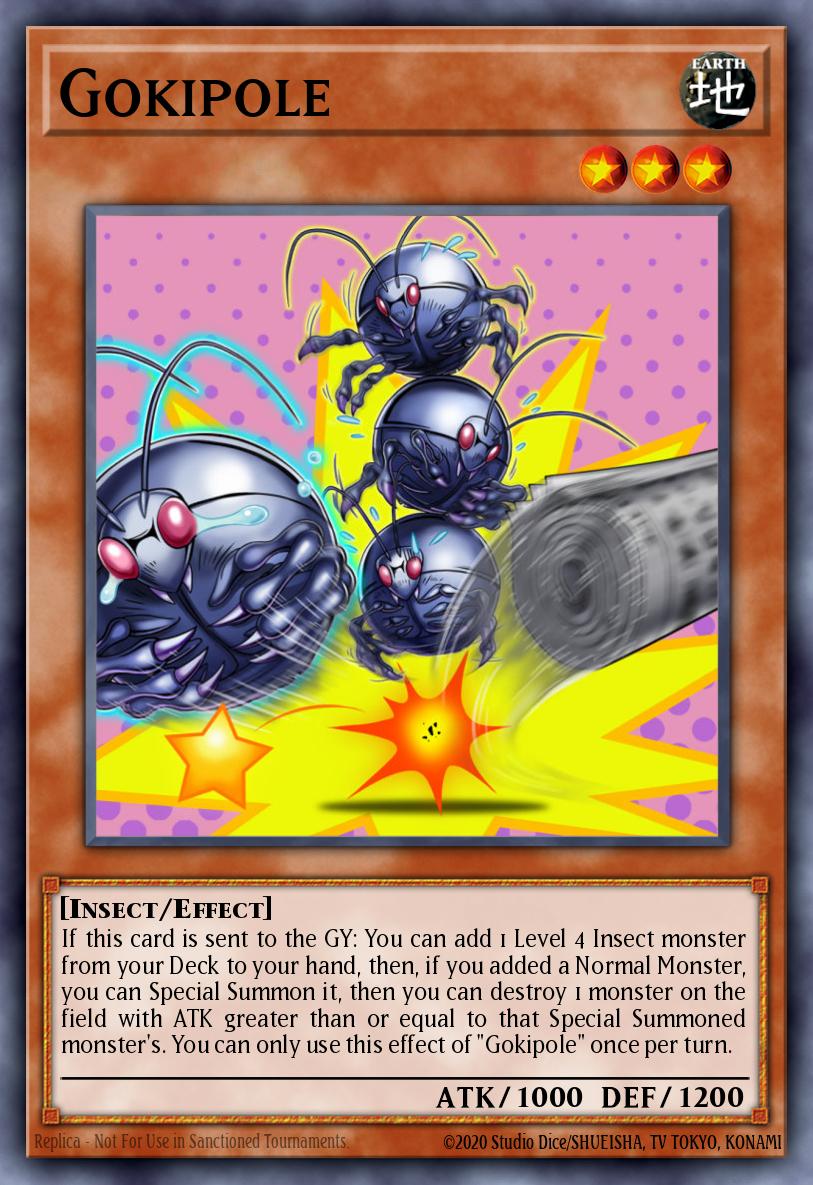
Gokipole: When sent to the graveyard, add 1 Level 4 Bug (usually Retaliating "C" or Traptrix Myrmeleo ). If you add a Normal Monster, you can detonate a card on the field.
Retaliating "C": When the searcher is destroyed, it helps recover resources.
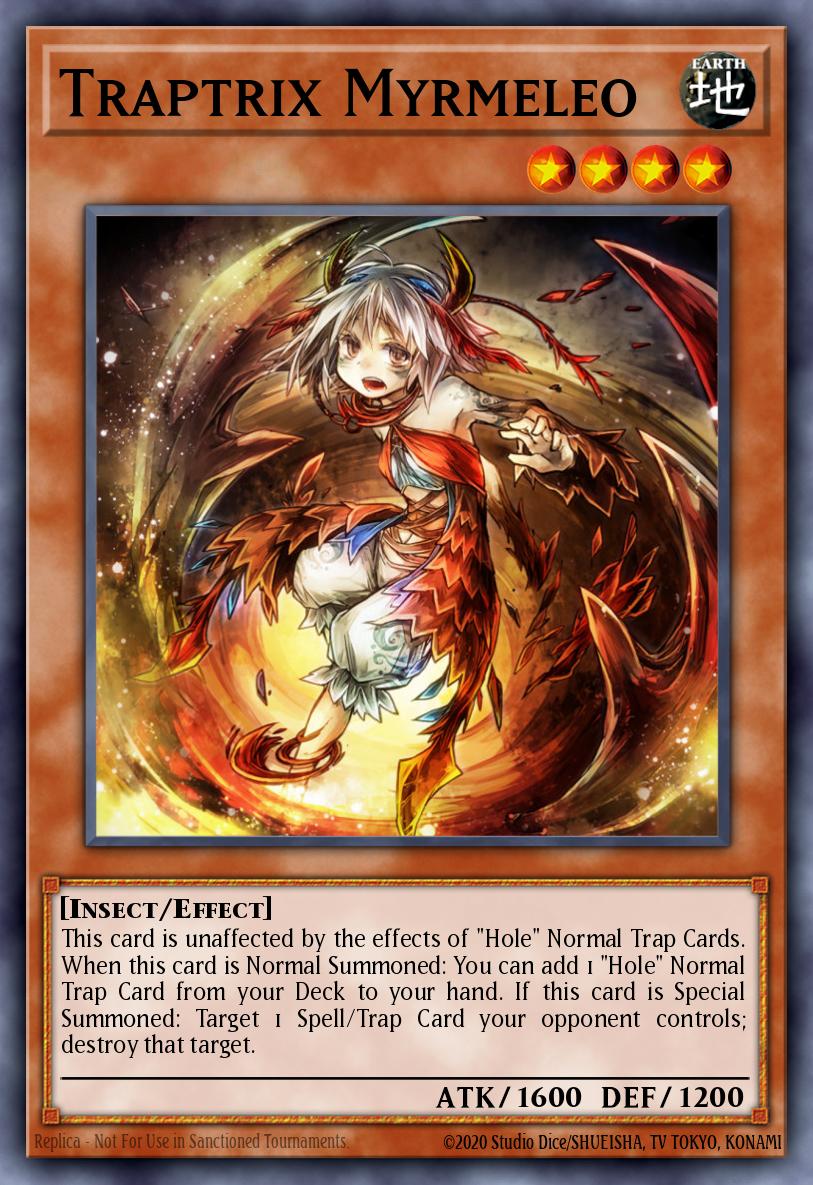
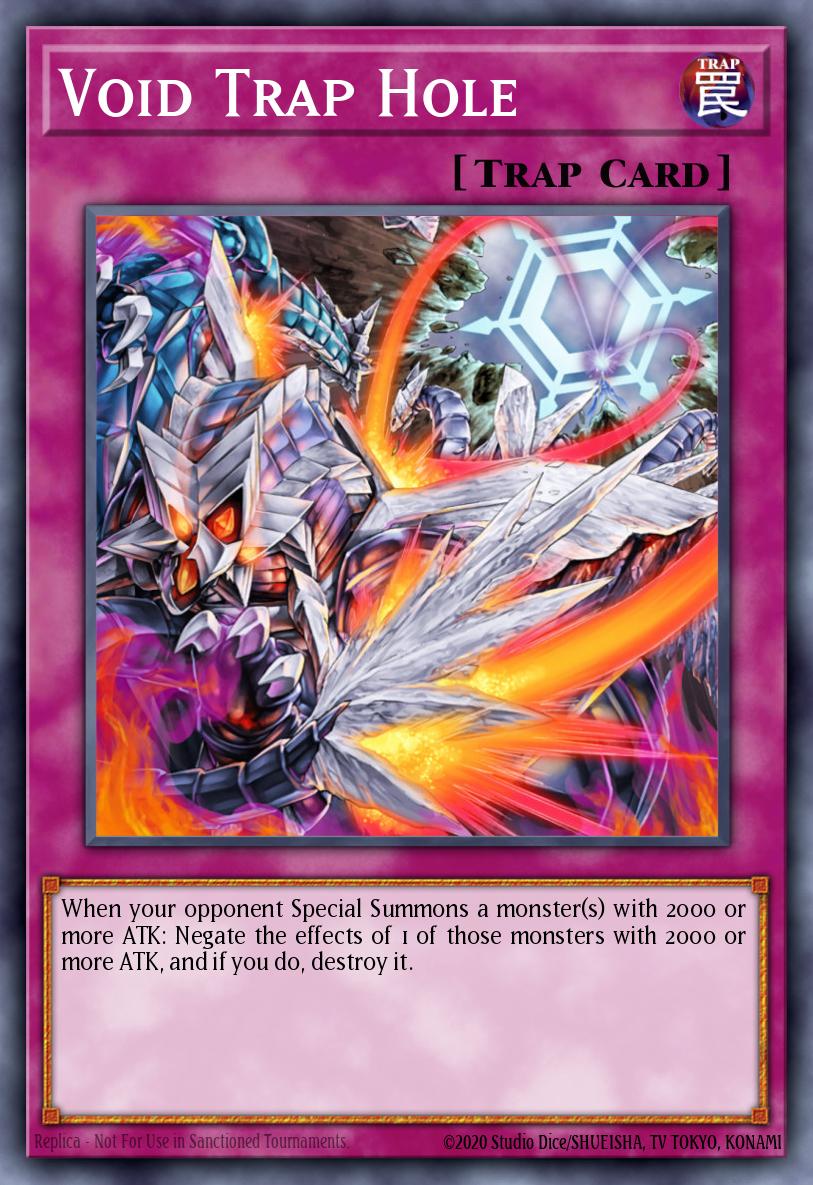
Traptrix Myrmeleo: When normally summoned, look for Void Trap Hole .
Spell/Trap
Support build helps revive, protect, and interrupt opponent's combos.
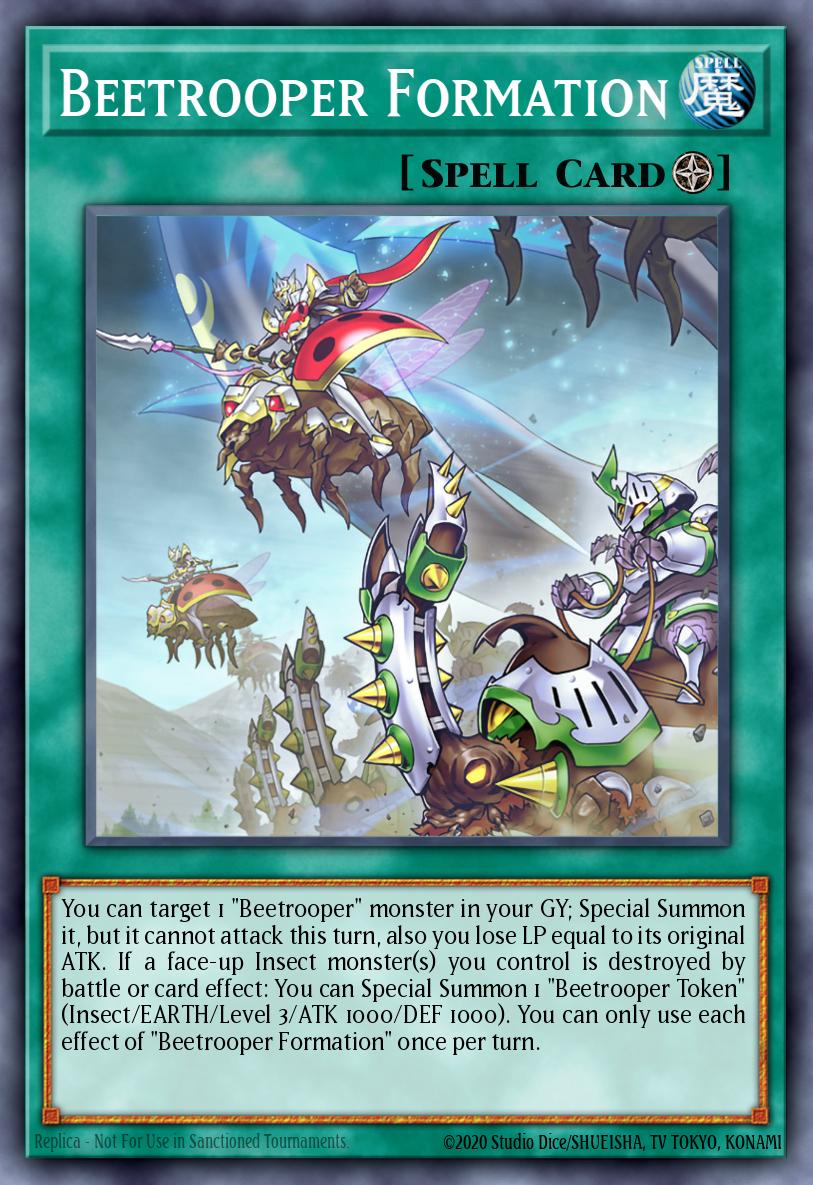
Beetrooper Formation (x0)
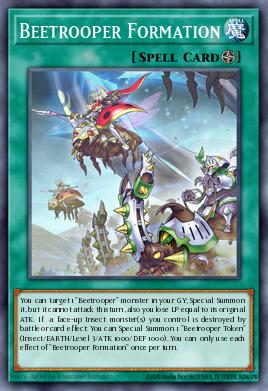
The Beetrooper Raid skill places the cards directly onto the field from outside the deck.
Ability:
Revive 1 Beetrooper from the graveyard (but it loses its life points and cannot attack this turn).
If an Insect card is destroyed, summon 1 Beetrooper Token.
Benefit: A free Monster Reborn card per turn to use for Link Climbing.
Beetrooper Landing (x1)
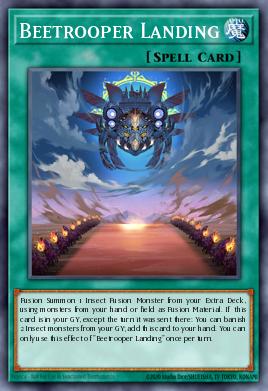
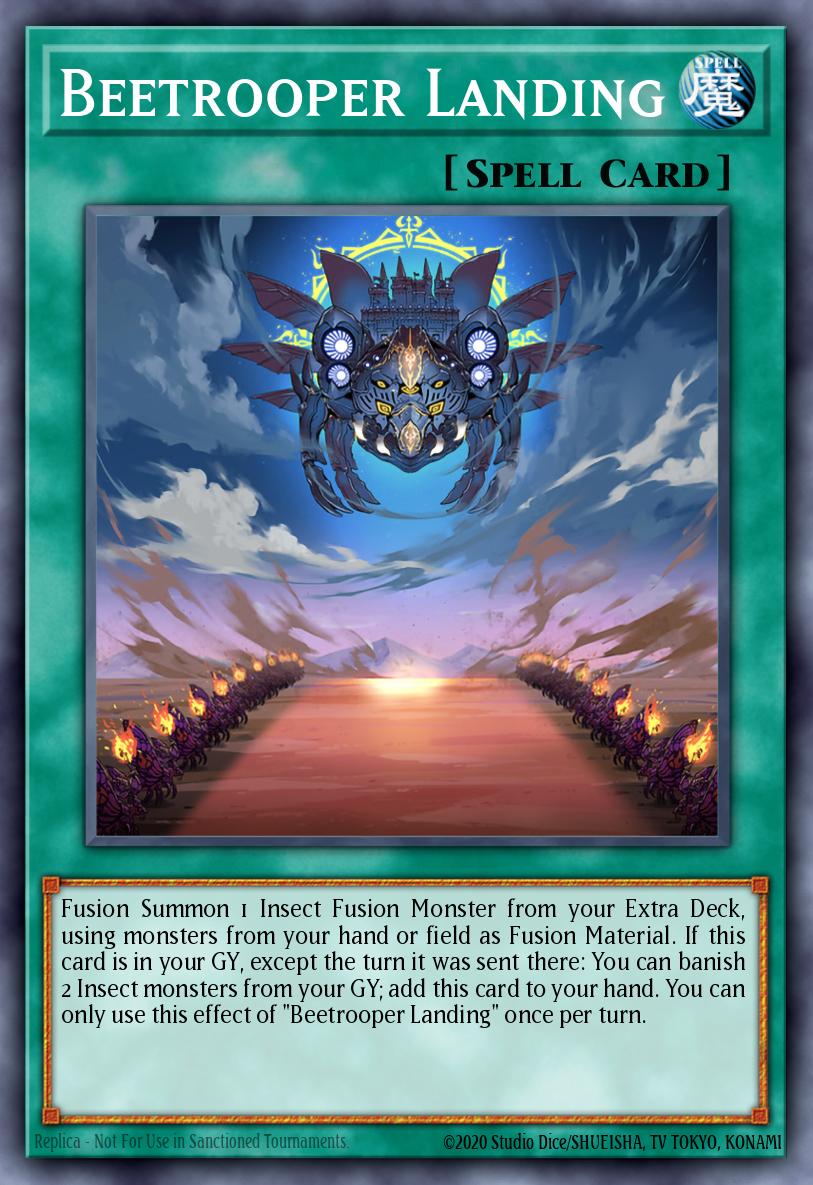
Ability: Fusion of Insect Monsters. Can be automatically retrieved from the Graveyard by banishing 1 Insect Monster and 1 Beetrooper Monster.
Use this to summon Cruel Saturnas or Absolute Hercules . Its reusability ensures you'll never be short of fusion spells.
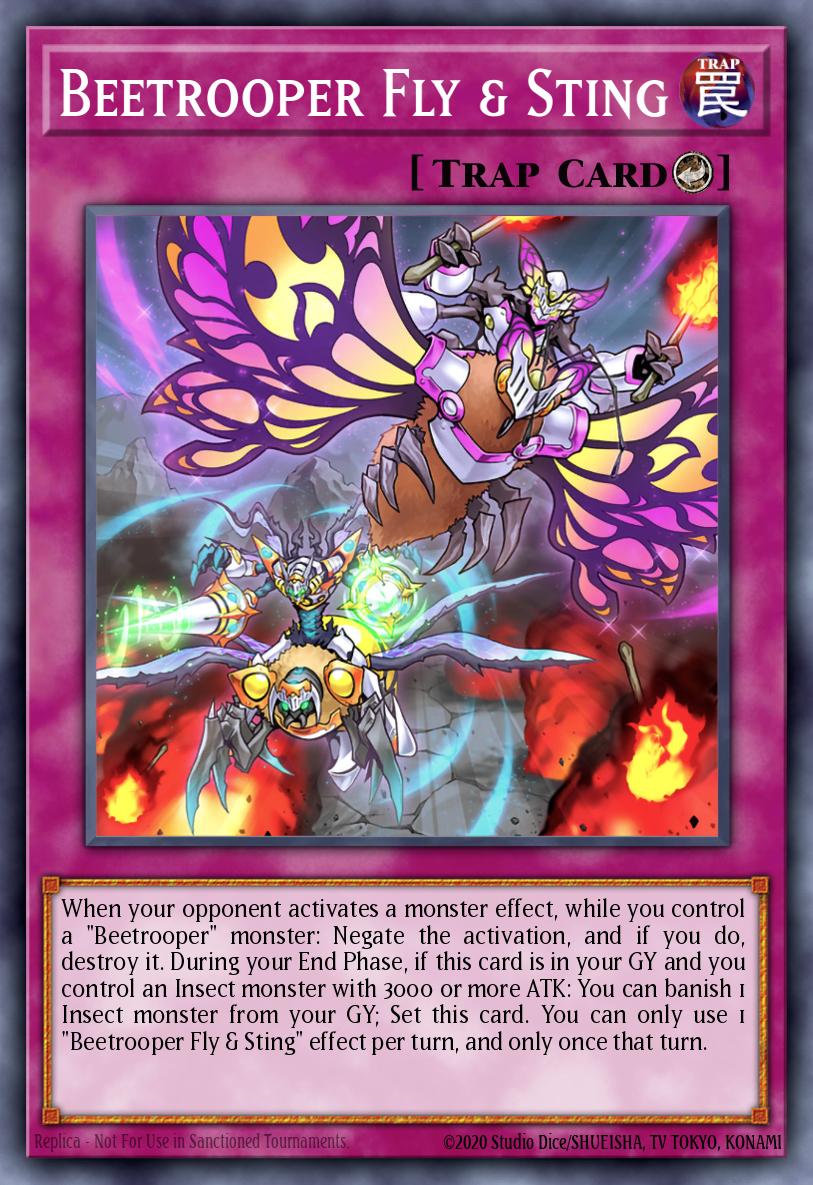
Beetrooper Fly & Sting (x1)
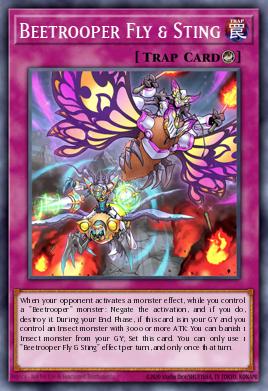
This is definitely a good card: you can disable your opponent's monster effects (without any chance of chaining since it's a Counter Trap) and it will return on each of your Endphases. Just play it at level 1 because you can add it to your deck and can only use it once per turn.
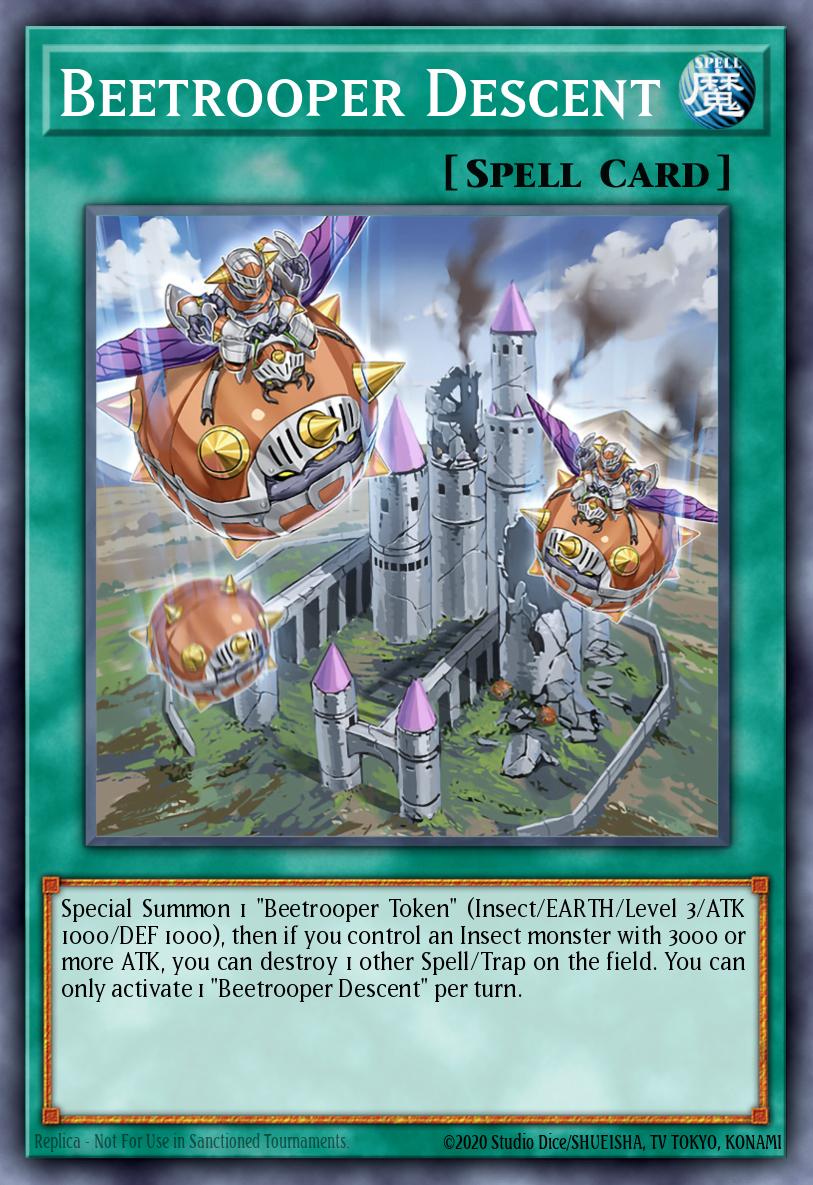
Beetrooper Descent (x1)
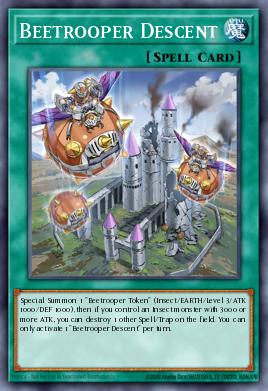
Create more tokens to Link Summon; with a bit of luck, you might be able to destroy a pretty good enemy Spell/Trap.
Extra Deck
A place that holds ultimate offensive power and control.
Ultra Beetrooper Absolute Hercules (x1)
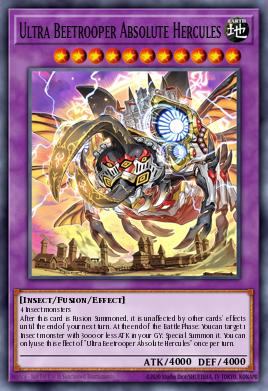
This card is primarily used to buy time . You use it for two reasons:
You need an unaffected, powerful monster that can help you break through your opponent's field.
Your opponent has activated a Handtrap, which is frustrating you, and you've decided to stall for time because you have no other option.
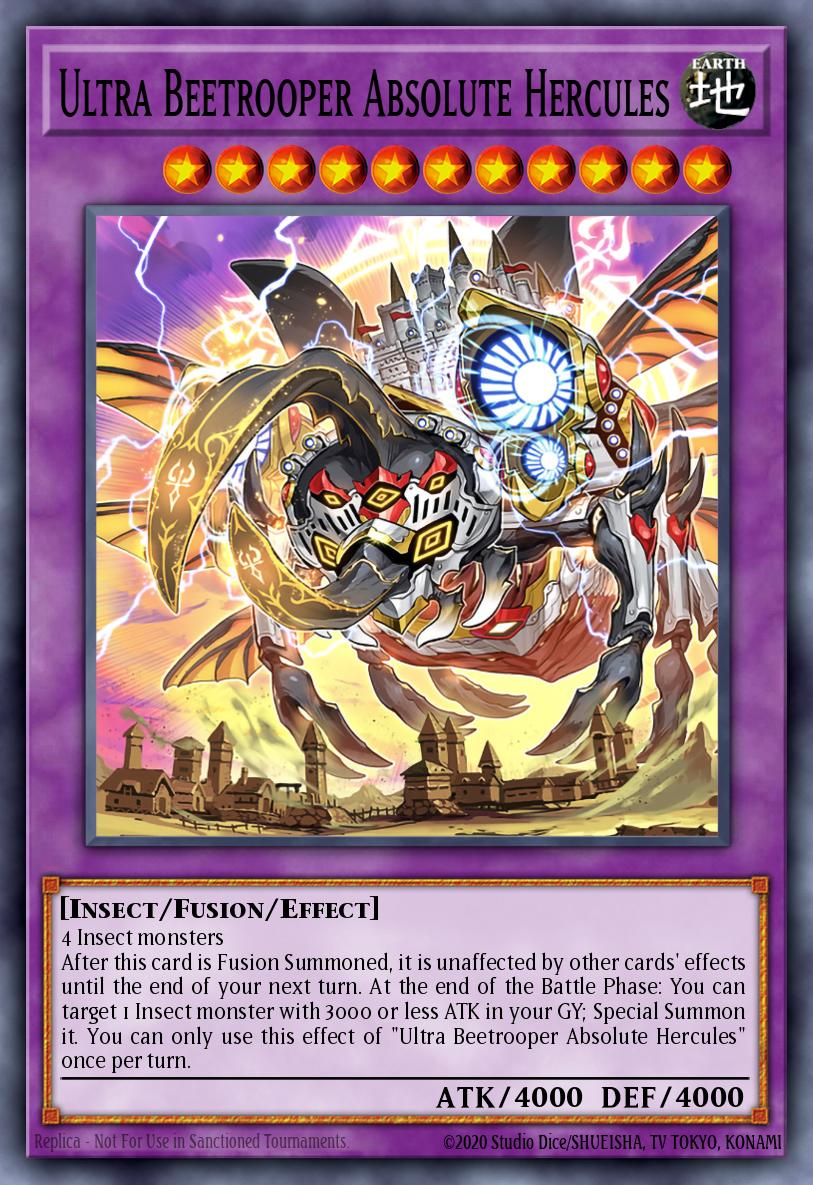
This card is excellent because it can summon almost any monster from your graveyard at the end of the battle phase. You should only play one card, no more, no less.
Giant Beetrooper Invincible Atlas (x1)
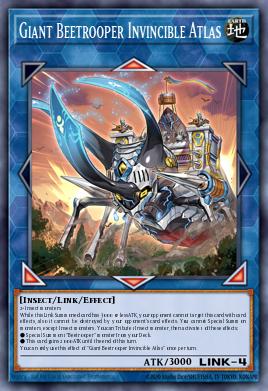
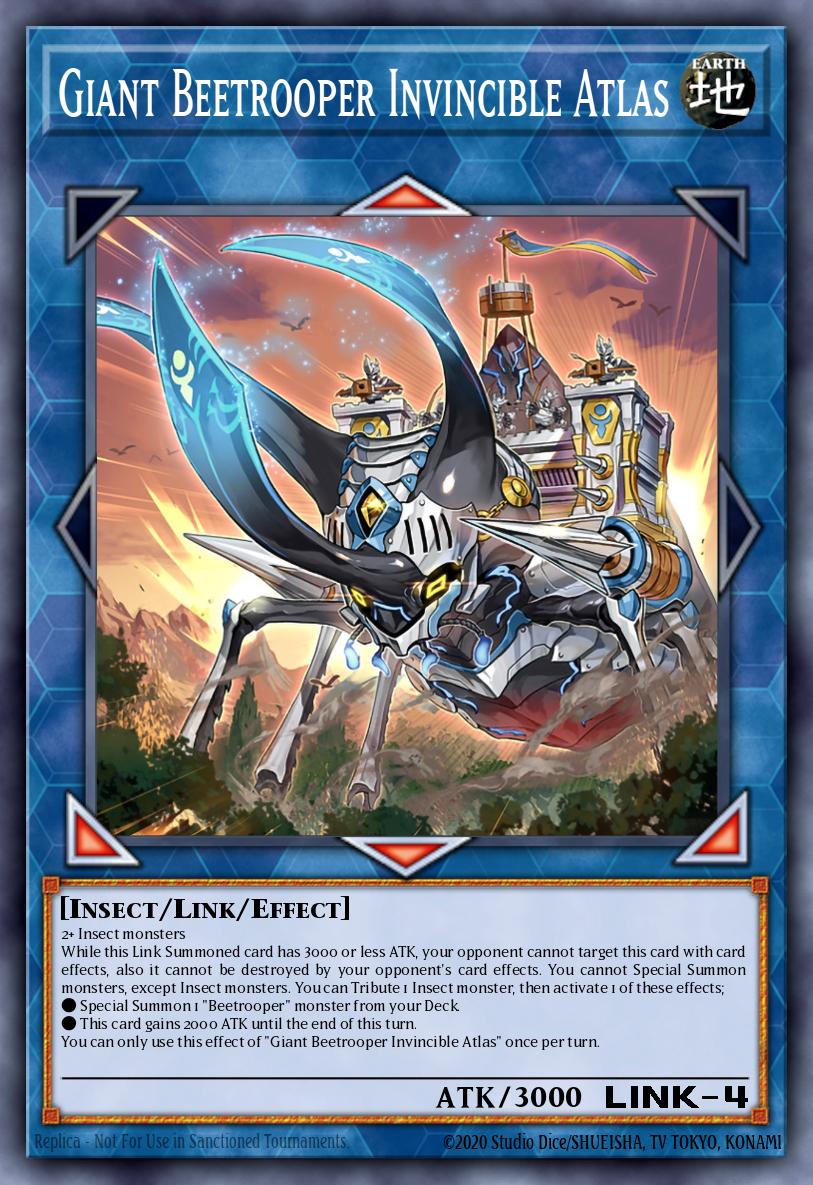
This card allows you to Special Summon a Beetrooper monster from your deck, similar to Beetrooper Light Flapper mentioned earlier . The best thing about this monster is that it cannot be targeted and is immune to card effects as long as its base attack power is not exceeded. You can also use this monster to instantly finish off your opponent (OTK), but that's not crucial.
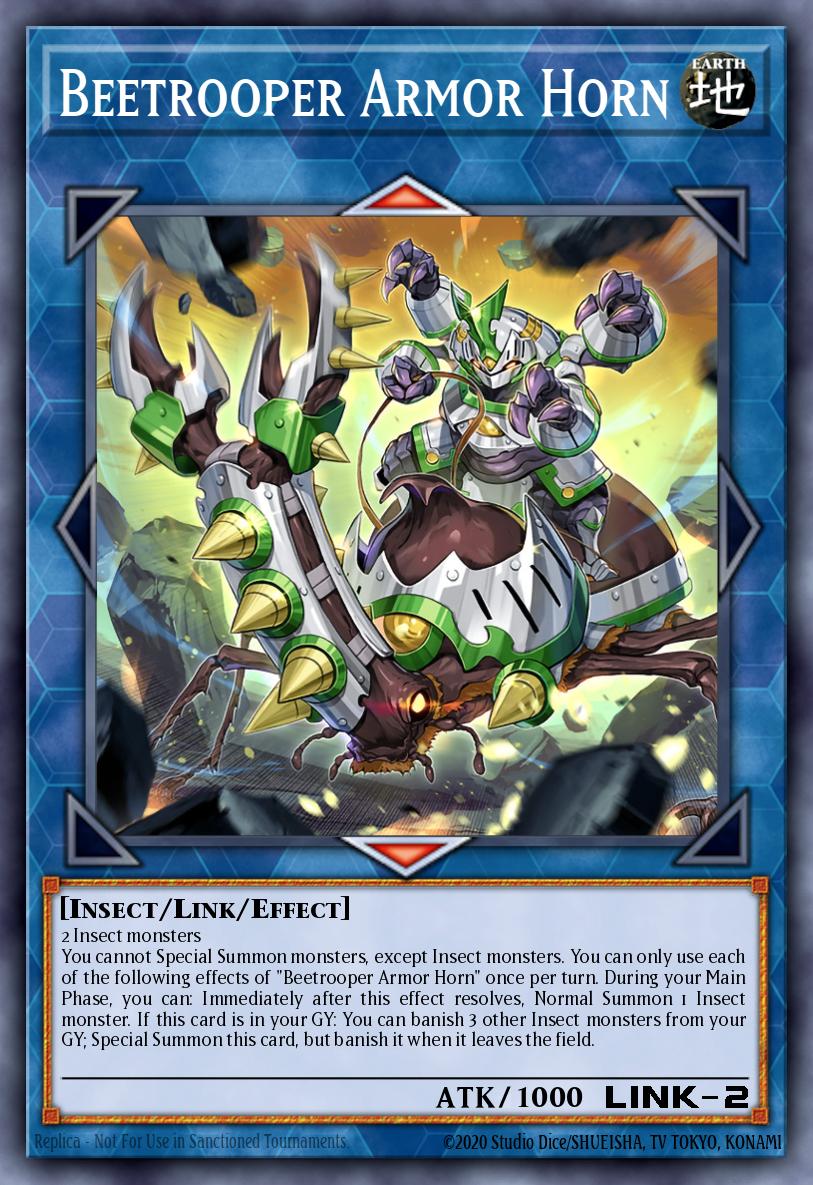
Beetrooper Armor Horn (x2)
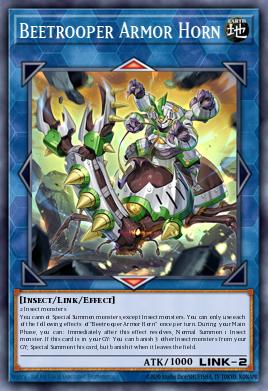
This card is incredibly overpowered. It allows you to Normal Summon one more time (even if your deck doesn't require two Normal Summons) and Special Summon yourself at a very low cost. You absolutely must have it in your Extra Deck.
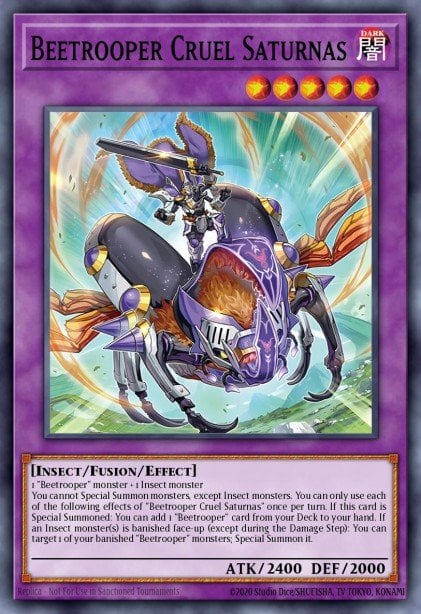
Beetrooper Cruel Saturnas (x1)
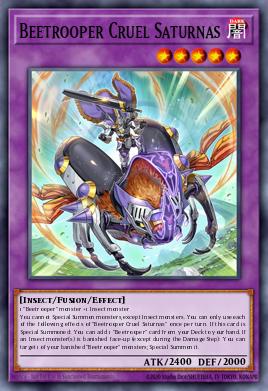
This card is crucial. It reuses a banished Beetrooper monster and adds any Beetrooper cards from your deck to your hand. You almost never need to summon it twice, and you don't have much space in your Extra Deck, so one card is enough.
Inzektor Picofalena (x2)
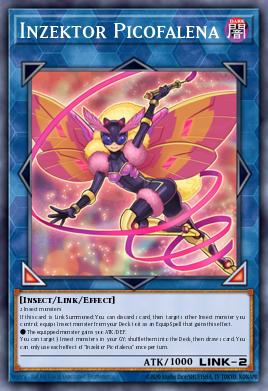
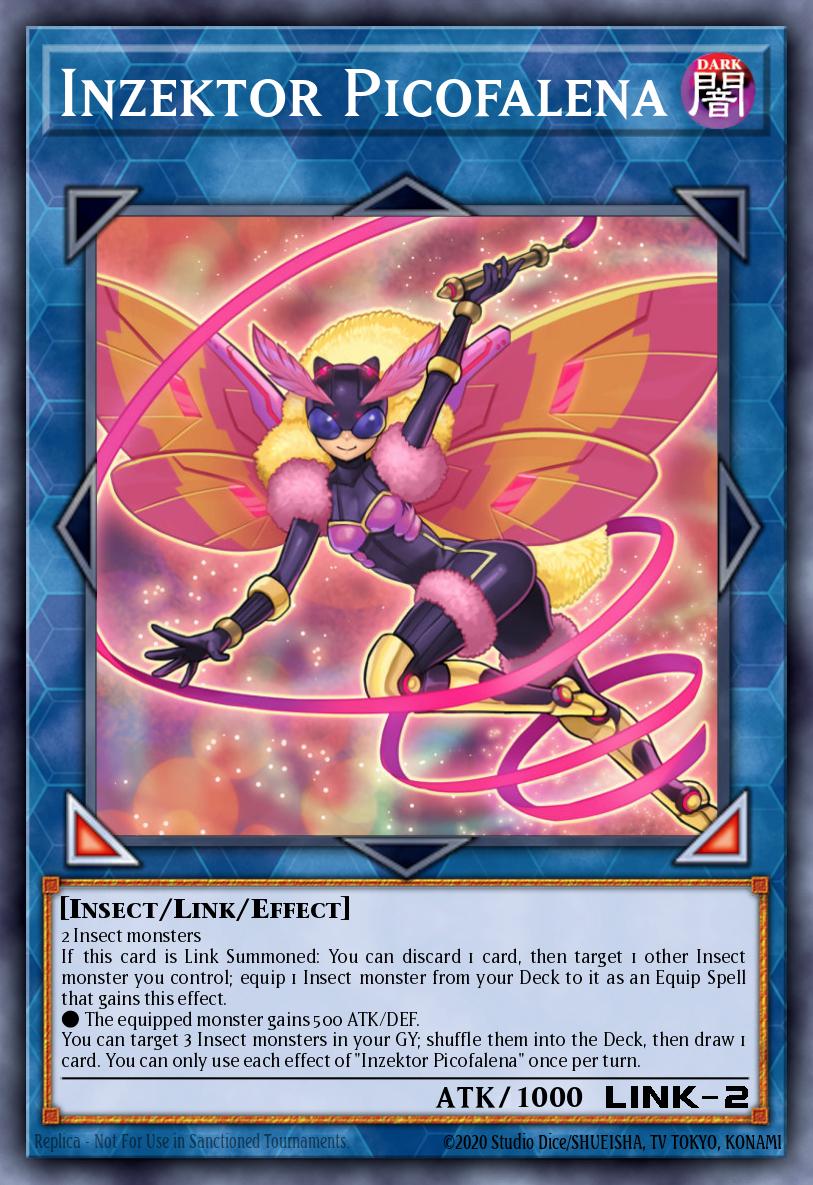
This card is a versatile Link card (deck only) that equips a Bug monster from your deck, such as a Search or Inzektor Hornet , to another Bug monster you control by simply discarding one card from your hand to the graveyard. It can also shuffle three Bug monsters from your graveyard into your deck to draw one card. This is one of the most important monsters in the deck, giving you a card advantage and destroying your opponent's cards when you go second.
Seraphim Papillion (x1)
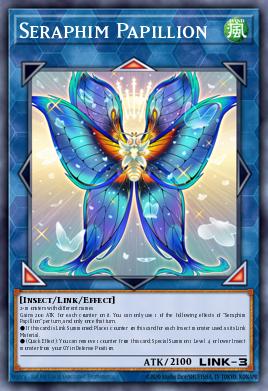
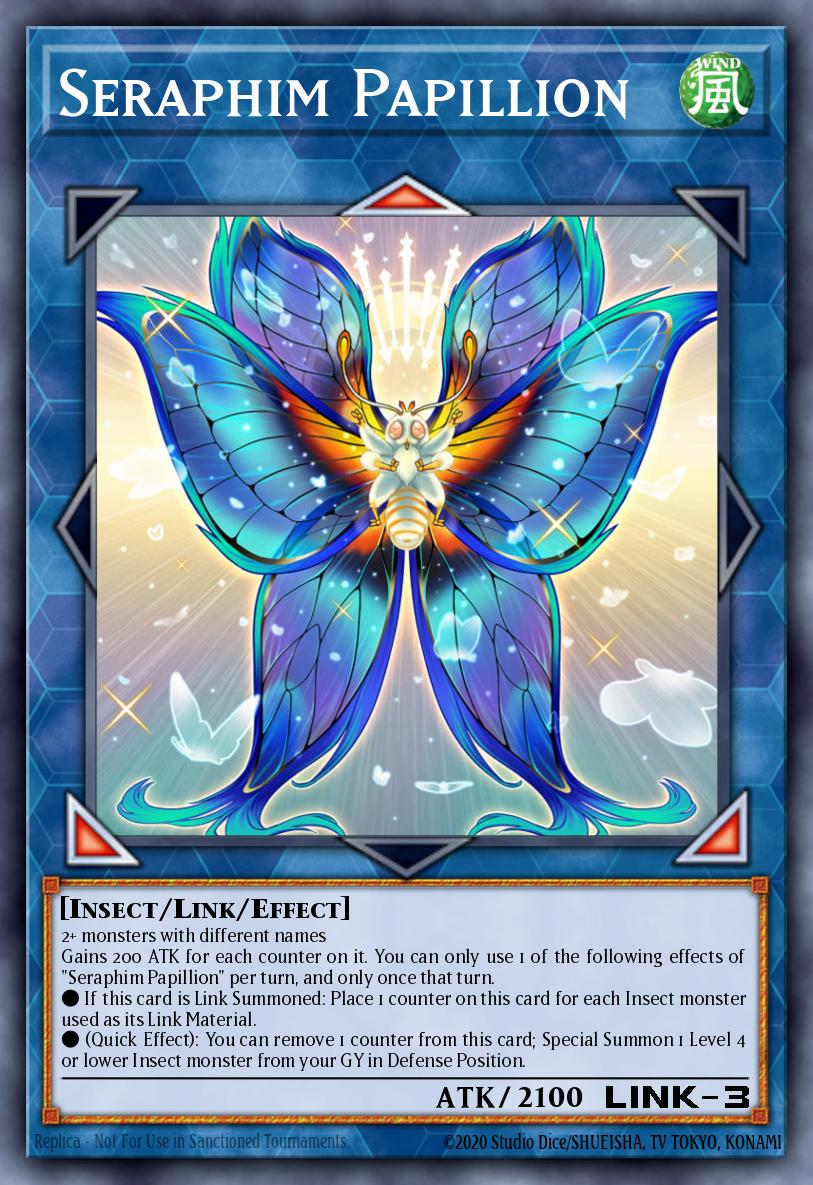
This card is primarily used to counter Nibiru. You can Special Summon a Level 4 Bug Monster from the Graveyard with this card, but this cannot be done during the Summon turn. It's decent, but not outstanding.
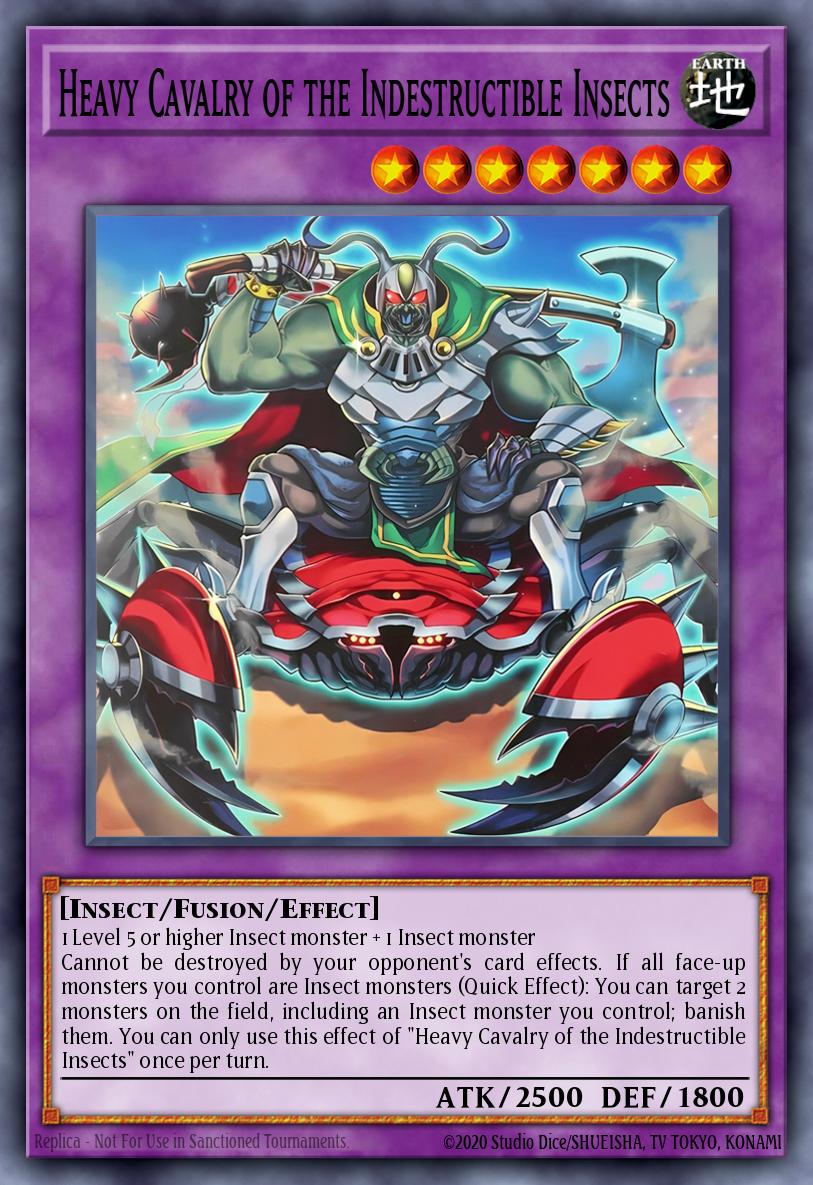
Heavy Cavalry of the Indestructible Insects (x1-2)
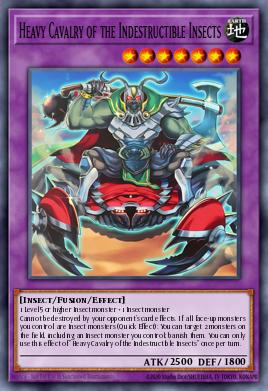
This card is pretty good, capable of banishing one of your insect monsters and one of your opponent's monsters. Most importantly, this effect is a Quick Effect. This card cannot be reused if you discard it yourself. So, play two cards if you intend to.
Traptrix Atypus (x0-1)
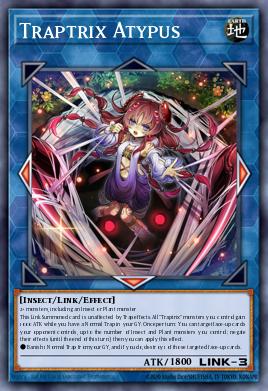
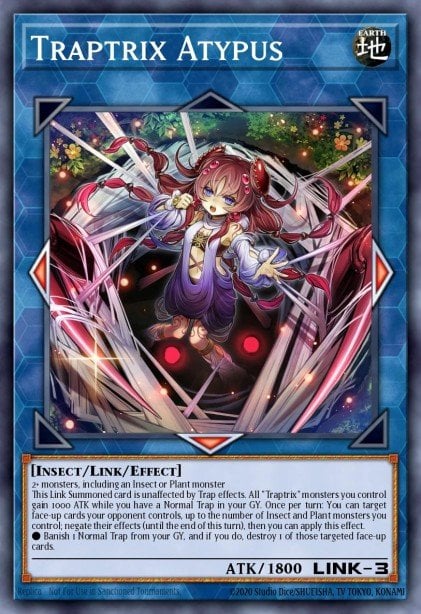
This card is very useful in the second turn, disabling your opponent's cards at no cost, simply by targeting them.
Skill
Beetrooper Raid (Skill Card) (100%)
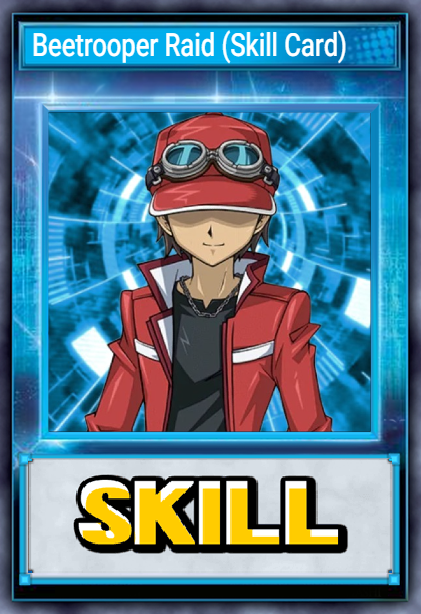
This skill is unique and looks similar to Icejade Ripple , but better. It still sends monsters to the graveyard at the start of your first turn, but instead of just Beetrooper monsters, it sends two INSECT monsters , which is very beneficial for Resonance Insect , allowing you to send Gokipole to add a 4-star monster, such as Traptrix Myrmeleo or Retaliating "C", to your hand.
Furthermore, you have a second effect in the skill that allows you to add a 5-star or higher monster from your Deck or Graveyard, such as Kumongous, the Sticky String Kaiju , or Beetrooper Sting Lancer, for free on the second turn, and at a very small cost on the first turn, and it gives you 3,000 Life Points, which is very useful for survival (and if you want an extra advantage, you can set a Beetrooper card instead of adding a monster).
Combo
This is a Beetrooper combo guide based on an example hand (including Shuffle Reborn):
Step 1: Start & Resonance Insect Loop
First, we will activate Formation.
If starting with Shuffle Reborn, we'll begin by reviving Resonance Insect . (Note: Resonance Insect doesn't care about being disabled on the field; it only activates when sent to the graveyard).
When Resonance Insect is sent to the graveyard, it adds any level 5 or higher insect leaf (like Doom Dozer). When banished, it can send any insect leaf to the graveyard.
Step 2: Summon & Search
We will summon our Stinger (Sting Lancer). Sting Lancer will take our Fusion spell ( Beetrooper Landing ). (It's best to prioritize the Fusion spell first).
Next, Link Summons Armor Horn . Armor Horn grants an additional normal summon.
Exorcise both insects from the grave to summon Doom Dozer .
Activate Resonance Insect (which has just been banished) to bury Gokipole . (Resist the temptation to activate Gokipole right now).
Step 3: Expand & Prepare Resources
We'll add Traptrix Myrmeleo to our hand. (If battling Chimera, add Flying "C" to block it).
Regularly summon Traptrix Myrmeleo to get Void Trap Hole .
Next, Link summons his insect to get Inzektor Picofalena .
From here, equip Picofalena with another Resonance Insect, which will give us another opportunity to search.
Use Picofalena's effect to return Gokipole, Traptrix Myrmeleo, and Doom Dozer to your deck (creating follow-ups for the next turn) and draw one card.
Step 4: Summon the Invincible Atlas Boss
Link Summon Picofalena and Armor Horn to form Giant Beetrooper Invincible Atlas .
Atlas cannot be targeted or destroyed.
Using the Atlas effect: Add any level 7, level 5, or higher Beetrooper insects we want.
Step 5: Optimize the Field & Skills
Summon Armor Horn back from its grave by expelling 3 insects.
Activate Beetrooper Landing , fuse into Cruel Saturnas .
Saturnas activates an effect upon summoning, drawing additional Spell/Trap cards (e.g., Beetrooper Trap).
Sacrifice Doom Dozer (already summoned) using the Atlas effect or use it as material to summon Heavy Cavalry of the Indestructible Insects (Fuse 4000 ATK).
Now activate the Skill: Gain 3000 LP, add necessary cards (such as Kaiju or Flying Sting) or set traps from your deck.
Step 6: End Board
If played correctly, you can end up with: Invincible Atlas, 1 Fusion Monster (Saturnas or Hercules), traps like Void Trap Hole, Flying Sting (Monster Negate), and possibly even Scary Moth (if you use a revive card like World Legacy Succession to summon it back from the graveyard).
If you're playing an optimized variant, you'll have between 6 and 7 interruptions depending on the match.
Support leaves
I almost forgot this part.
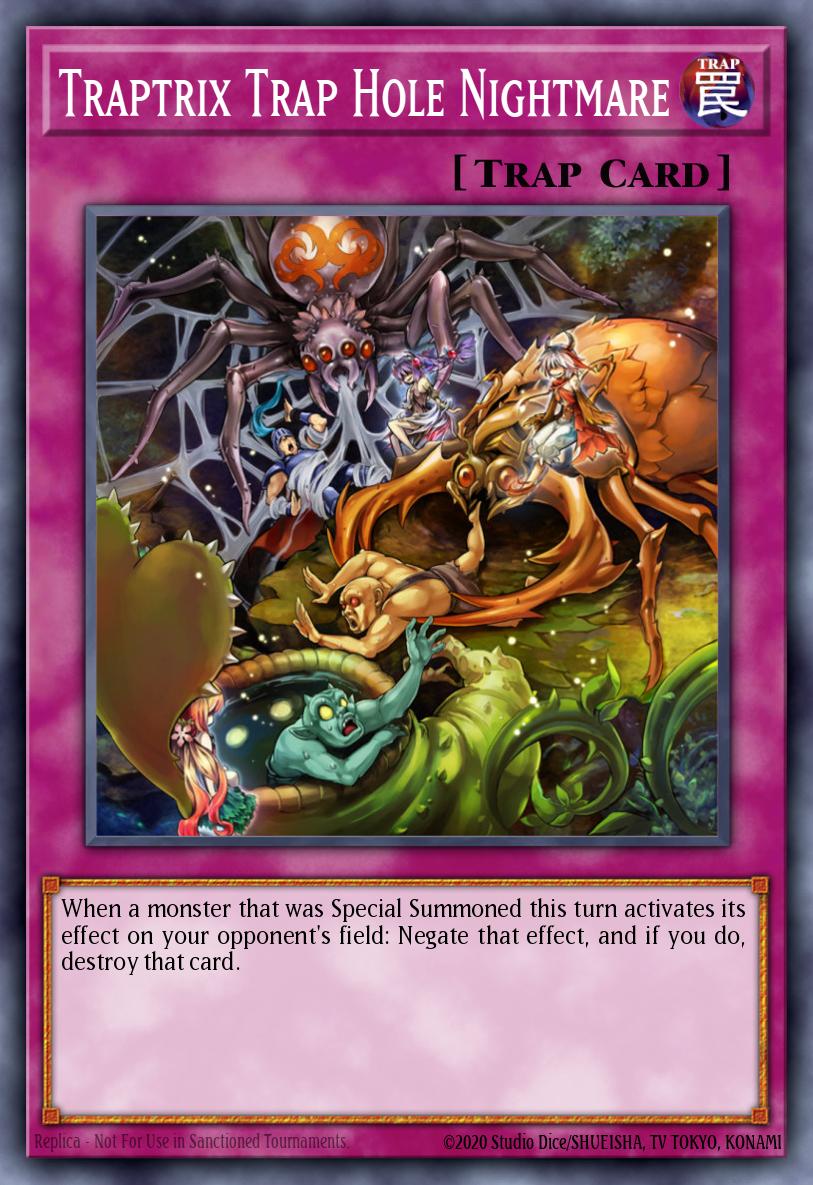
Void Trap Hole and Traptrix Trap Hole Nightmare (x0-1)
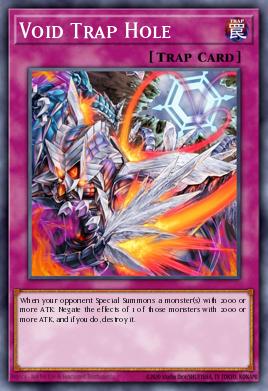
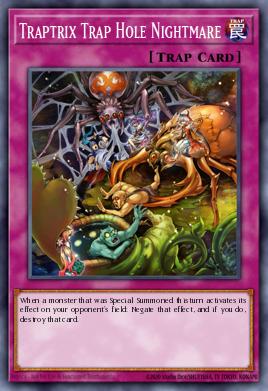
The search results were obtained using Mymeleo.
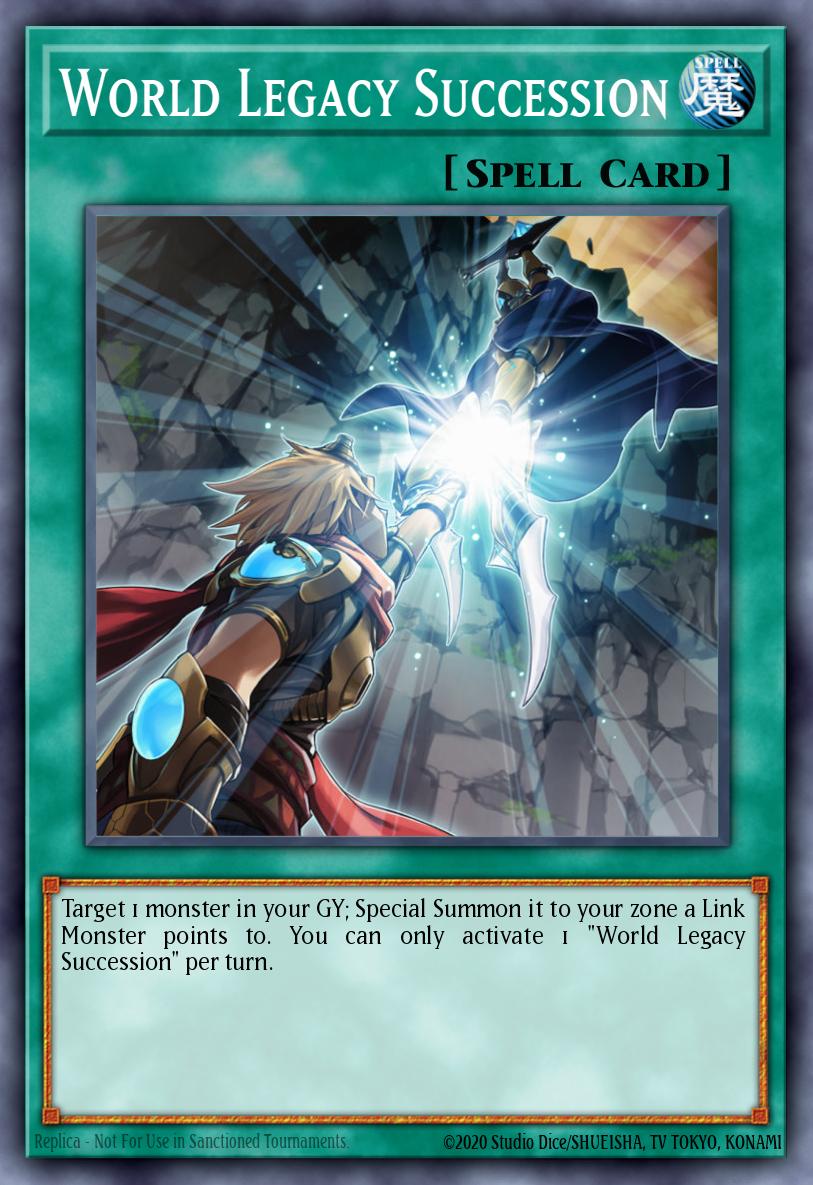
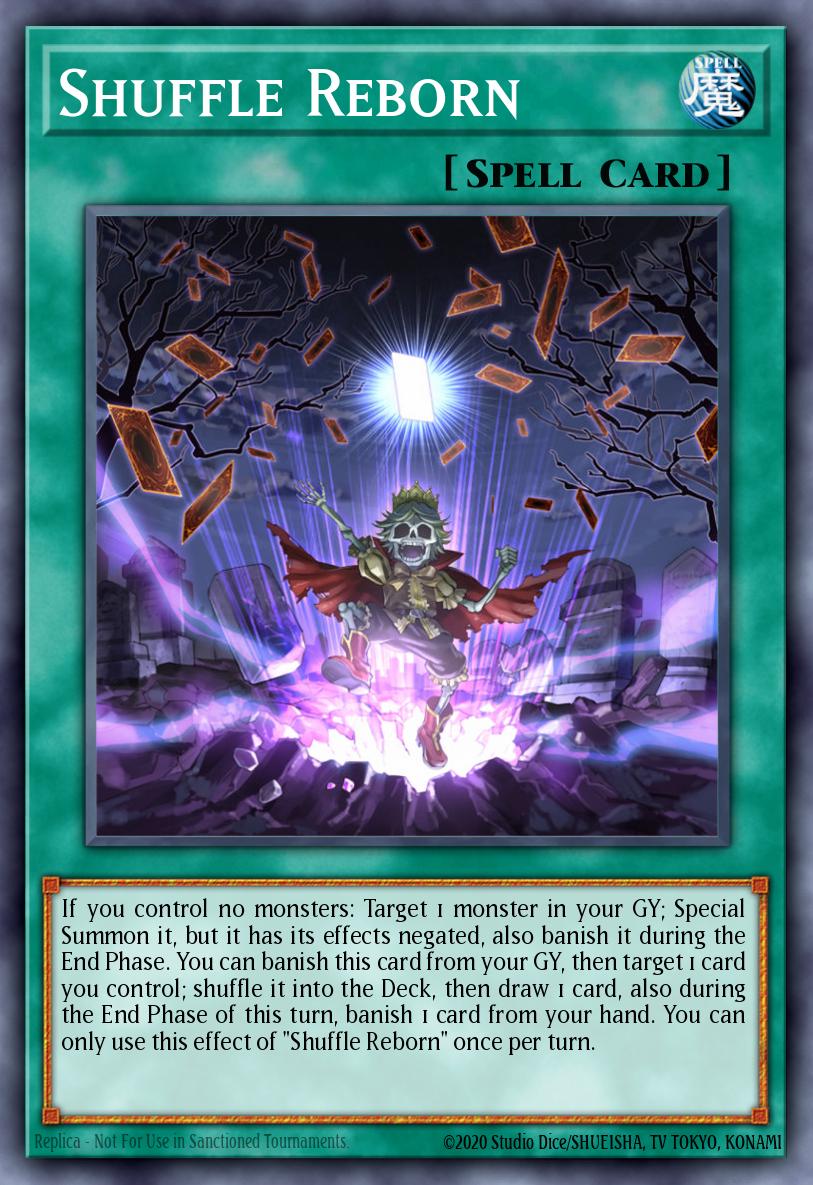
Monster Reborn, World Legacy Succession and Shuffle Reborn (Magic has the ability to revive.)

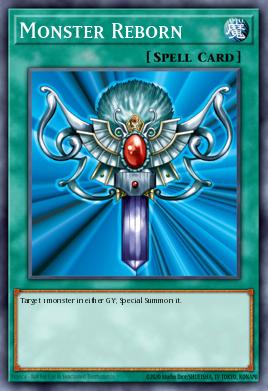
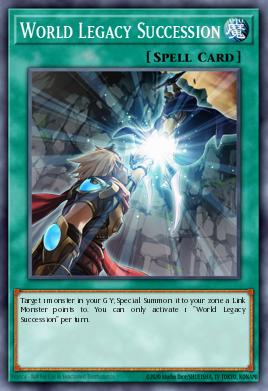
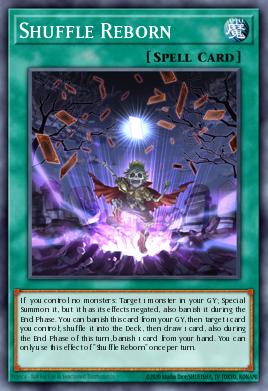
The deck includes six Revive cards to ensure there are always monsters on the field to Link Up or continuously activate Resonance Insect.
Meta cards
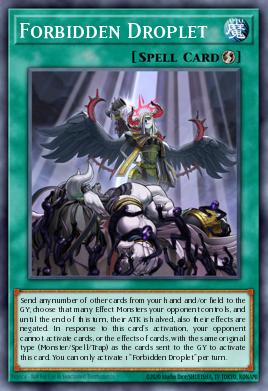
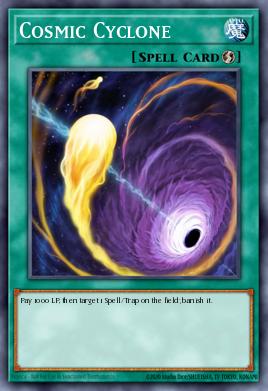
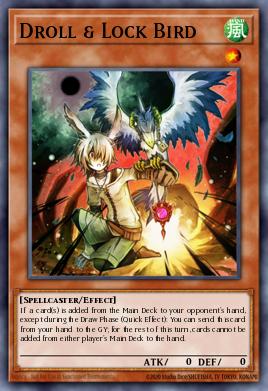
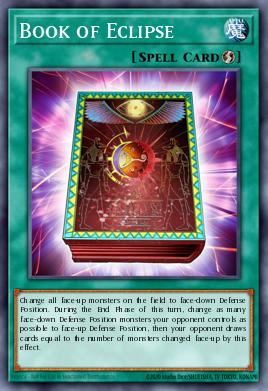
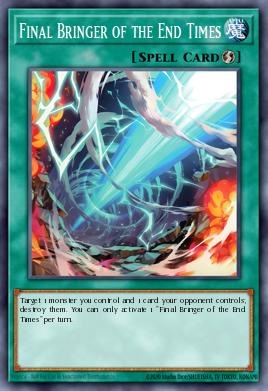
duel-links
1251
5
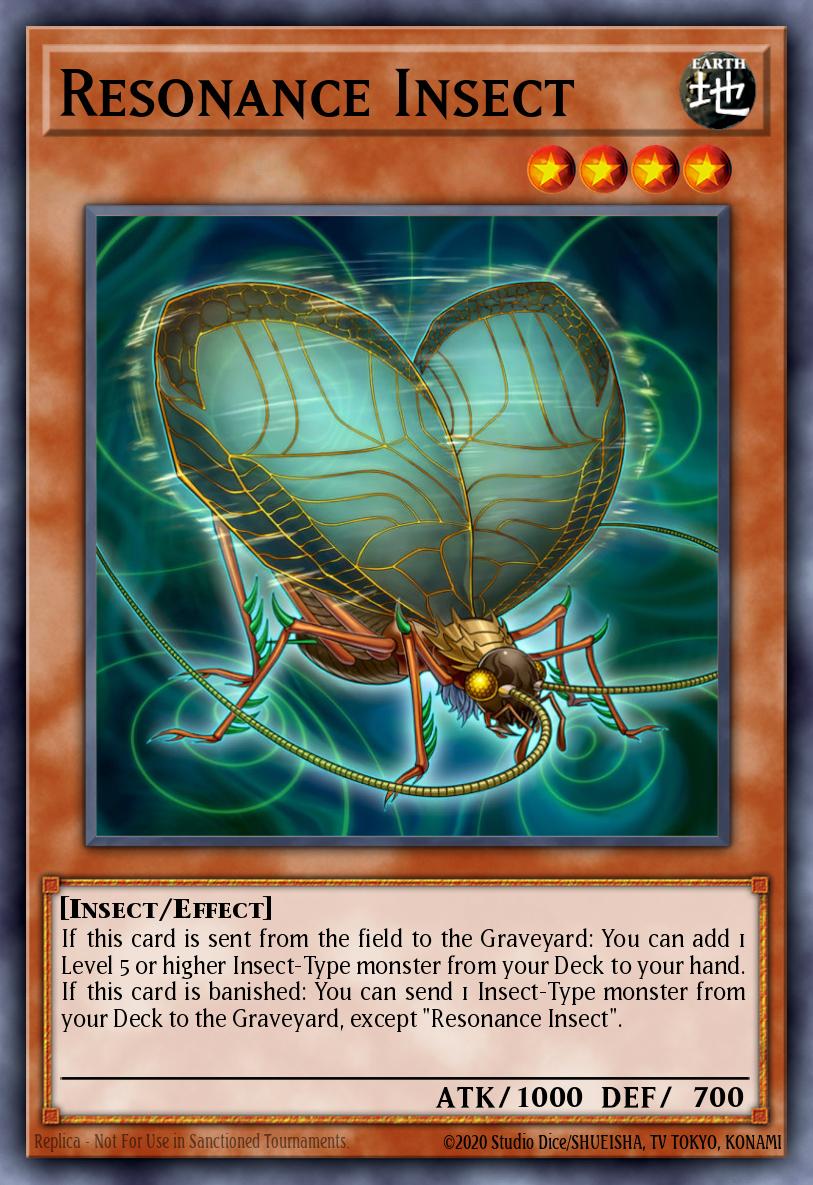
 EARTH
EARTH 4
4Resonance Insect
ATK:
1000
DEF:
700
If this card is sent from the field to the Graveyard: You can add 1 Level 5 or higher Insect-Type monster from your Deck to your hand. If this card is banished: You can send 1 Insect-Type monster from your Deck to the Graveyard, except "Resonance Insect".
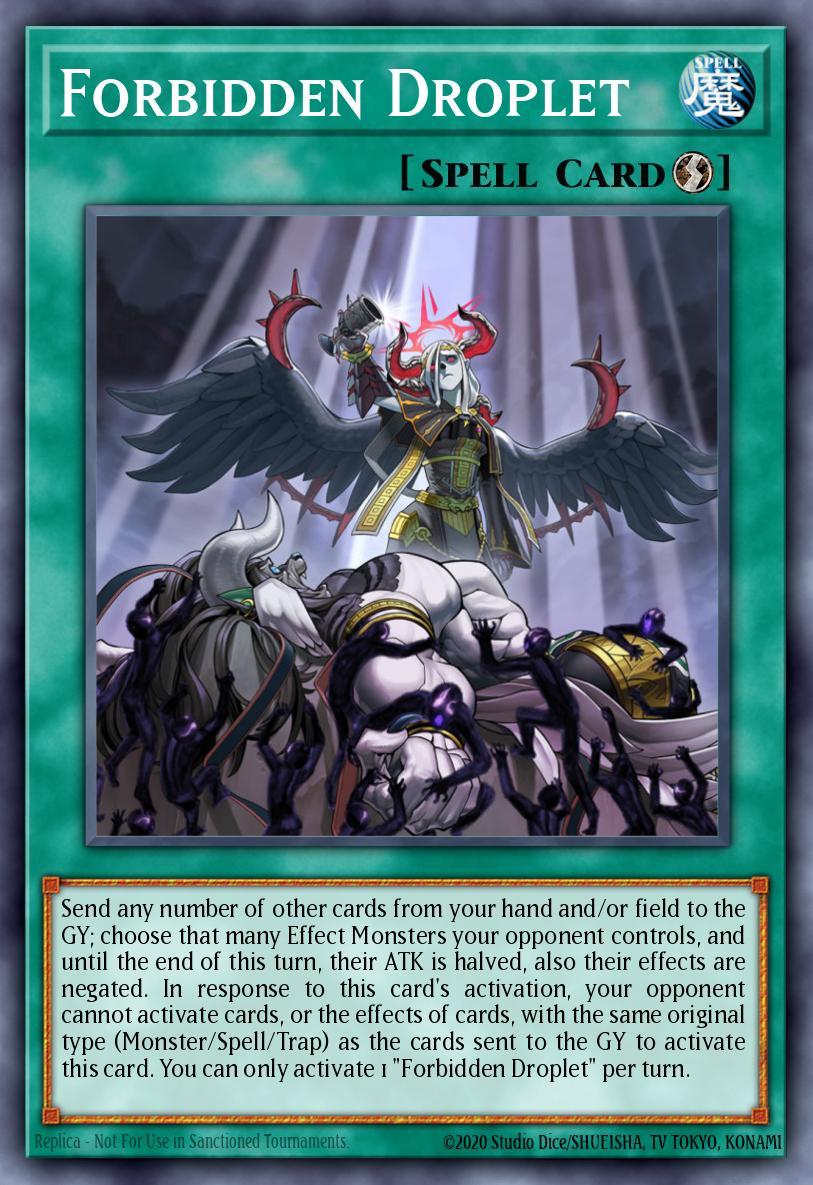
 Spell
Spell Quick
QuickForbidden Droplet
Send any number of other cards from your hand and/or field to the GY; choose that many Effect Monsters your opponent controls, and until the end of this turn, their ATK is halved, also their effects are negated. In response to this card's activation, your opponent cannot activate cards, or the effects of cards, with the same original type (Monster/Spell/Trap) as the cards sent to the GY to activate this card. You can only activate 1 "Forbidden Droplet" per turn.
 Spell
Spell Normal
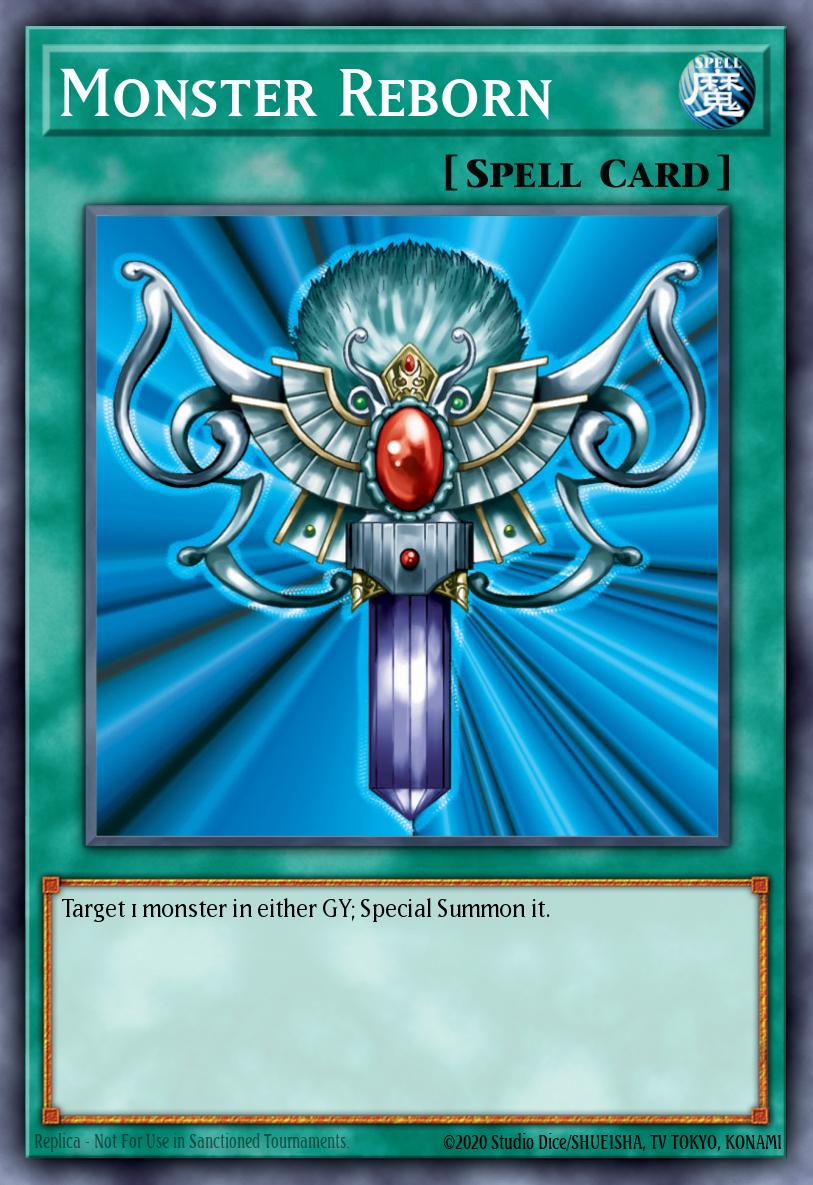
Monster Reborn
Target 1 monster in either GY; Special Summon it.


 EARTH
8
EARTH
8Doom Dozer
ATK:
2800
DEF:
2600
Cannot be Normal Summoned or Set. Must be Special Summoned (from your hand) by banishing 2 Insect-Type monsters from your Graveyard, and cannot be Special Summoned by other ways. When this card inflicts Battle Damage to your opponent: Send the top card of their Deck to the Graveyard.
 EARTH
EARTHGiant Beetrooper Invincible Atlas
ATK:
3000
LINK-4
Link Arrow:
 Top
Top
 Bottom-Left
 Bottom
 Bottom-Right
2+ Insect monsters While this Link Summoned card has 3000 or less ATK, your opponent cannot target this card with card effects, also it cannot be destroyed by your opponent's card effects. You cannot Special Summon monsters, except Insect monsters. You can Tribute 1 Insect monster, then activate 1 of these effects; ● Special Summon 1 "Beetrooper" monster from your Deck. ● This card gains 2000 ATK until the end of this turn. You can only use this effect of "Giant Beetrooper Invincible Atlas" once per turn.
 EARTH
8
EARTH
8Heavy Beetrooper Mighty Neptune
ATK:
3000
DEF:
3000
Cannot be Normal Summoned/Set. Must first be Special Summoned (from your hand) by shuffling 3 of your banished Insect monsters into the Main Deck. During the Main Phase, if this card in its owner's control is destroyed or banished by an opponent's card effect: You can Special Summon this card. You can only use this effect of "Heavy Beetrooper Mighty Neptune" once per turn. Once per turn, during the End Phase: You can target 1 other Insect monster you control; it gains 1000 ATK.
 Spell
Quick
Spell
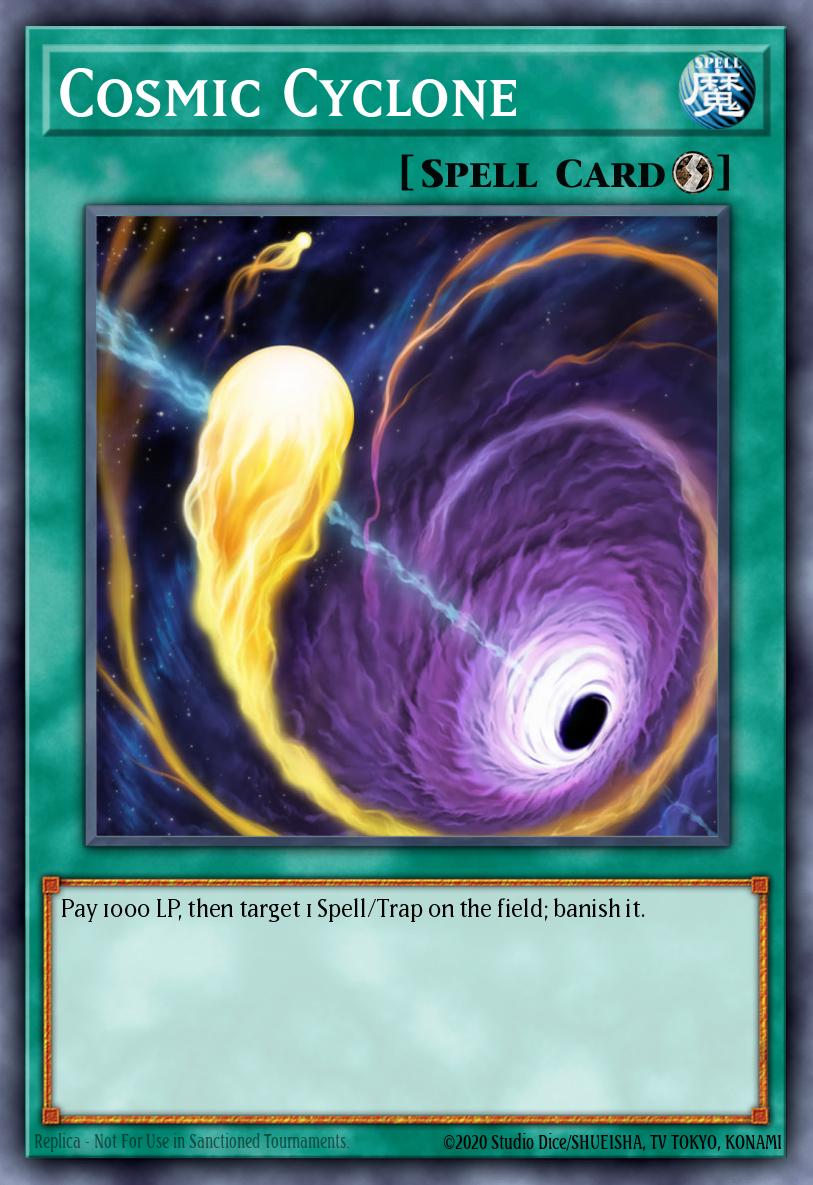
QuickCosmic Cyclone
Pay 1000 LP, then target 1 Spell/Trap on the field; banish it.
 WIND
1
WIND
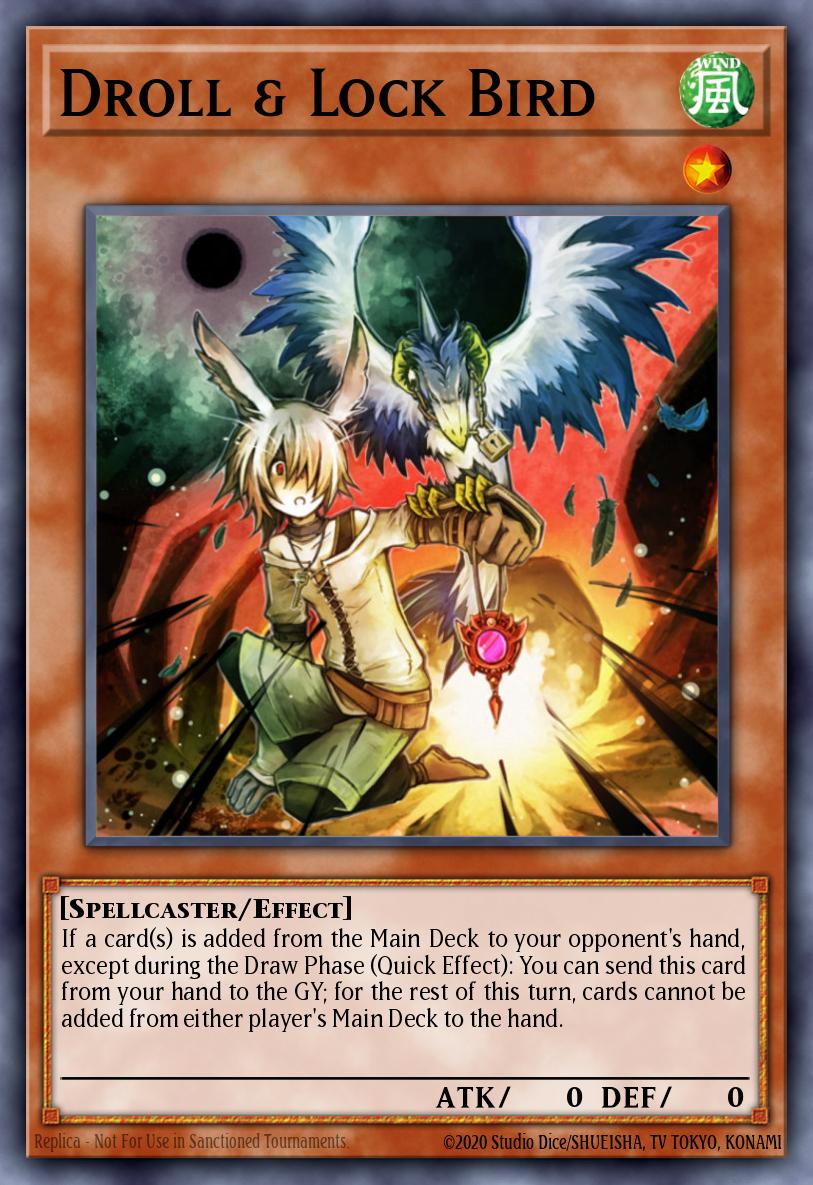
1Droll & Lock Bird
ATK:
0
DEF:
0
If a card(s) is added from the Main Deck to your opponent's hand, except during the Draw Phase (Quick Effect): You can send this card from your hand to the GY; for the rest of this turn, cards cannot be added from either player's Main Deck to the hand.

 EARTH
4
EARTH
4Traptrix Myrmeleo
ATK:
1600
DEF:
1200
This card is unaffected by the effects of "Hole" Normal Trap Cards. When this card is Normal Summoned: You can add 1 "Hole" Normal Trap Card from your Deck to your hand. If this card is Special Summoned: Target 1 Spell/Trap Card your opponent controls; destroy that target.
 DARK
DARKInzektor Picofalena
ATK:
1000
LINK-2
Link Arrow:
Bottom-Left
Bottom-Right
2 Insect monsters If this card is Link Summoned: You can discard 1 card, then target 1 other Insect monster you control; equip 1 Insect monster from your Deck to it as an Equip Spell that gains this effect. ● The equipped monster gains 500 ATK/DEF. You can target 3 Insect monsters in your GY; shuffle them into the Deck, then draw 1 card. You can only use each effect of "Inzektor Picofalena" once per turn.
 Spell
Normal
Spell
NormalBeetrooper Descent
Special Summon 1 "Beetrooper Token" (Insect/EARTH/Level 3/ATK 1000/DEF 1000), then if you control an Insect monster with 3000 or more ATK, you can destroy 1 other Spell/Trap on the field. You can only activate 1 "Beetrooper Descent" per turn.
 WATER
6
WATER
6Beetrooper Light Flapper
ATK:
2000
DEF:
2200
If this card is Normal or Special Summoned: You can target 2 of your "Beetrooper" monsters with different names, that are banished and/or in your GY; add them to your hand, but for the rest of this turn you cannot activate their effects, or the effects of cards with their names. When an opponent's monster declares an attack: You can return this card to the hand, and if you do, negate that attack. You can only use each effect of "Beetrooper Light Flapper" once per turn.
 EARTH
4
EARTH
4Beetrooper Assault Roller
ATK:
1600
DEF:
1400
You can Special Summon this card (from your hand) by banishing 1 Insect monster from your GY. You can only Special Summon "Beetrooper Assault Roller" once per turn this way. Gains 200 ATK for each Insect monster you control, except this card. When this card is destroyed by battle: You can add 1 "Beetrooper" monster from your Deck to your hand, except "Beetrooper Assault Roller". You can only use this effect of "Beetrooper Assault Roller" once per turn.
 Trap
Trap Counter
Beetrooper Fly & Sting
When your opponent activates a monster effect, while you control a "Beetrooper" monster: Negate the activation, and if you do, destroy it. During your End Phase, if this card is in your GY and you control an Insect monster with 3000 or more ATK: You can banish 1 Insect monster from your GY; Set this card. You can only use 1 "Beetrooper Fly & Sting" effect per turn, and only once that turn.
 DARK
5
DARK
5Beetrooper Cruel Saturnas
ATK:
2400
DEF:
2000
1 "Beetrooper" monster + 1 Insect monster You cannot Special Summon monsters, except Insect monsters. You can only use each of the following effects of "Beetrooper Cruel Saturnas" once per turn. If this card is Special Summoned: You can add 1 "Beetrooper" card from your Deck to your hand. If an Insect monster(s) is banished face-up (except during the Damage Step): You can target 1 of your banished "Beetrooper" monsters; Special Summon it.
 Trap
Normal
Trap
NormalVoid Trap Hole
When your opponent Special Summons a monster(s) with 2000 or more ATK: Negate the effects of 1 of those monsters with 2000 or more ATK, and if you do, destroy it.
 WIND
WINDSeraphim Papillion
ATK:
2100
LINK-3
Link Arrow:
Top
Bottom-Left
Bottom-Right
2+ monsters with different names Gains 200 ATK for each counter on it. You can only use 1 of the following effects of "Seraphim Papillion" per turn, and only once that turn. ● If this card is Link Summoned: Place 1 counter on this card for each Insect monster used as its Link Material. ● (Quick Effect): You can remove 1 counter from this card; Special Summon 1 Level 4 or lower Insect monster from your GY in Defense Position.
 FIRE
3
FIRE
3Beetrooper Scale Bomber
ATK:
1200
DEF:
2000
If an Insect monster(s) is Normal or Special Summoned to your field (except during the Damage Step): You can Special Summon this card from your hand. When a monster your opponent controls activates its effect (Quick Effect): You can Tribute 1 Insect monster; destroy it. You can only use each effect of "Beetrooper Scale Bomber" once per turn.
 WIND
3
WIND
3Beetrooper Scout Buggy
ATK:
1000
DEF:
300
You cannot Special Summon monsters, except Insect monsters. If this card is Normal or Special Summoned: You can Special Summon 1 "Beetrooper Scout Buggy" from your hand, Deck, or GY. You can only use this effect of "Beetrooper Scout Buggy" once per turn.
 WIND
7
WIND
7Beetrooper Sting Lancer
ATK:
2400
DEF:
1800
During the Main Phase (Quick Effect): You can target 1 Insect monster in your GY and 1 monster in your opponent's GY; Special Summon this card from your hand, and if you do, place the targeted monsters on the bottoms of the Decks. If this card is Normal or Special Summoned: You can add 1 "Beetrooper" Spell/Trap from your Deck to your hand. You can only use each effect of "Beetrooper Sting Lancer" once per turn.
 EARTH
3
EARTH
3Gokipole
ATK:
1000
DEF:
1200
If this card is sent to the GY: You can add 1 Level 4 Insect monster from your Deck to your hand, then, if you added a Normal Monster, you can Special Summon it, then you can destroy 1 monster on the field with ATK greater than or equal to that Special Summoned monster's. You can only use this effect of "Gokipole" once per turn.
 WIND
6
WIND
6Scary Moth
ATK:
1800
DEF:
2300
Each player can only Special Summon a monster(s) once per turn.
 Trap
Normal
Trap
NormalTraptrix Trap Hole Nightmare
When a monster that was Special Summoned this turn activates its effect on your opponent's field: Negate that effect, and if you do, destroy that card.
 Spell
Quick
Spell
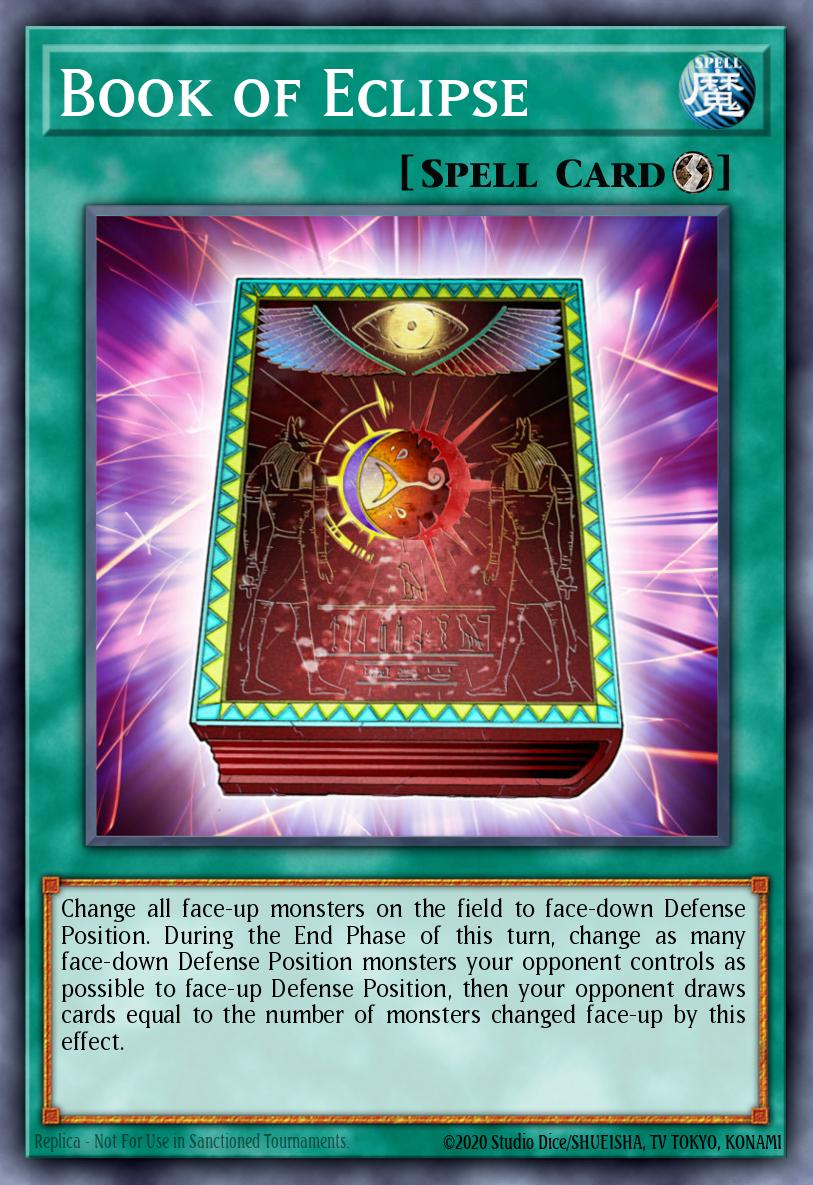
QuickBook of Eclipse
Change all face-up monsters on the field to face-down Defense Position. During the End Phase of this turn, change as many face-down Defense Position monsters your opponent controls as possible to face-up Defense Position, then your opponent draws cards equal to the number of monsters changed face-up by this effect.
 Spell
Normal
Spell
NormalWorld Legacy Succession
Target 1 monster in your GY; Special Summon it to your zone a Link Monster points to. You can only activate 1 "World Legacy Succession" per turn.
 Spell
Normal
Spell
NormalShuffle Reborn
If you control no monsters: Target 1 monster in your GY; Special Summon it, but it has its effects negated, also banish it during the End Phase. You can banish this card from your GY, then target 1 card you control; shuffle it into the Deck, then draw 1 card, also during the End Phase of this turn, banish 1 card from your hand. You can only use this effect of "Shuffle Reborn" once per turn.
Beetrooper Raid (Skill Card)
ATK:
0
DEF:
0
You can only use this Skill's second effect once per Duel. 1: At the beginning of your first turn, Set 1 "Beetrooper Formation" from outside your Deck, then send 2 Insect monsters, including "Beetrooper" monsters, from your Deck to the Graveyard. For the rest of this Duel, you cannot Special Summon any monsters, except Insect monsters. 2: If you control an Insect monster with 3000 or more ATK, or your opponent controls a monster, gain 3000 LP. Then, add 1 Level 5 or higher Insect monster from your Deck or Graveyard to your hand, or Set 1 "Beetrooper" Spell/Trap card from your Deck or Graveyard. (This card can be activated the same turn.)
 EARTH
7
EARTH
7Heavy Cavalry of the Indestructible Insects
ATK:
2500
DEF:
1800
1 Level 5 or higher Insect monster + 1 Insect monster Cannot be destroyed by your opponent's card effects. If all face-up monsters you control are Insect monsters (Quick Effect): You can target 2 monsters on the field, including an Insect monster you control; banish them. You can only use this effect of "Heavy Cavalry of the Indestructible Insects" once per turn.
 EARTH
5
EARTH
5Supply Soldier of the Indestructible Insects
ATK:
600
DEF:
300
When an Insect monster's effect is activated (Quick Effect): You can Special Summon this card from your hand, then if you activated this effect in response to your opponent's effect activation, negate that effect, also until the end of your next turn after this effect resolves, you cannot Special Summon from the Extra Deck, except Insect monsters. During your Main Phase: You can Fusion Summon 1 Insect Fusion Monster from your Extra Deck, using monsters from your hand or field. You can only use each effect of "Supply Soldier of the Indestructible Insects" once per turn.
 Spell
Quick
Spell
QuickFinal Bringer of the End Times
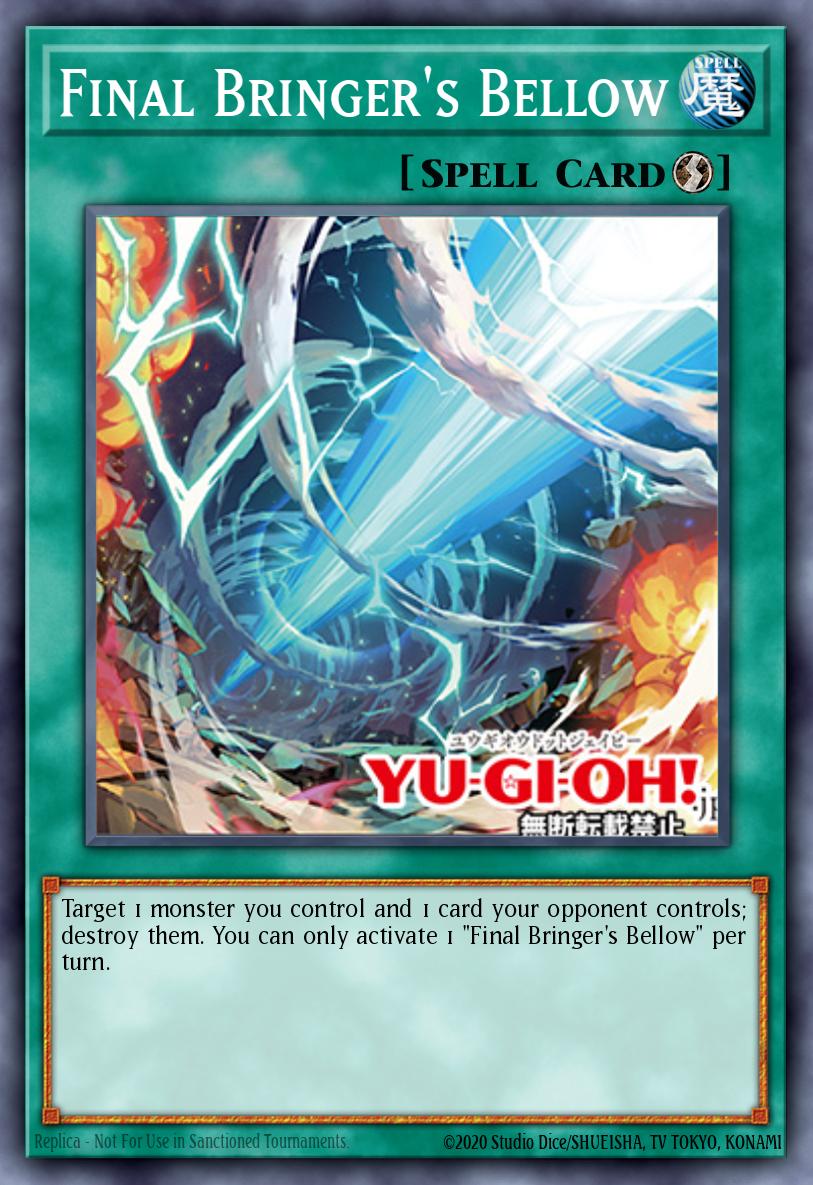
Target 1 monster you control and 1 card your opponent controls; destroy them. You can only activate 1 "Final Bringer of the End Times" per turn.
 EARTH
4
EARTH
4Retaliating "C"
ATK:
1400
DEF:
1400
During either player's turn, when your opponent activates a Spell Card that includes an effect that Special Summons a monster(s): You can Special Summon this card from your hand. If Summoned this way, while this card is face-up on the field, any card sent to the Graveyard is banished instead. If this card is sent from the field to the Graveyard: You can add 1 EARTH Insect-Type monster with 1500 or less ATK from your Deck to your hand, except "Retaliating "C"".
 EARTH
EARTHBeetrooper Armor Horn
ATK:
1000
LINK-2
Link Arrow:
Top
Bottom
2 Insect monsters You cannot Special Summon monsters, except Insect monsters. You can only use each of the following effects of "Beetrooper Armor Horn" once per turn. During your Main Phase, you can: Immediately after this effect resolves, Normal Summon 1 Insect monster. If this card is in your GY: You can banish 3 other Insect monsters from your GY; Special Summon this card, but banish it when it leaves the field.
 EARTH
EARTHTraptrix Atypus
ATK:
1800
LINK-3
Link Arrow:
 Left
Left
 Right
Right
Bottom
2+ monsters, including an Insect or Plant monster This Link Summoned card is unaffected by Trap effects. All "Traptrix" monsters you control gain 1000 ATK while you have a Normal Trap in your GY. Once per turn: You can target face-up cards your opponent controls, up to the number of Insect and Plant monsters you control; negate their effects (until the end of this turn), then you can apply this effect. ● Banish 1 Normal Trap from your GY, and if you do, destroy 1 of those targeted face-up cards.
 EARTH
11
EARTH
11Ultra Beetrooper Absolute Hercules
ATK:
4000
DEF:
4000
4 Insect monsters After this card is Fusion Summoned, it is unaffected by other cards' effects until the end of your next turn. At the end of the Battle Phase: You can target 1 Insect monster with 3000 or less ATK in your GY; Special Summon it. You can only use this effect of "Ultra Beetrooper Absolute Hercules" once per turn.
 Spell
Normal
Spell
NormalBeetrooper Landing
Fusion Summon 1 Insect Fusion Monster from your Extra Deck, using monsters from your hand or field as Fusion Material. If this card is in your GY, except the turn it was sent there: You can banish 2 Insect monsters from your GY; add this card to your hand. You can only use this effect of "Beetrooper Landing" once per turn.
 Spell
Spell Field
FieldBeetrooper Formation
You can target 1 "Beetrooper" monster in your GY; Special Summon it, but it cannot attack this turn, also you lose LP equal to its original ATK. If a face-up Insect monster(s) you control is destroyed by battle or card effect: You can Special Summon 1 "Beetrooper Token" (Insect/EARTH/Level 3/ATK 1000/DEF 1000). You can only use each effect of "Beetrooper Formation" once per turn.
Menu
https://metaduelist.com/